---
title: bosh-initでAWSにBOSH Directorをインストール
tags: ["BOSH", "BOSH INIT", "AWS"]
categories: ["Dev", "Infrastructure", "BOSH"]
date: 2016-04-16T15:58:16Z
updated: 2016-04-24T05:09:21Z
---
bosh-initでAWSにBOSH Directorをインストール方法について。
基本的には
https://bosh.io/docs/init-aws.html
この通り。
`~/my-bosh`で作業します。
``` bash
$ mkdir ~/my-bosh
```
### マニフェストファイルの作成
`bosh.yml`を作成して以下の内容を貼り付けます。
(このファイルの内容は[ここ](https://bosh.io/docs/init-aws.html)から取得可能で、アップデートされるため、この記事の内容を信用せず最新版を確認した方が良いです。)
``` yaml
---
name: bosh
releases:
- name: bosh
url: https://bosh.io/d/github.com/cloudfoundry/bosh?v=255.10
sha1: 013e75a62b0511ec714e89444964c63cbc289b09
- name: bosh-aws-cpi
url: https://bosh.io/d/github.com/cloudfoundry-incubator/bosh-aws-cpi-release?v=51
sha1: 7856e0d1db7d679786fedd3dcb419b802da0434b
resource_pools:
- name: vms
network: private
stemcell:
url: https://bosh.io/d/stemcells/bosh-aws-xen-hvm-ubuntu-trusty-go_agent?v=3012
sha1: 3380b55948abe4c437dee97f67d2d8df4eec3fc1
cloud_properties:
instance_type: m3.xlarge
ephemeral_disk: {size: 25_000, type: gp2}
availability_zone: AVAILABILITY-ZONE # <--- Replace with Availability Zone
disk_pools:
- name: disks
disk_size: 20_000
cloud_properties: {type: gp2}
networks:
- name: private
type: manual
subnets:
- range: 10.0.0.0/24
gateway: 10.0.0.1
dns: [10.0.0.2]
cloud_properties: {subnet: SUBNET-ID} # <--- Replace with Subnet ID
- name: public
type: vip
jobs:
- name: bosh
instances: 1
templates:
- {name: nats, release: bosh}
- {name: redis, release: bosh}
- {name: postgres, release: bosh}
- {name: blobstore, release: bosh}
- {name: director, release: bosh}
- {name: health_monitor, release: bosh}
- {name: registry, release: bosh}
- {name: aws_cpi, release: bosh-aws-cpi}
resource_pool: vms
persistent_disk_pool: disks
networks:
- name: private
static_ips: [10.0.0.6]
default: [dns, gateway]
- name: public
static_ips: [ELASTIC-IP] # <--- Replace with Elastic IP
properties:
nats:
address: 127.0.0.1
user: nats
password: nats-password
redis:
listen_address: 127.0.0.1
address: 127.0.0.1
password: redis-password
postgres: &db
listen_address: 127.0.0.1
host: 127.0.0.1
user: postgres
password: postgres-password
database: bosh
adapter: postgres
registry:
address: 10.0.0.6
host: 10.0.0.6
db: *db
http: {user: admin, password: admin, port: 25777}
username: admin
password: admin
port: 25777
blobstore:
address: 10.0.0.6
port: 25250
provider: dav
director: {user: director, password: director-password}
agent: {user: agent, password: agent-password}
director:
address: 127.0.0.1
name: my-bosh
db: *db
cpi_job: aws_cpi
max_threads: 10
user_management:
provider: local
local:
users:
- {name: admin, password: admin}
- {name: hm, password: hm-password}
hm:
director_account: {user: hm, password: hm-password}
resurrector_enabled: true
aws: &aws
access_key_id: ACCESS-KEY-ID # <--- Replace with AWS Access Key ID
secret_access_key: SECRET-ACCESS-KEY # <--- Replace with AWS Secret Key
default_key_name: bosh
default_security_groups: [bosh]
region: REGION # <--- Replace with Region
agent: {mbus: "nats://nats:nats-password@10.0.0.6:4222"}
ntp: &ntp [0.pool.ntp.org, 1.pool.ntp.org]
cloud_provider:
template: {name: aws_cpi, release: bosh-aws-cpi}
ssh_tunnel:
host: ELASTIC-IP # <--- Replace with your Elastic IP address
port: 22
user: vcap
private_key: ./bosh.pem # Path relative to this manifest file
mbus: "https://mbus:mbus-password@ELASTIC-IP:6868" # <--- Replace with Elastic IP
properties:
aws: *aws
agent: {mbus: "https://mbus:mbus-password@0.0.0.0:6868"}
blobstore: {provider: local, path: /var/vcap/micro_bosh/data/cache}
ntp: *ntp
```
このファイル内の
* `ELASTIC-IP`
* `SUBNET-ID`
* `AVAILABILITY-ZONE`
* `ACCESS-KEY-ID`
* `SECRET-ACCESS-KEY`
は次の手順で設定します。
今回は東京リージョンを使用するため、
`REGION`には`ap-northeast-1`を指定してください。
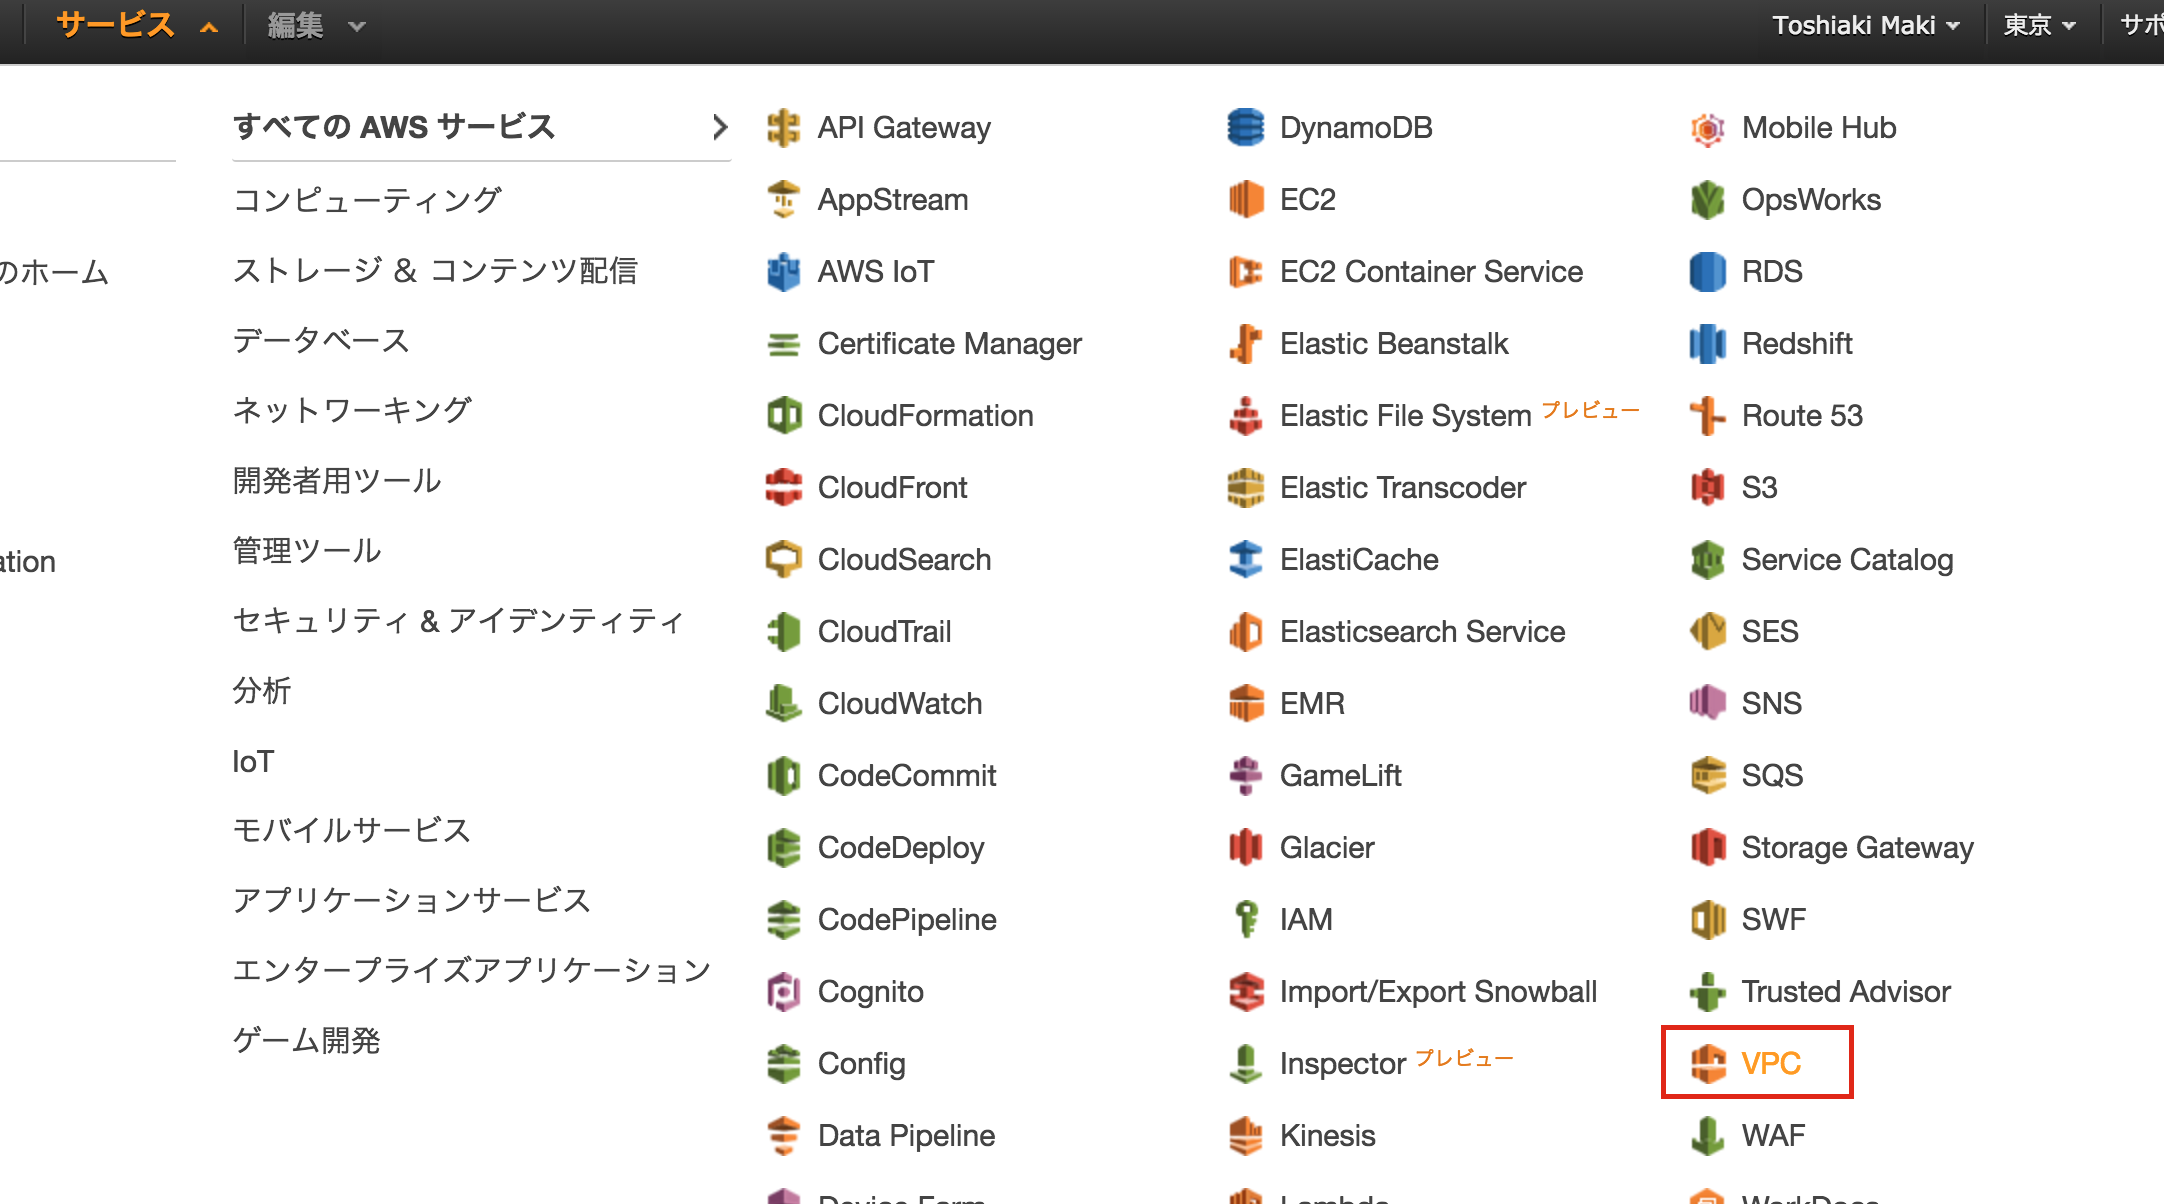
### VPCの作成
AWSコンソールにログインして、東京リージョンのVPCを選択します。
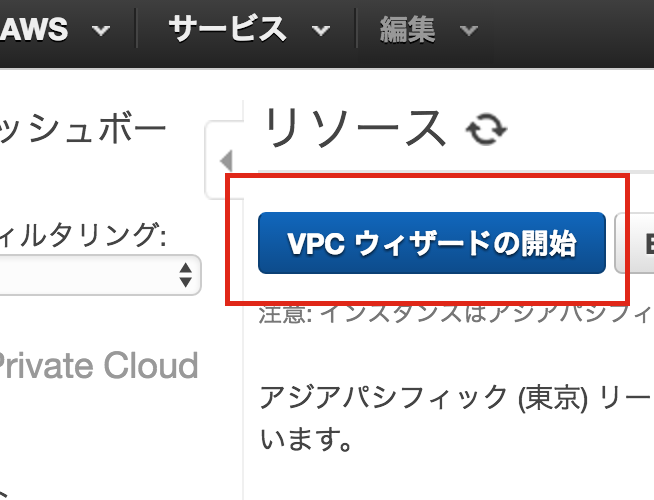
 「VPCウィザードの開始」をクリックします。
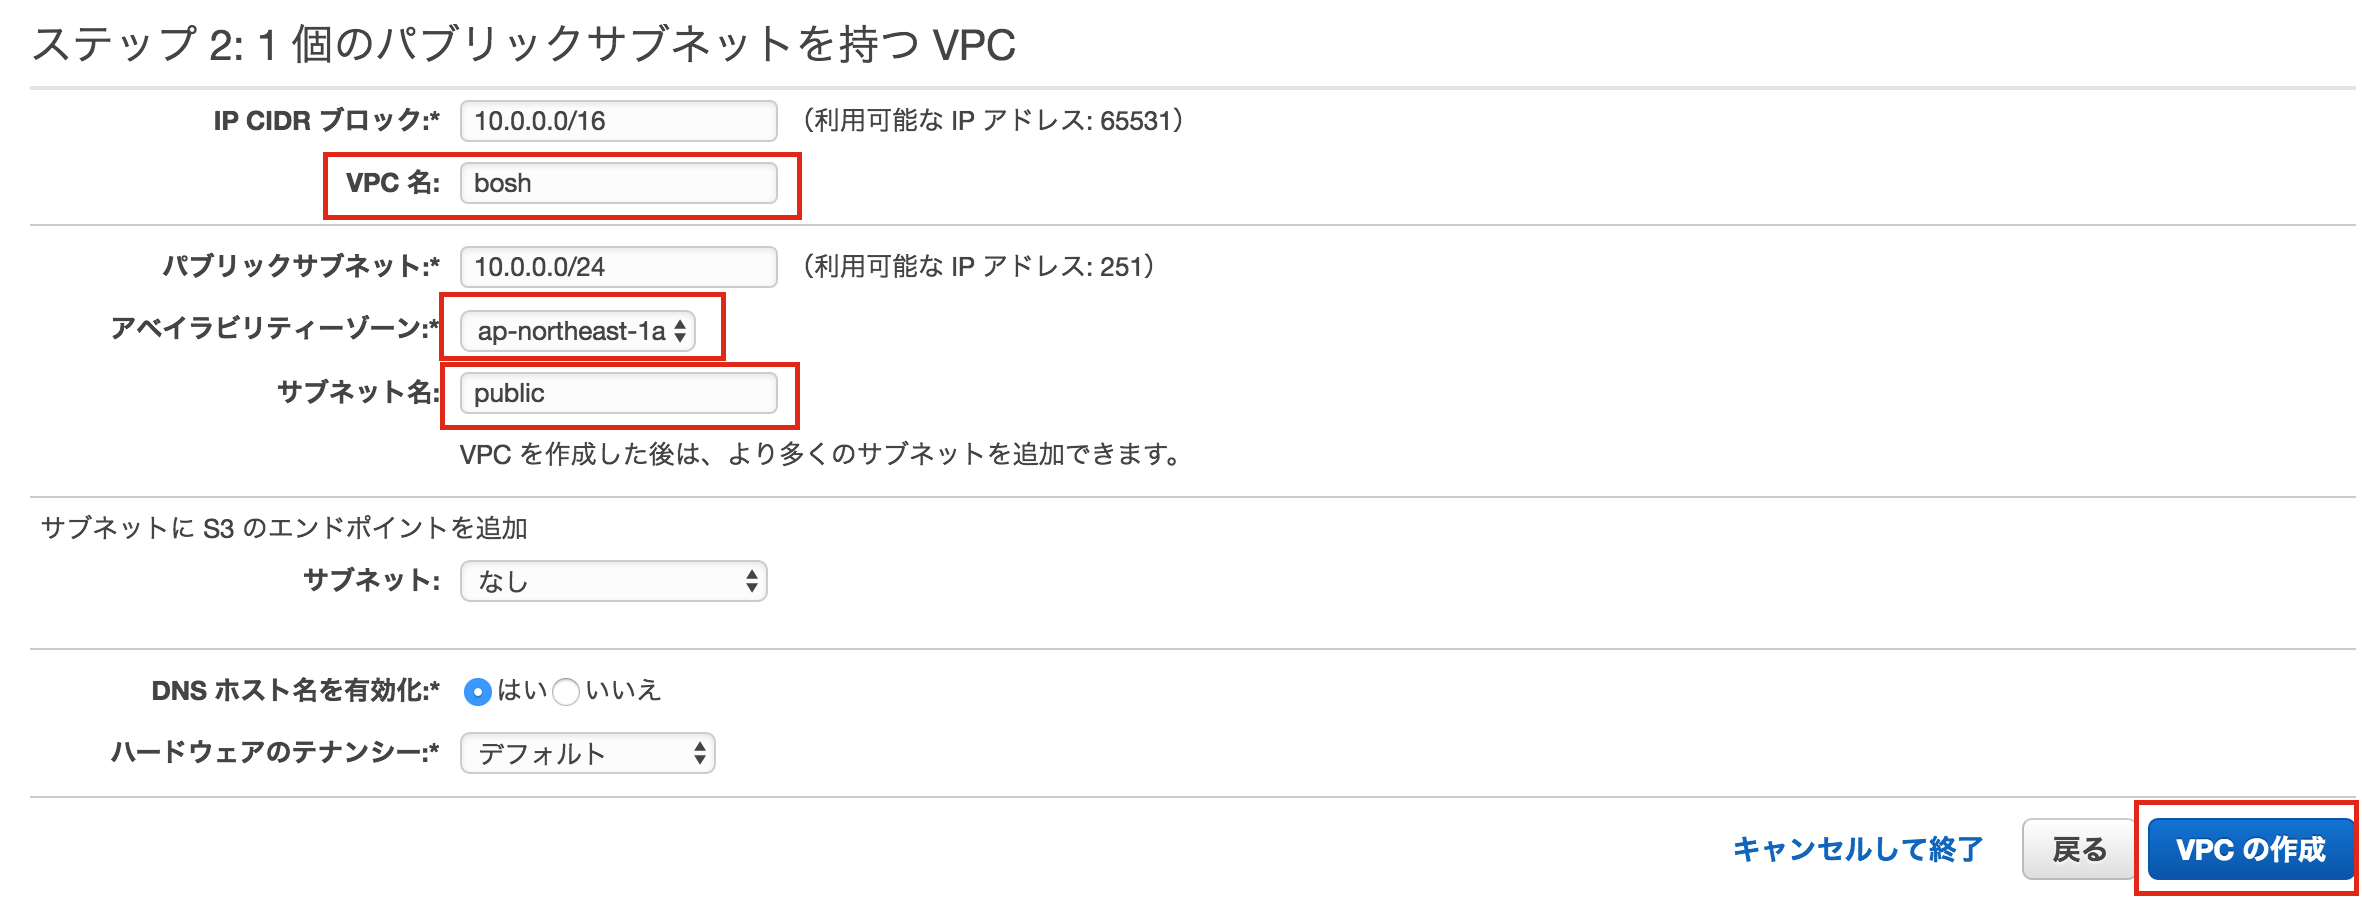
 「1個のパブリックサブネットを持つVPC」を選択します。
 「VPC名」に`bosh`を入力、「アベイラビリティゾーン」に`ap-northeast-1a`を選択、サブネット名に`public`を入力してください。そして「VPCの作成」をクリック。
 「OK」をクリック。
 この段階で、`public`というサブネットのサブネットIDとアベイラビリティゾーンがわかるため、`bosh.yml`の
`SUBNET-ID`と`AVAILABILITY-ZONE`を埋めてください。
この段階で、`public`というサブネットのサブネットIDとアベイラビリティゾーンがわかるため、`bosh.yml`の
`SUBNET-ID`と`AVAILABILITY-ZONE`を埋めてください。
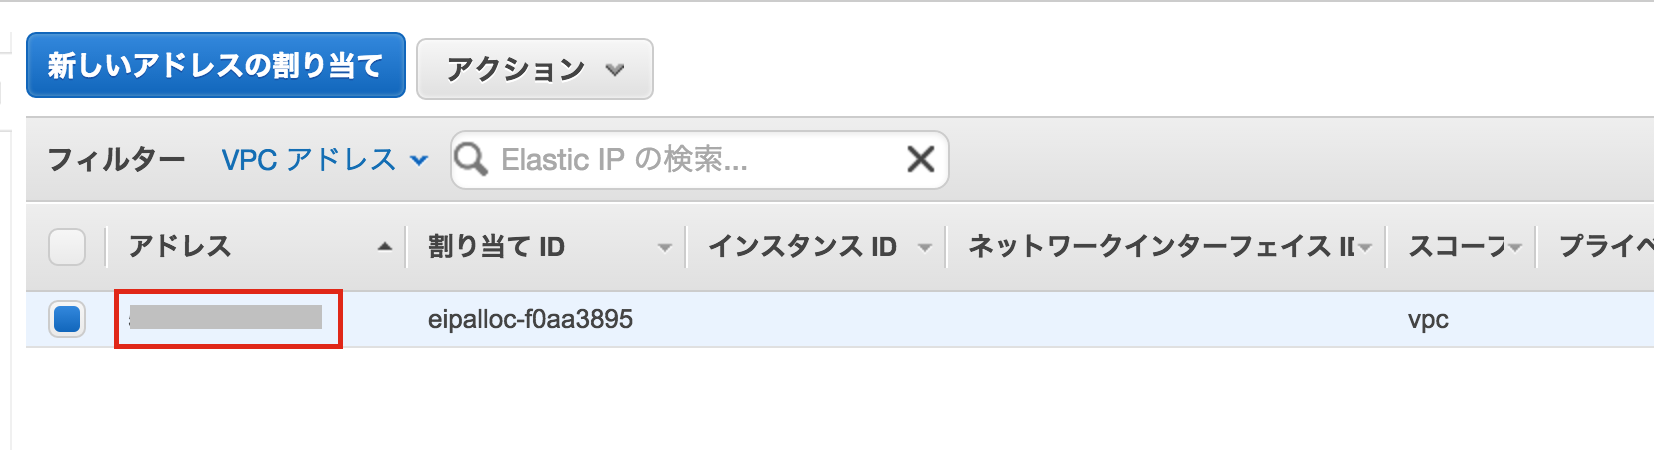
 次にElastic IPを作成します。
 「新しいアドレスの割り当て」をクリック。
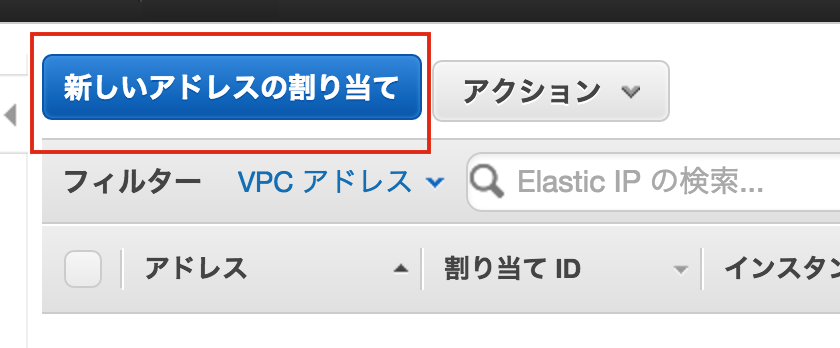 IPアドレスが表示されるため、`bosh.yml`の`ELASTIC-IP`を埋めてください(3箇所)。
 次にbosh用のキーペアを作成します。
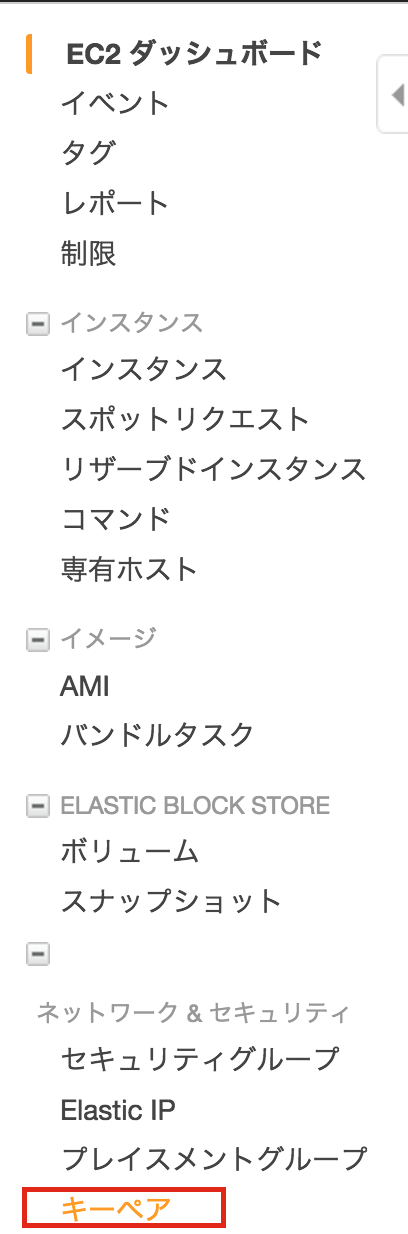 「キーペアの作成」をクリックします。
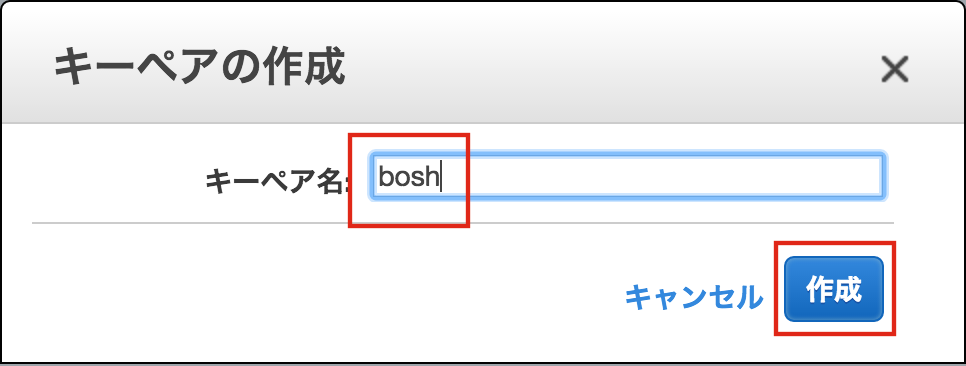 「キーペア名」に`bosh`を入力して「作成」をクリックしてください。
 ダウンロードされる`bosh.pem`は`~/my-bosh`に。
 次にセキュリティグループを作成します。
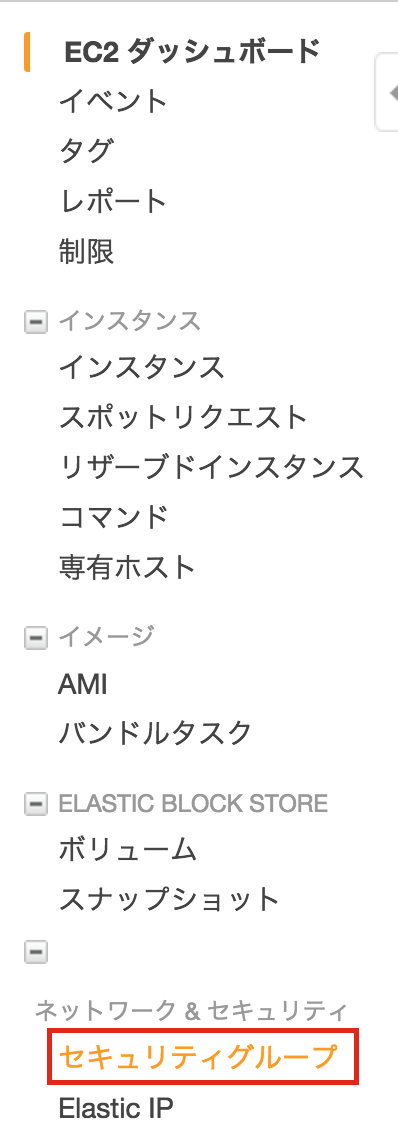 「セキュリティグループの作成」をクリックします。
 「セキュリティグループ名」に`bosh`を入力、「説明」に`Bosh deployed VMs`を入力、VPCに`10.0.0.0/16`を選択してください。その後、「作成」をクリック。
 作成されたセキュリティグループのインバウンドを編集します。「編集」ボタンをクリックしてください。
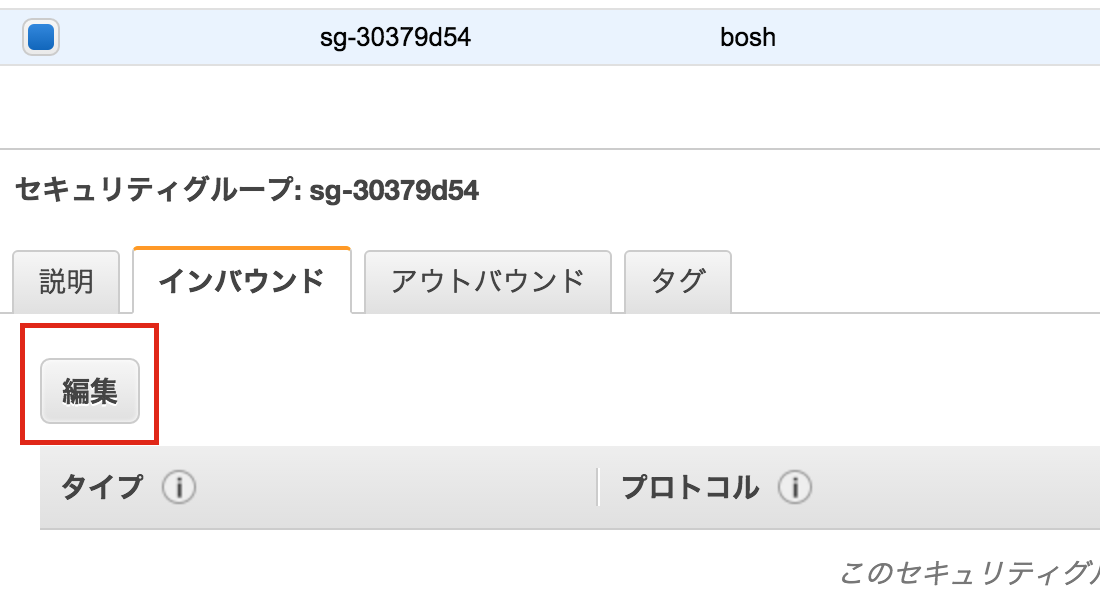 下図のようなインバウンドルールを設定して、「保存」をクリックしてください。
 最後に`bosh.yml`の`ACCESS-KEY-ID`と`SECRET-ACCESS-KEY`にIAMで作成したユーザーのアクセスキーを設定してください。
自分は`AdministratorAccess`のポリシーをつけて試しましたが、そんなに権限はいらないと思います。
ここまででAWSの設定は完了です。
### BOSH Directorのデプロイ
`~/my-bosh`ディレクトリが以下の構成になっていることを確認してください。
``` bosh
$ ls -l
total 16
-r--------@ 1 maki staff 1696 4 16 18:30 bosh.pem
-rw-r--r-- 1 maki staff 3598 4 16 18:45 bosh.yml
```
下記リンクより、`bosh-init`コマンドをダウンロードして、パスの通った場所に配置してください。
https://bosh.io/docs/install-bosh-init.html
``` console
$ bosh-init -v
version 0.0.81-775439c-2015-12-09T00:36:04Z
```
`bosh-init deploy`で`bosh.yml`を指定して実行します。
``` console
$ bosh-init deploy ./bosh.yml
Deployment manifest: '/Users/maki/my-bosh/bosh.yml'
Deployment state: '/Users/maki/my-bosh/bosh-state.json'
Started validating
Downloading release 'bosh'... Finished (00:00:22)
Validating release 'bosh'... Finished (00:00:01)
Downloading release 'bosh-aws-cpi'... Finished (00:00:09)
Validating release 'bosh-aws-cpi'... Finished (00:00:00)
Validating cpi release... Finished (00:00:00)
Validating deployment manifest... Finished (00:00:00)
Downloading stemcell... Finished (00:00:02)
Validating stemcell... Finished (00:00:00)
Finished validating (00:00:36)
Started installing CPI
Compiling package 'ruby_aws_cpi/a5b66d011ce1b31642ff148ea2c9097af65ff78c'... Finished (00:02:08)
Compiling package 'bosh_aws_cpi/d7ffe4e7cd4cc233372185d8fd9374b737c3320a'... Finished (00:01:27)
Installing packages... Finished (00:00:03)
Rendering job templates... Finished (00:00:00)
Installing job 'aws_cpi'... Finished (00:00:00)
Finished installing CPI (00:03:39)
Starting registry... Finished (00:00:00)
Uploading stemcell 'bosh-aws-xen-hvm-ubuntu-trusty-go_agent/3012'... Finished (00:00:07)
Started deploying
Creating VM for instance 'bosh/0' from stemcell 'ami-ce319ece light'... Finished (00:00:48)
Waiting for the agent on VM 'i-f118ac6e' to be ready... Finished (00:01:37)
Creating disk... Finished (00:00:15)
Attaching disk 'vol-258047db' to VM 'i-f118ac6e'... Finished (00:00:15)
Rendering job templates... Finished (00:00:05)
Compiling package 'nginx/1d356bbd17ed8c349fd1053093222d78559687ec'... Finished (00:00:56)
Compiling package 'mysql/b7e73acc0bfe05f1c6cbfd97bf92d39b0d3155d5'... Finished (00:00:31)
Compiling package 'genisoimage/008d332ba1471bccf9d9aeb64c258fdd4bf76201'... Finished (00:00:17)
Compiling package 'ruby_aws_cpi/a5b66d011ce1b31642ff148ea2c9097af65ff78c'... Finished (00:02:01)
Compiling package 'ruby/030e3d4eafd00b10bbfa879bcf44fba62139205e'... Finished (00:01:49)
Compiling package 'postgres/55dbf1828bbb8e5fcd7dc7550cfb73de89312458'... Finished (00:02:58)
Compiling package 'libpq/09c8f60b87c9bd41b37b0f62159c9d77163f52b8'... Finished (00:00:18)
Compiling package 'redis/37eae530889cb9ef4e84f9c3d0827bab5ae5cb66'... Finished (00:00:17)
Compiling package 'health_monitor/31b6076a8d366179a7c4297652a453bb299f3bff'... Finished (00:01:02)
Compiling package 'nats/6a31c7bb0d5ffa2a9f43c7fd7193193438e20e92'... Finished (00:00:09)
Compiling package 'registry/c98a746dbd4da01335c6ac4ffde7cadaa7dbe436'... Finished (00:01:12)
Compiling package 'bosh_aws_cpi/d7ffe4e7cd4cc233372185d8fd9374b737c3320a'... Finished (00:01:10)
Compiling package 'director/1e9e2a3a7f9cd14204e92b8e350e63b91cbebbcf'... Finished (00:01:26)
Updating instance 'bosh/0'... Finished (00:00:11)
Waiting for instance 'bosh/0' to be running... Finished (00:00:10)
Finished deploying (00:17:36)
Stopping registry... Finished (00:00:00)
Cleaning up rendered CPI jobs... Finished (00:00:00)
```
これで`bosh/0`という名前のEC2インスタンスができます(BOSH Director)。

BOSH CLIでターゲットの
``` console
$ bosh target
Target set to `my-bosh'
Your username: admin
Enter password:
Logged in as `admin'
$ bosh vms
Acting as user 'admin' on 'my-bosh'
No deployments
```
ちなみにBOSH CLIは
``` console
$ sudo gem install bosh_cli --no-ri --no-rdoc
```
最後に`bosh.yml`の`ACCESS-KEY-ID`と`SECRET-ACCESS-KEY`にIAMで作成したユーザーのアクセスキーを設定してください。
自分は`AdministratorAccess`のポリシーをつけて試しましたが、そんなに権限はいらないと思います。
ここまででAWSの設定は完了です。
### BOSH Directorのデプロイ
`~/my-bosh`ディレクトリが以下の構成になっていることを確認してください。
``` bosh
$ ls -l
total 16
-r--------@ 1 maki staff 1696 4 16 18:30 bosh.pem
-rw-r--r-- 1 maki staff 3598 4 16 18:45 bosh.yml
```
下記リンクより、`bosh-init`コマンドをダウンロードして、パスの通った場所に配置してください。
https://bosh.io/docs/install-bosh-init.html
``` console
$ bosh-init -v
version 0.0.81-775439c-2015-12-09T00:36:04Z
```
`bosh-init deploy`で`bosh.yml`を指定して実行します。
``` console
$ bosh-init deploy ./bosh.yml
Deployment manifest: '/Users/maki/my-bosh/bosh.yml'
Deployment state: '/Users/maki/my-bosh/bosh-state.json'
Started validating
Downloading release 'bosh'... Finished (00:00:22)
Validating release 'bosh'... Finished (00:00:01)
Downloading release 'bosh-aws-cpi'... Finished (00:00:09)
Validating release 'bosh-aws-cpi'... Finished (00:00:00)
Validating cpi release... Finished (00:00:00)
Validating deployment manifest... Finished (00:00:00)
Downloading stemcell... Finished (00:00:02)
Validating stemcell... Finished (00:00:00)
Finished validating (00:00:36)
Started installing CPI
Compiling package 'ruby_aws_cpi/a5b66d011ce1b31642ff148ea2c9097af65ff78c'... Finished (00:02:08)
Compiling package 'bosh_aws_cpi/d7ffe4e7cd4cc233372185d8fd9374b737c3320a'... Finished (00:01:27)
Installing packages... Finished (00:00:03)
Rendering job templates... Finished (00:00:00)
Installing job 'aws_cpi'... Finished (00:00:00)
Finished installing CPI (00:03:39)
Starting registry... Finished (00:00:00)
Uploading stemcell 'bosh-aws-xen-hvm-ubuntu-trusty-go_agent/3012'... Finished (00:00:07)
Started deploying
Creating VM for instance 'bosh/0' from stemcell 'ami-ce319ece light'... Finished (00:00:48)
Waiting for the agent on VM 'i-f118ac6e' to be ready... Finished (00:01:37)
Creating disk... Finished (00:00:15)
Attaching disk 'vol-258047db' to VM 'i-f118ac6e'... Finished (00:00:15)
Rendering job templates... Finished (00:00:05)
Compiling package 'nginx/1d356bbd17ed8c349fd1053093222d78559687ec'... Finished (00:00:56)
Compiling package 'mysql/b7e73acc0bfe05f1c6cbfd97bf92d39b0d3155d5'... Finished (00:00:31)
Compiling package 'genisoimage/008d332ba1471bccf9d9aeb64c258fdd4bf76201'... Finished (00:00:17)
Compiling package 'ruby_aws_cpi/a5b66d011ce1b31642ff148ea2c9097af65ff78c'... Finished (00:02:01)
Compiling package 'ruby/030e3d4eafd00b10bbfa879bcf44fba62139205e'... Finished (00:01:49)
Compiling package 'postgres/55dbf1828bbb8e5fcd7dc7550cfb73de89312458'... Finished (00:02:58)
Compiling package 'libpq/09c8f60b87c9bd41b37b0f62159c9d77163f52b8'... Finished (00:00:18)
Compiling package 'redis/37eae530889cb9ef4e84f9c3d0827bab5ae5cb66'... Finished (00:00:17)
Compiling package 'health_monitor/31b6076a8d366179a7c4297652a453bb299f3bff'... Finished (00:01:02)
Compiling package 'nats/6a31c7bb0d5ffa2a9f43c7fd7193193438e20e92'... Finished (00:00:09)
Compiling package 'registry/c98a746dbd4da01335c6ac4ffde7cadaa7dbe436'... Finished (00:01:12)
Compiling package 'bosh_aws_cpi/d7ffe4e7cd4cc233372185d8fd9374b737c3320a'... Finished (00:01:10)
Compiling package 'director/1e9e2a3a7f9cd14204e92b8e350e63b91cbebbcf'... Finished (00:01:26)
Updating instance 'bosh/0'... Finished (00:00:11)
Waiting for instance 'bosh/0' to be running... Finished (00:00:10)
Finished deploying (00:17:36)
Stopping registry... Finished (00:00:00)
Cleaning up rendered CPI jobs... Finished (00:00:00)
```
これで`bosh/0`という名前のEC2インスタンスができます(BOSH Director)。

BOSH CLIでターゲットの
``` console
$ bosh target
Target set to `my-bosh'
Your username: admin
Enter password:
Logged in as `admin'
$ bosh vms
Acting as user 'admin' on 'my-bosh'
No deployments
```
ちなみにBOSH CLIは
``` console
$ sudo gem install bosh_cli --no-ri --no-rdoc
```