AWSにPivotal Cloud Foundry 1.7をインストール
Cloud Foundryの商用ディストリビューションPivotal Cloud Foundryのバージョン1.7がリリースされたのでAWSにインストールしてみます。
60日間の試用利用ができるので、AWSの利用料金だけでPivotal Cloud Foundryを使えます。
- CloudFormationでAWSの環境をセットアップ
- Ops Managerのインストール
- Elastic Runtimeのインストール
が主な手順です。Ops ManagerはCloud FoundryをインストールするためのプロビジョニングツールであるBOSHのGUIに相当します。Elastic Runtimeが所謂Cloud Foundryです。
基本的にはマニュアルの通りで、 所要時間は2時間ほどです。
事前準備
EC2インスタンスを20個以上作成するため、インスタンス数の上限変更を申請しておいてください。50個くらいで申請しておくと良いです。
EC2のKeypairを作成してください。ここでboshという名前のkeypairを作成し、bosh.pemというファイル名でダウンロードしたことにして説明します。
http://docs.aws.amazon.com/ElasticLoadBalancing/latest/DeveloperGuide/ssl-server-cert.html#create-cert
を見て、SSL証明書を作成してAWSにアップロードし、Arnを取得してください。ここではPCFにpcf.example.comというドメインを設定することを想定します。AWS CLIを使っています。
$ openssl genrsa -out pcf-private-key.pem 2048
$ echo -e "JP\nTokyo\nCity\nCompany\nSection\n*.pcf.example.com\nmaking@example.com\n\n" | openssl req -sha256 -new -key pcf-private-key.pem -out pcf-csr.pem
$ openssl x509 -req -days 365 -in pcf-csr.pem -signkey pcf-private-key.pem -out pcf-certificate.pem
$ aws iam upload-server-certificate \
--server-certificate-name myServerCertificate \
--certificate-body file://pcf-certificate.pem \
--private-key file://pcf-private-key.pem
{
    "ServerCertificateMetadata": {
        "ServerCertificateId": "XXXXXXXXXXXXXXXXXXXX",
        "ServerCertificateName": "myServerCertificate",
        "Expiration": "2017-02-11T01:57:00Z",
        "Path": "/",
        "Arn": "arn:aws:iam::XXXXXXXXXXXXXXXXXXXX:server-certificate/myServerCertificate",
        "UploadDate": "2016-02-12T01:58:26.692Z"
    }
}
Arnは
$ aws iam get-server-certificate --server-certificate-name myServerCertificate | jq .ServerCertificate.ServerCertificateMetadata.Arn | tr -d '"'
でも取得可能です。後で使用するのでメモ。
CloudFormationでAWSの環境をセットアップ
Pivotal Network にサインインして
https://network.pivotal.io/products/elastic-runtime
から「PCF 1.7 CloudFormation for AWS Setup」をダウンロード。

AWSのコンソールでCloudFormationのテンプレートをアップロード。

Cloud Formationのテンプレートをアップロード。
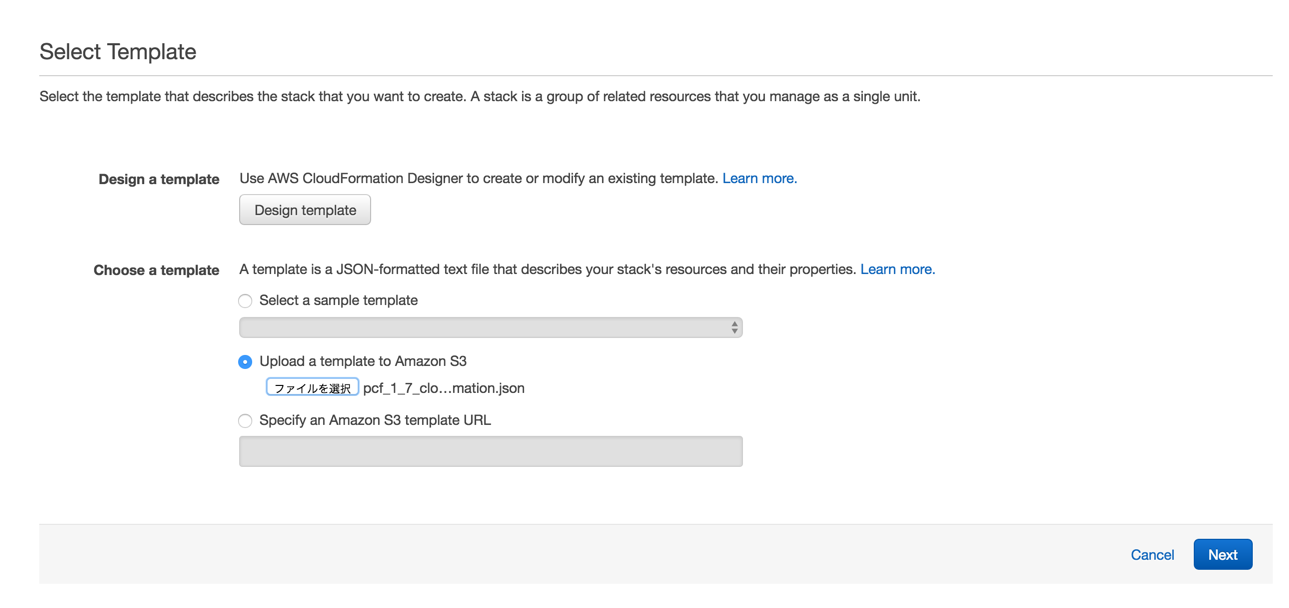
証明書のArnを設定してください。その他の値は適当でOKです。
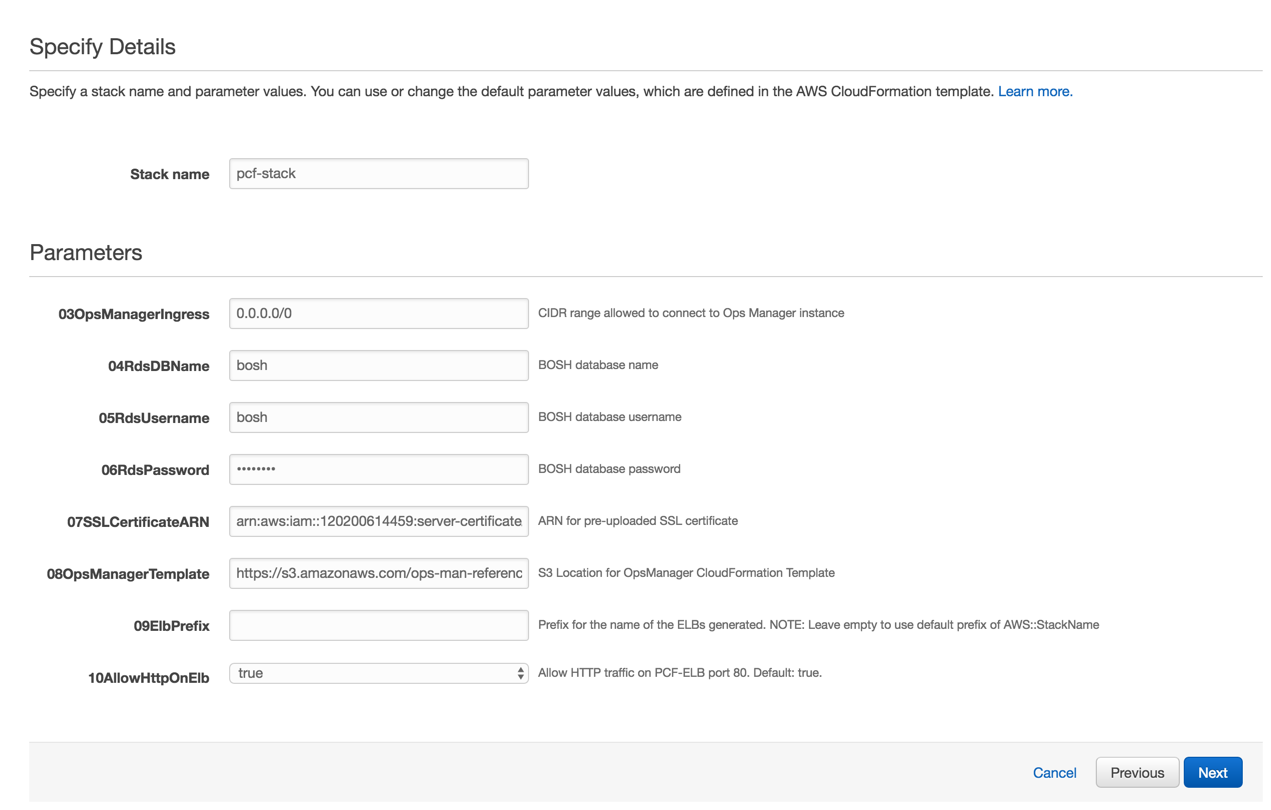
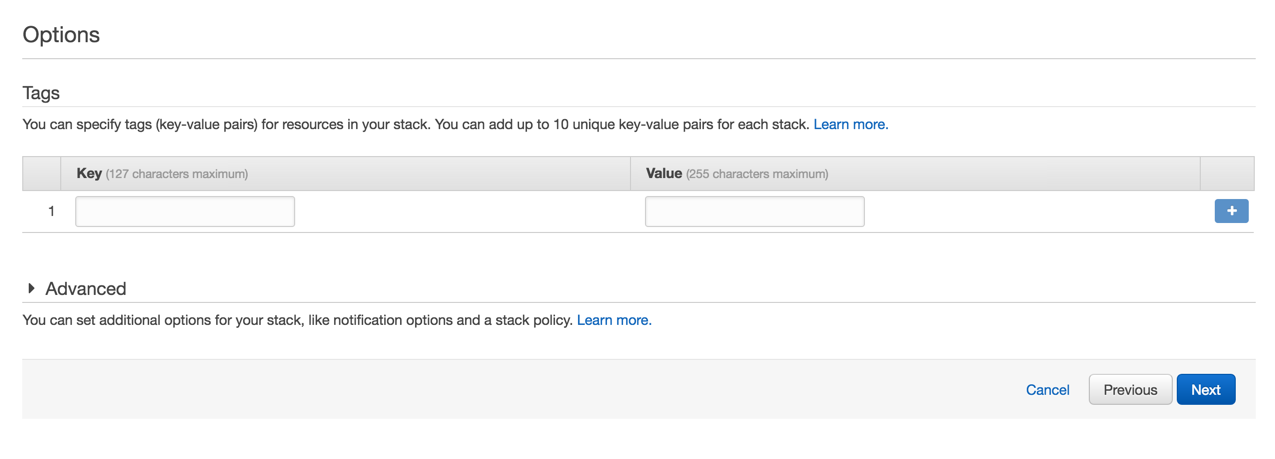
Optionsは設定不要です。
「I acknowledge that this template ...」にチェックをいれて「Create」をクリック。
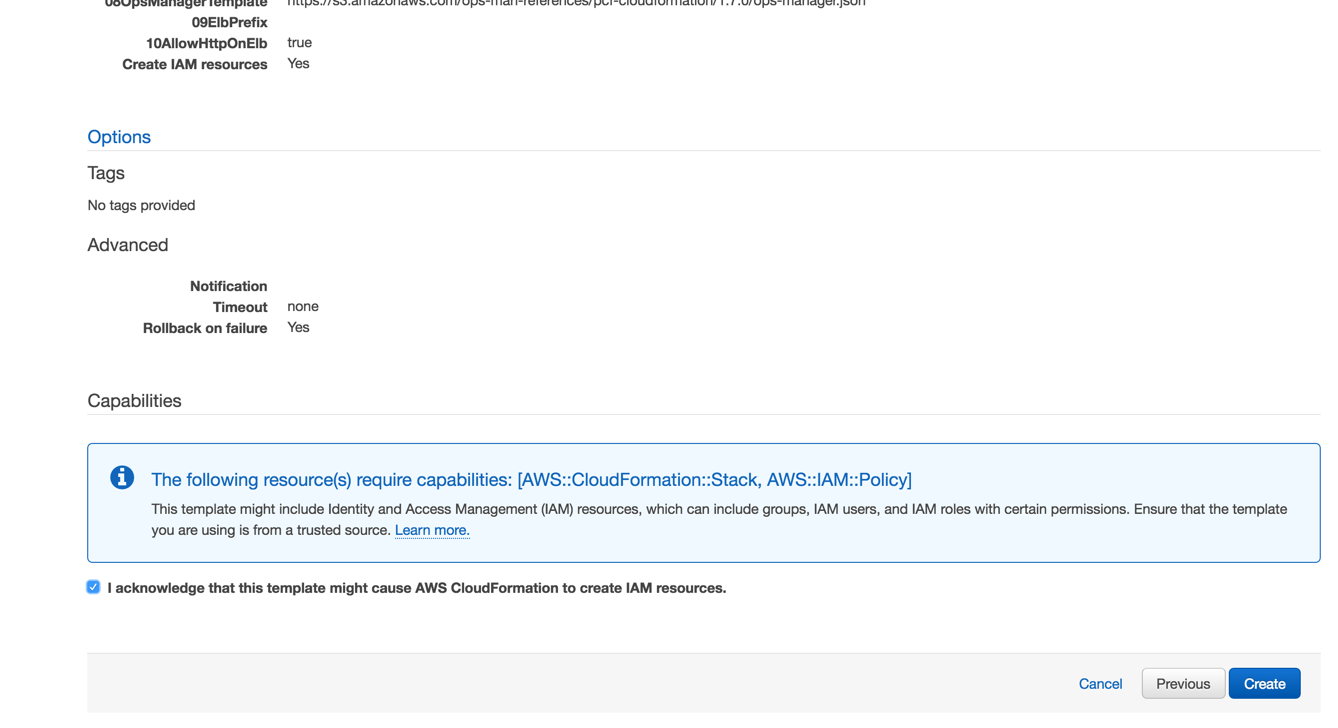
20分くらいで完了します。
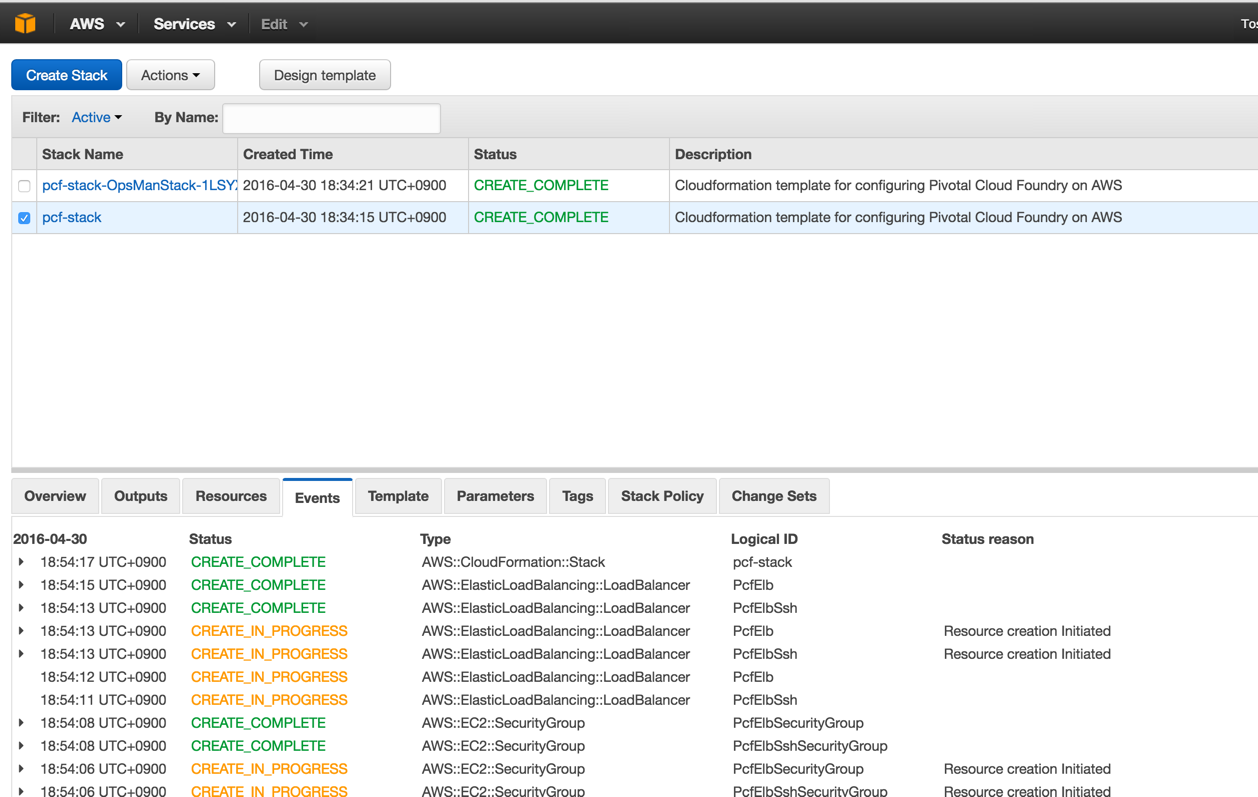
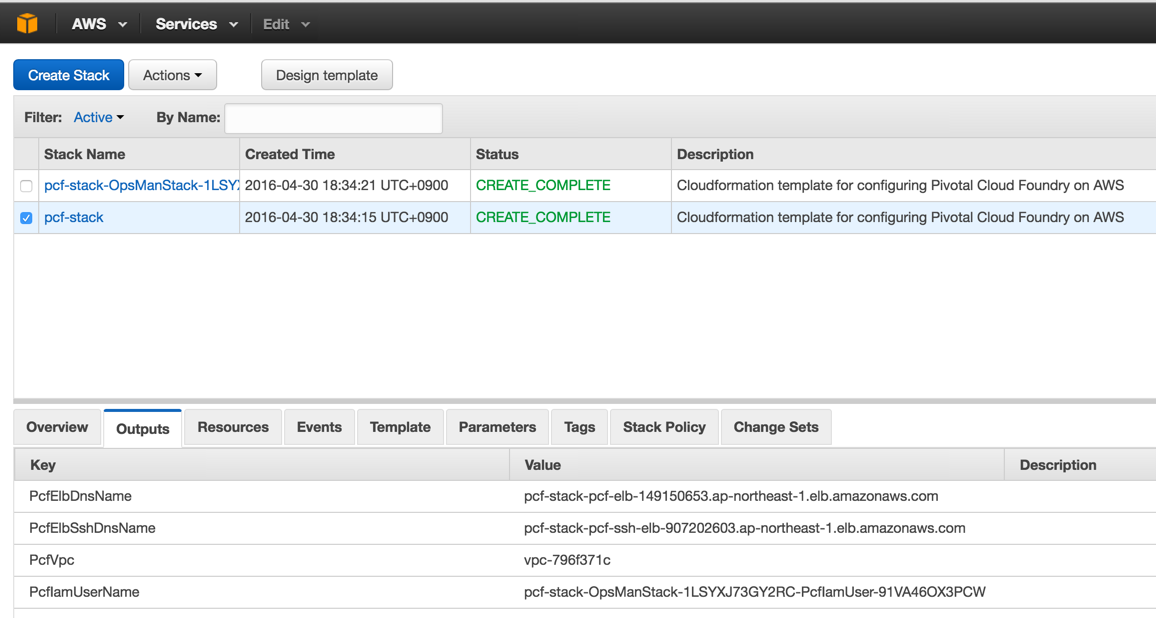
Outputsタブで今後のインストールに必要な値が表示されています。
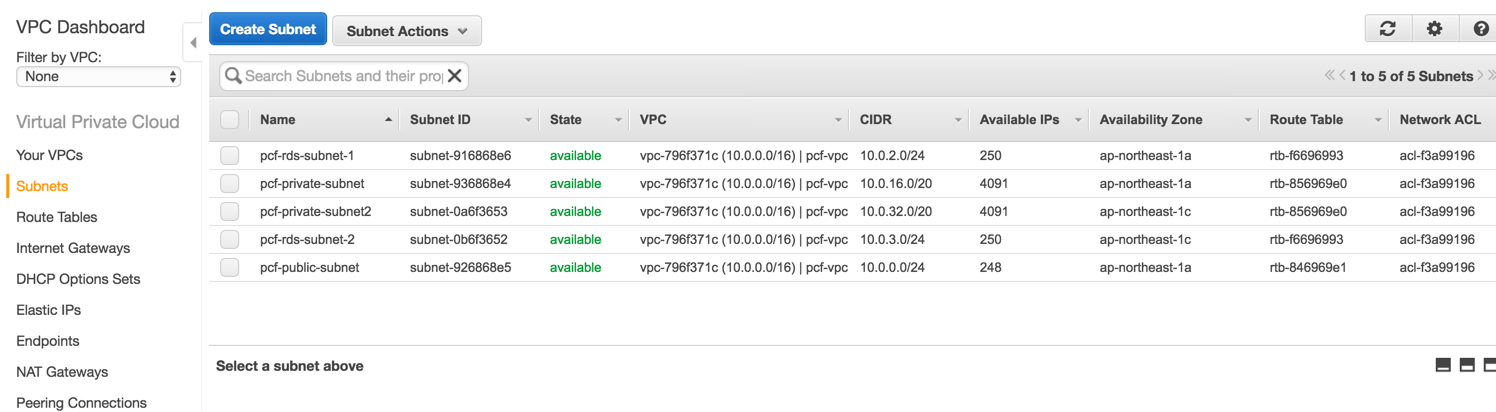
pcf-vpcという名前のVPCができます。また5つのサブネットと1のNAT Gatewayができています(PCF 1.6まではNAT Instanceでした)。

VPCはこんな感じ。privateネットワークが複数のAZにできています。
ELBがHTTP用とSSH用にできます。
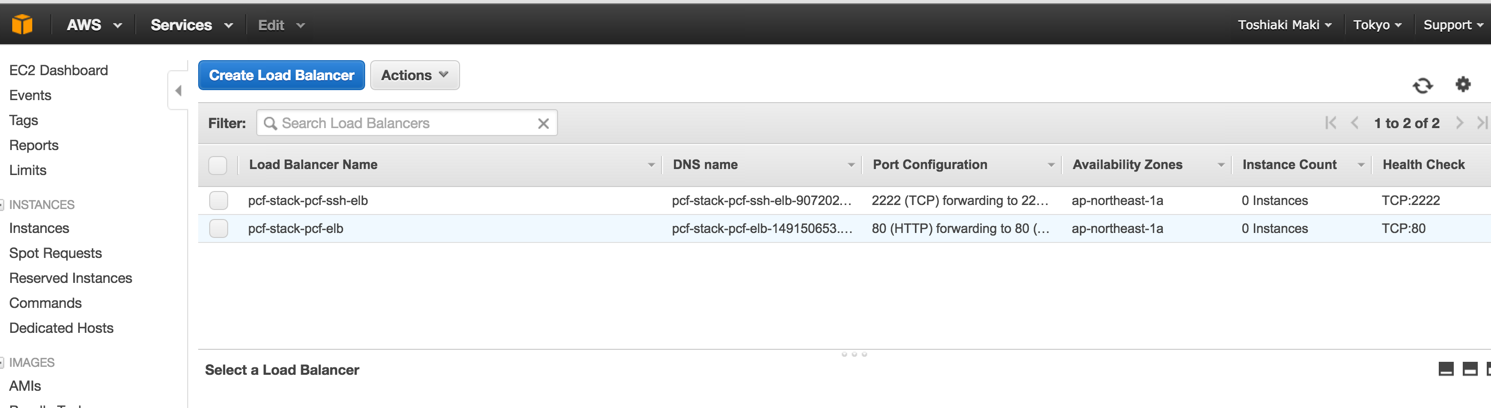
HTTP用のELB(pcf-stack-pcf-elb)のDNS nameをコピーして、DNSのCNAMEレコードに追加します。

独自ドメイン(example.com)の管理画面で*.pcfのCNAMEでELBのDNS nameを追加します。
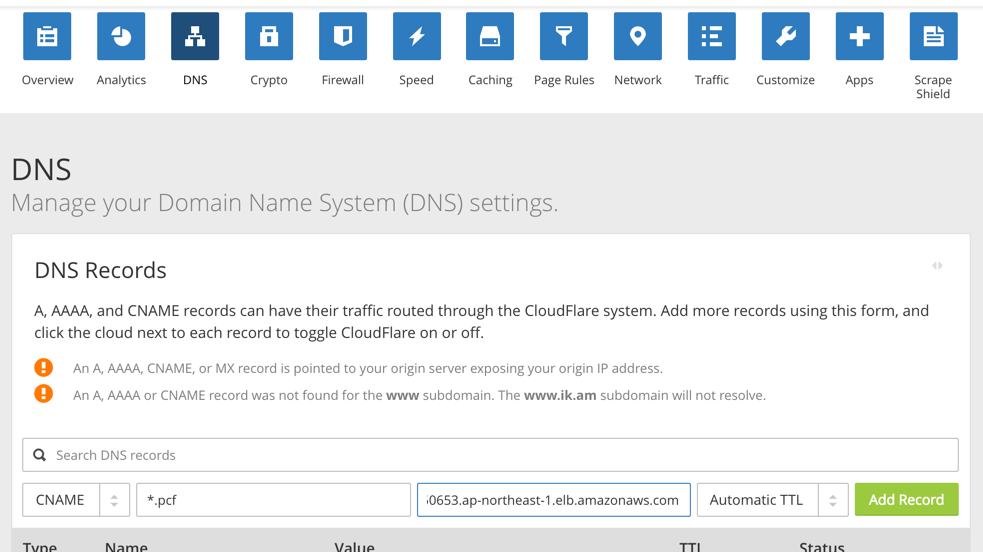
図はCloudFlareの例です。
RDSもできます。
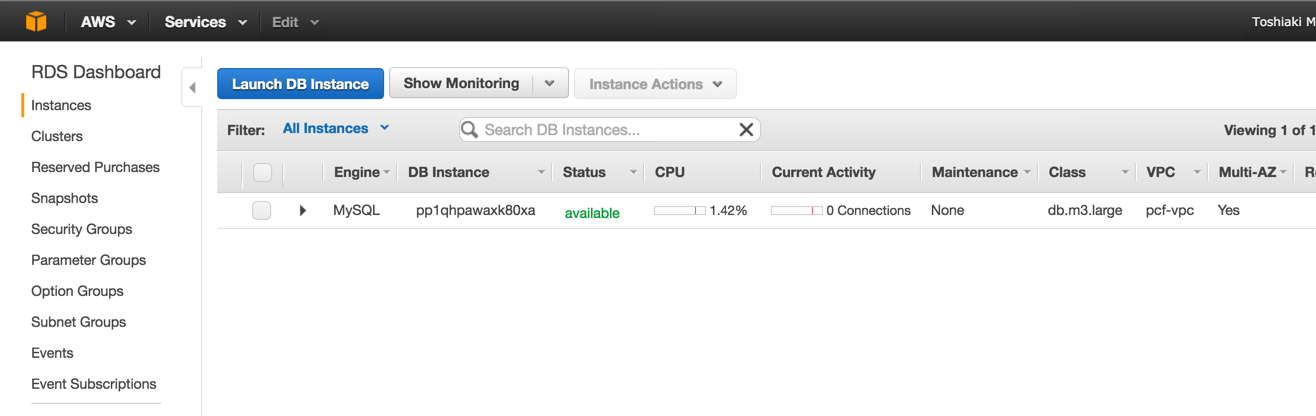
今回は節約のためにRDSは使わず内部DBを使うことにするので、削除しておきます。

Ops Managerのインストール
Ops Managerインスタンスの作成
Ops ManagerはEC2のAMIが用意されています。https://network.pivotal.io/products/ops-managerから「Pivotal Cloud Foundry Ops Manager for AWS」(PDF)をダウンロードして、自分のリージョンのAMI IDを確認してください。
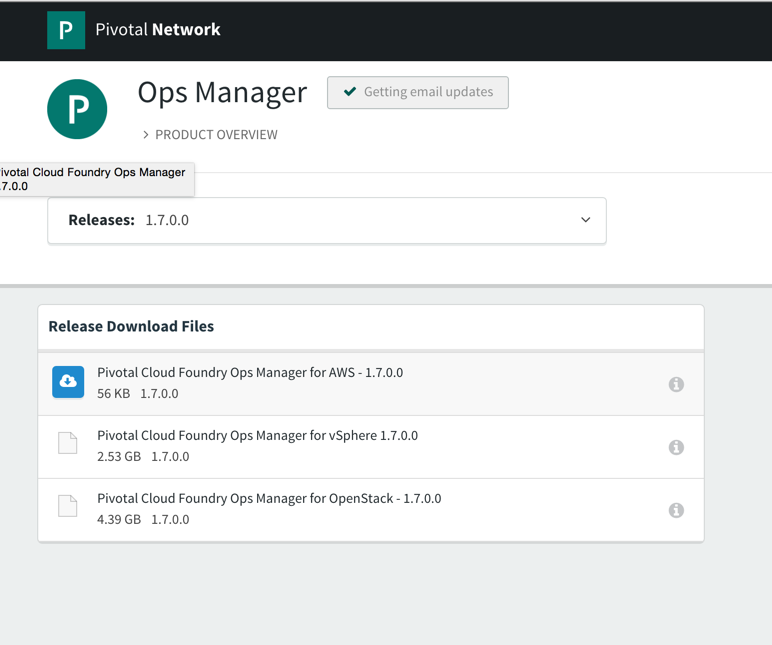
バージョンによってAMI IDが異なる場合があるので必ずPDFからAMI IDを確認してください。
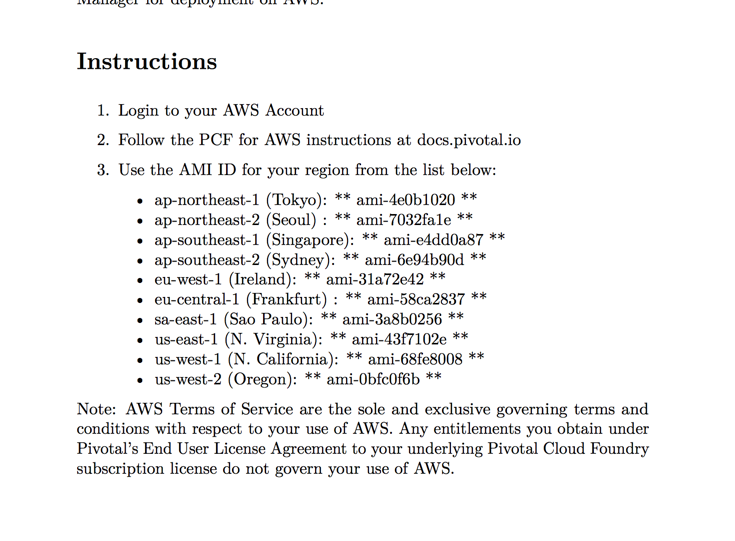
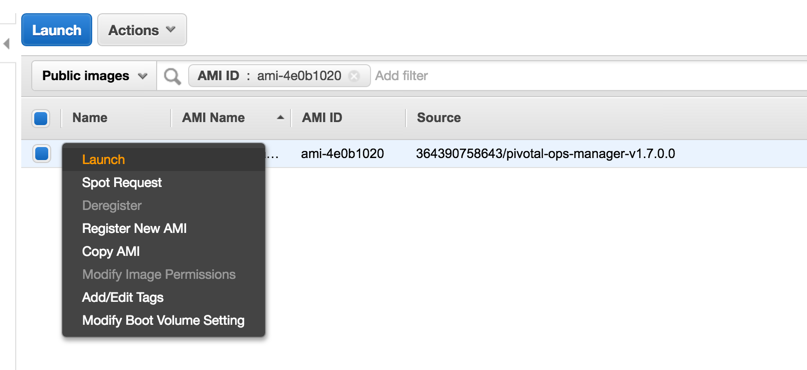
EC2のコンソールから「AMIs」の「Public Images」にAMI IDを入力して、
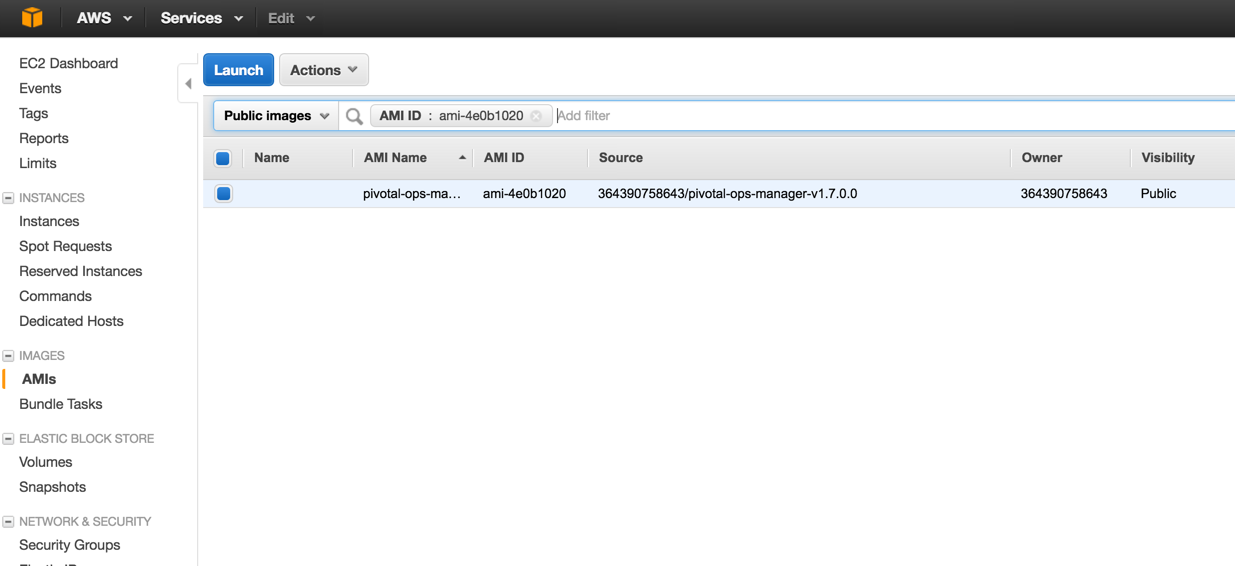
「Launch」してください。
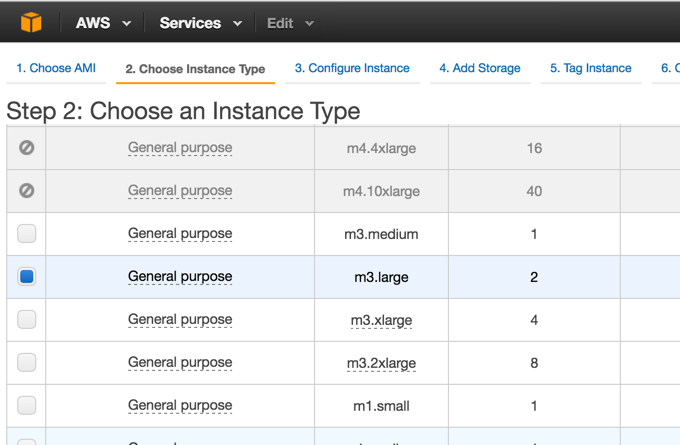
m3.largeを選択して「Next: Configure Instance Details」をクリック
- Networkは
pcf-vpc - Subnetは
pcf-public-subnet - Auto-assign Public IPは
Enable

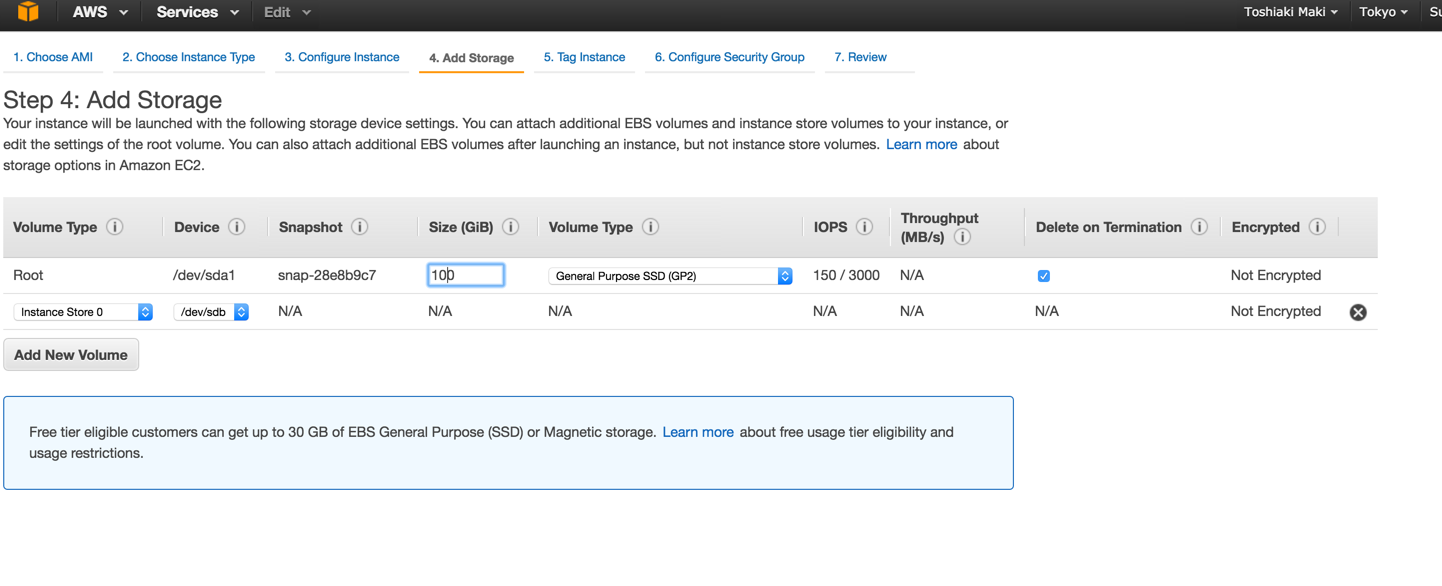
ストレージは100GB以上
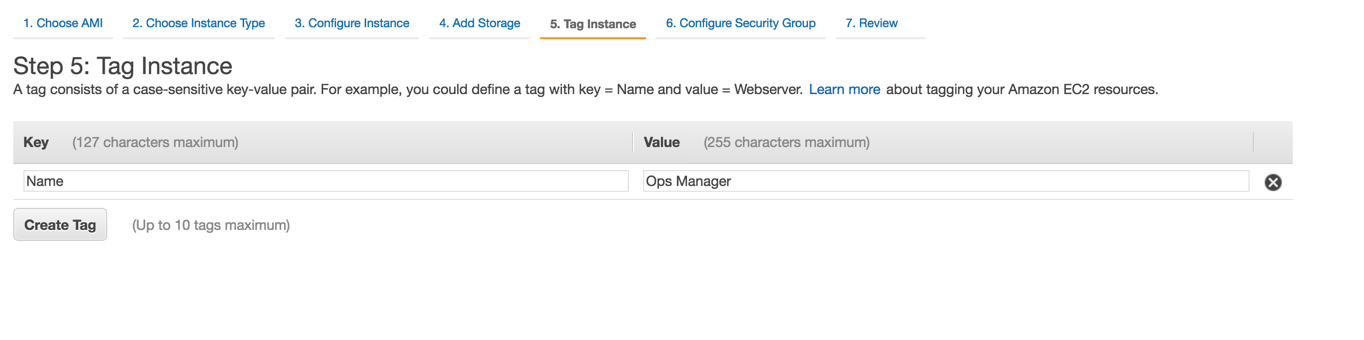
NameタグにOps Managerを設定
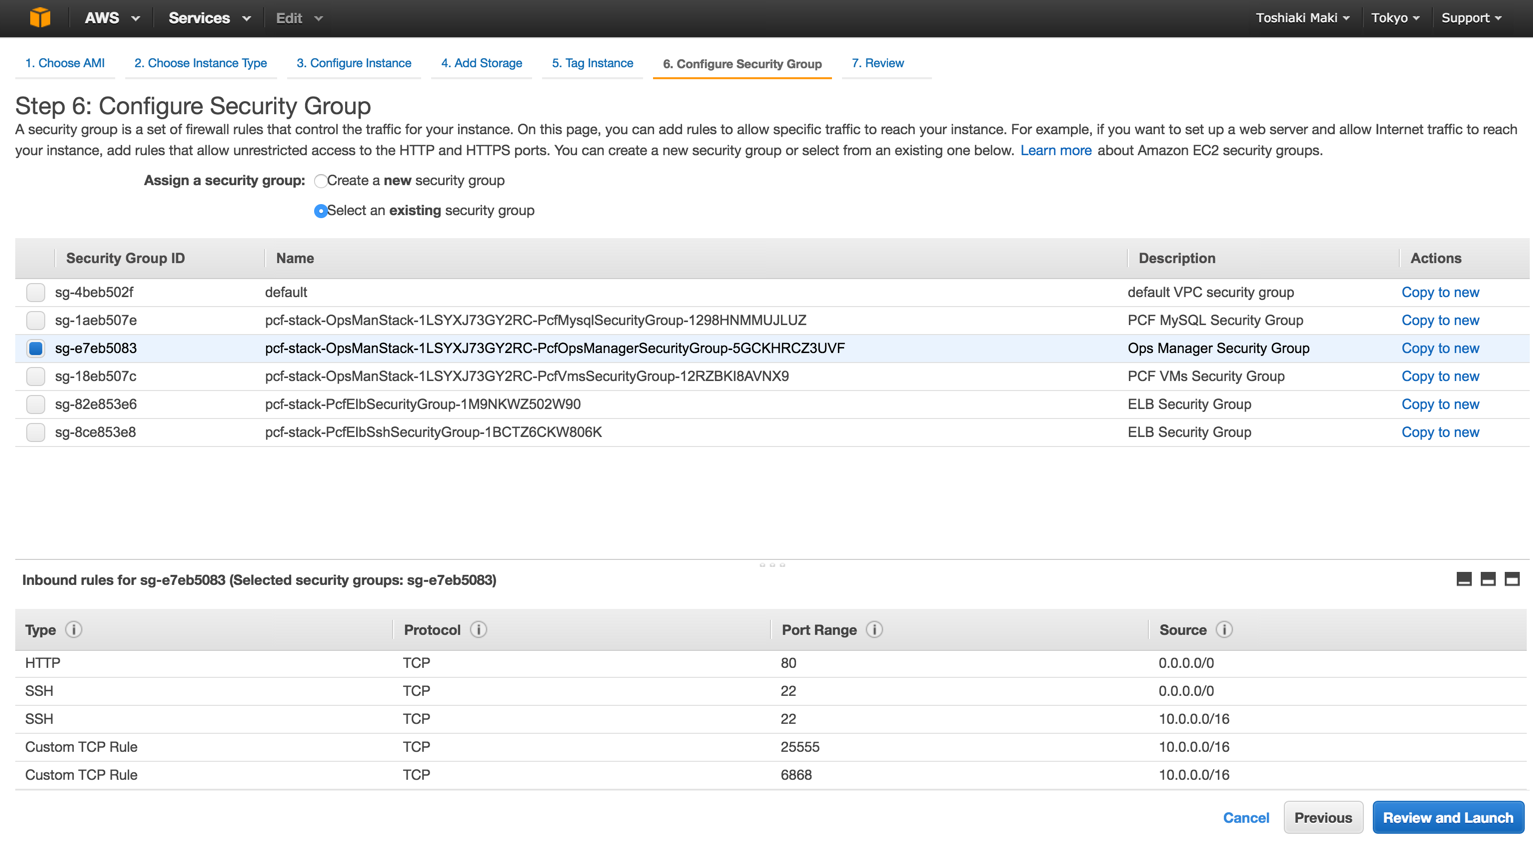
セキュリティグループはDescriptionがOps Manager Security Groupのもの
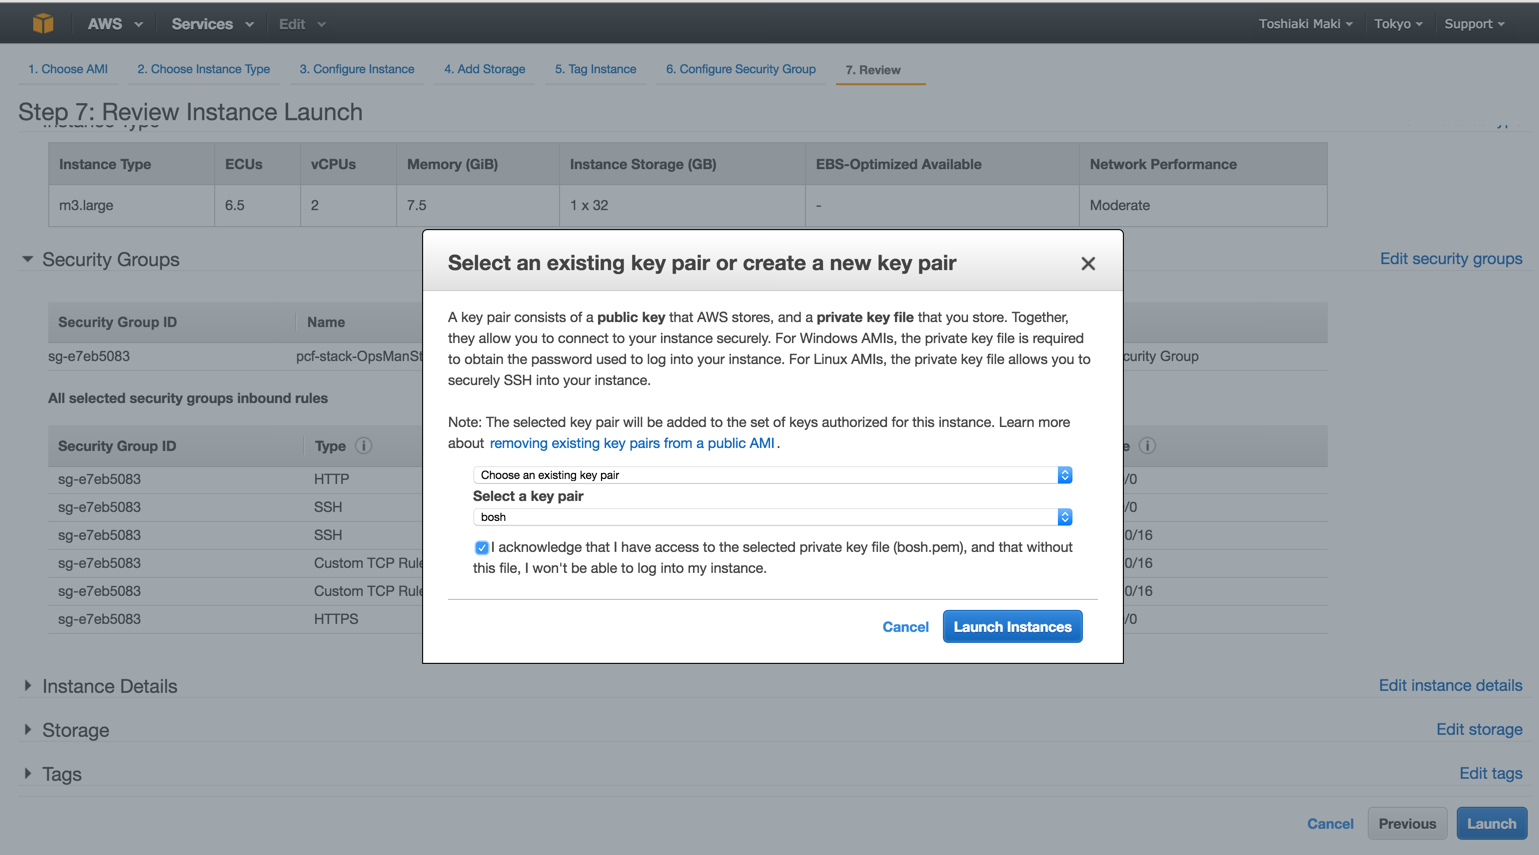
「Choose an existing key pair」でboshを選択し、「Launch Instances」
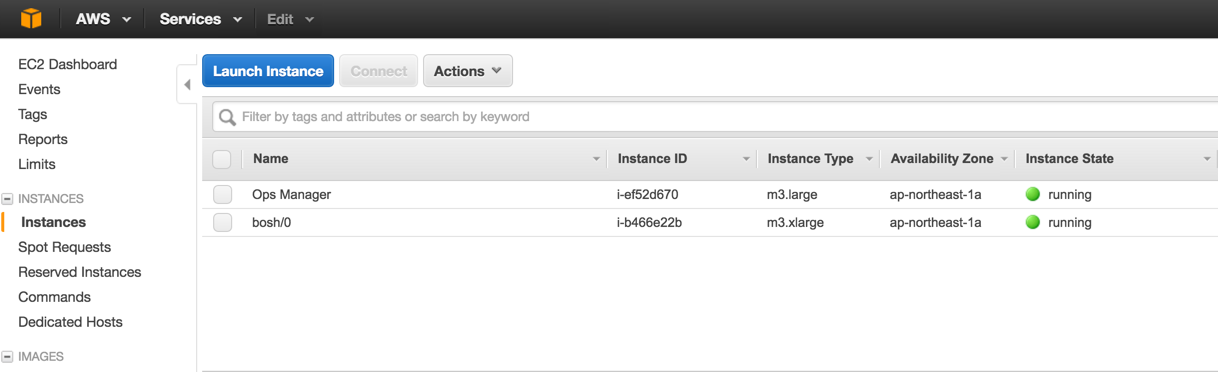
しばらくするとOps ManagerのEC2インスタンスができています。
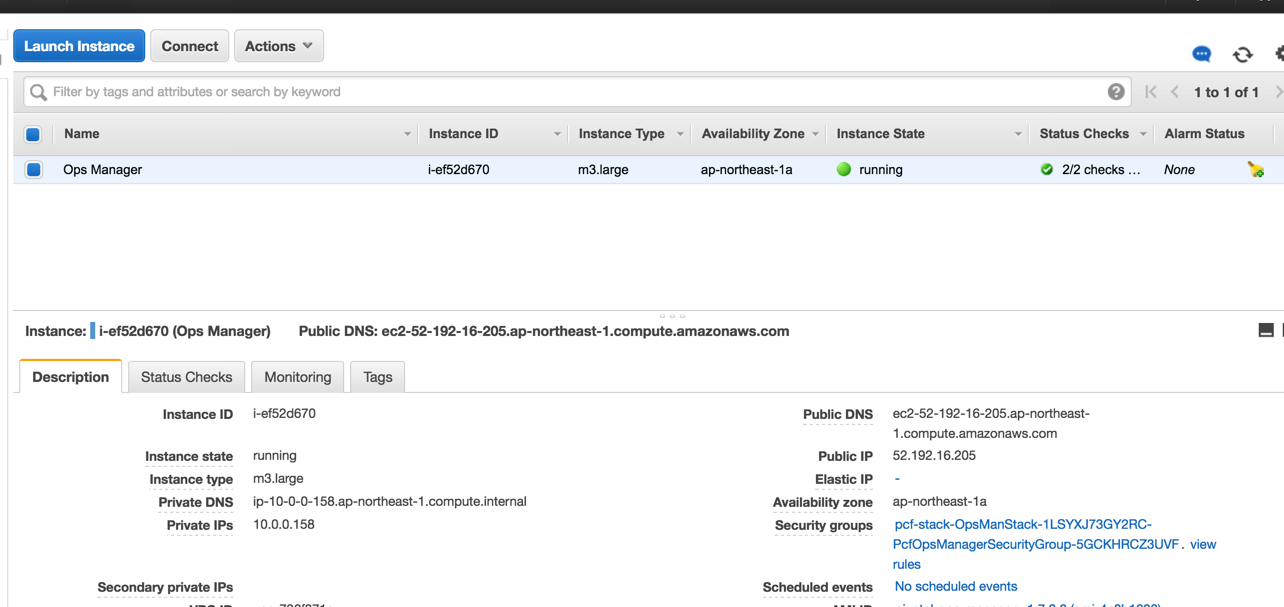
Public IPがアサインされているので、ブラウザでアクセスします。

「Internal Authentication」をクリック。
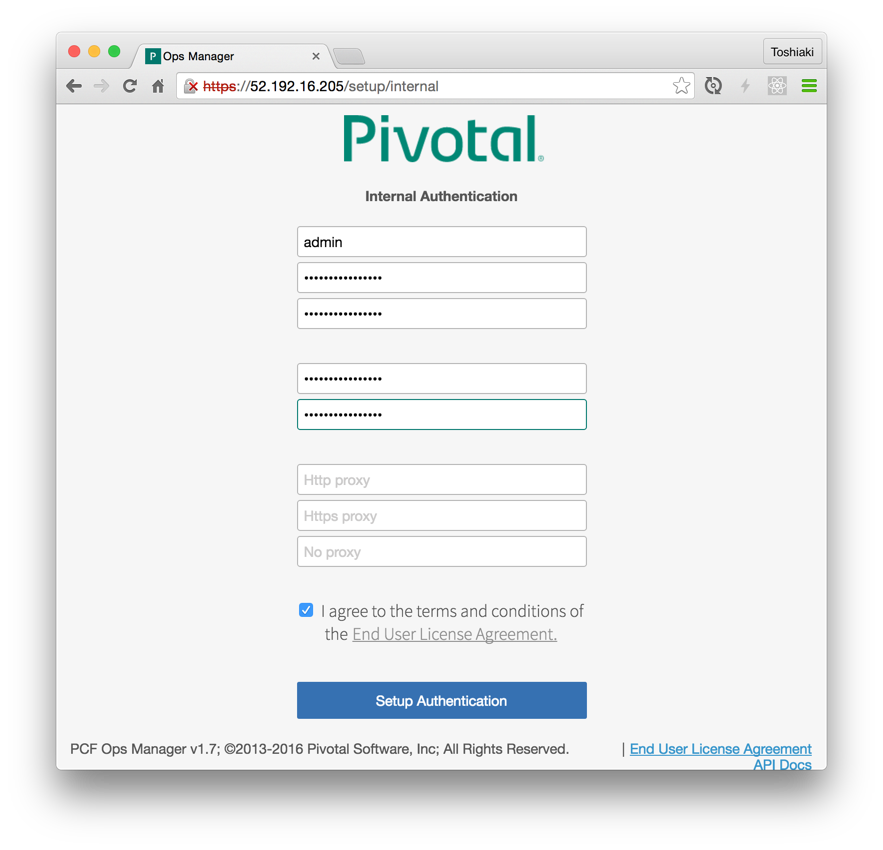
アカウント情報を入力して、「Setup Authentication」をクリック
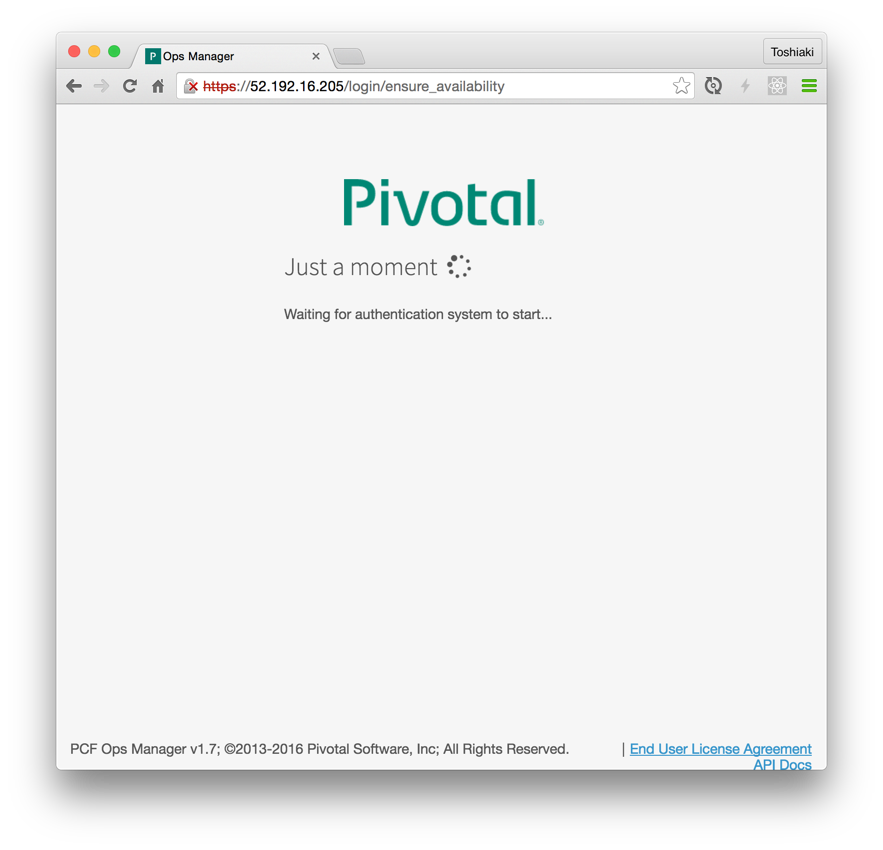
しばらく待つとログイン画面ができるので、作成したアカウントでログイン。
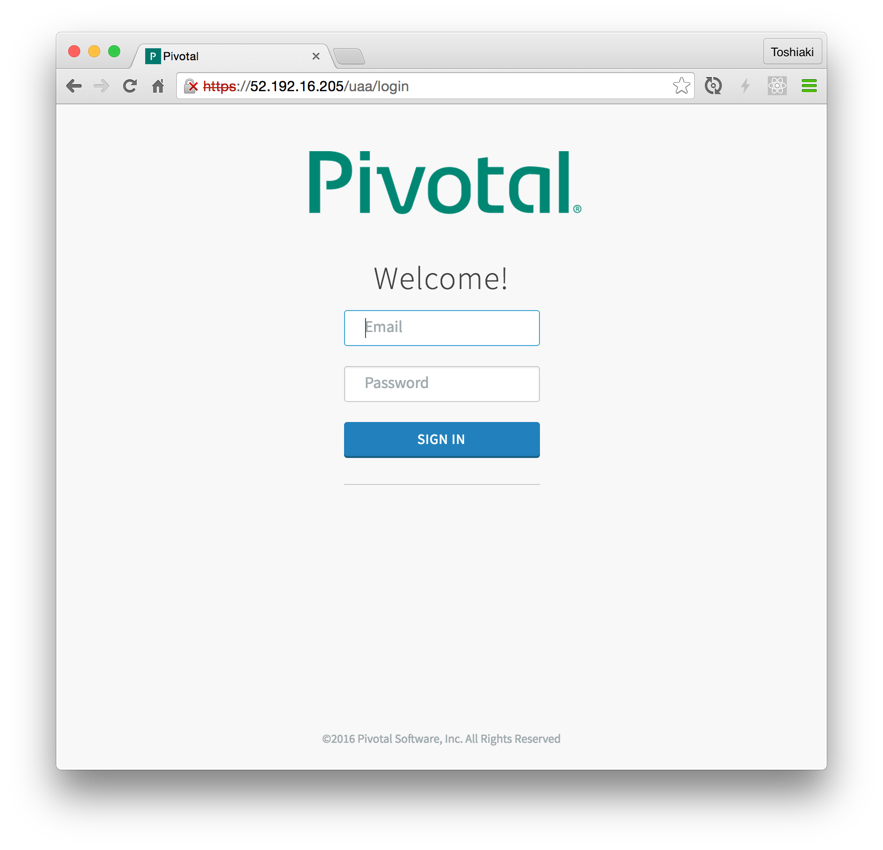
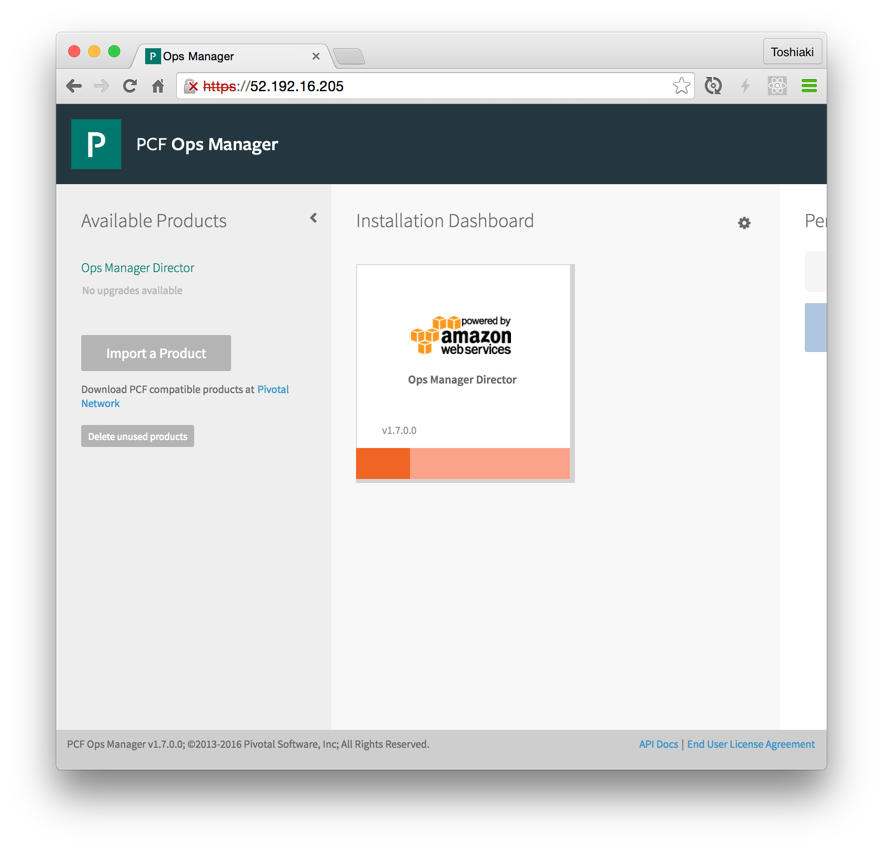
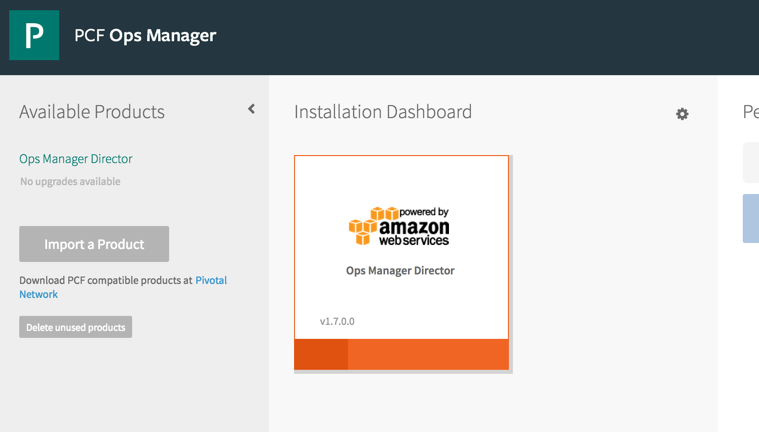
ログインできればOps Managerが利用可能です。
Ops Manager Directorの設定
Ops ManagerはBOSH ClientのGUIに相当します。次にこのBOSH ClientとやりとりするBOSH Director(PCFではOps Manager Directorと呼ばれる)をインストールします。bosh-initに相当します。
Ops Manager Directorのタイルをクリックして設定画面に移動します。
AWS Config
AWSの情報を設定します。
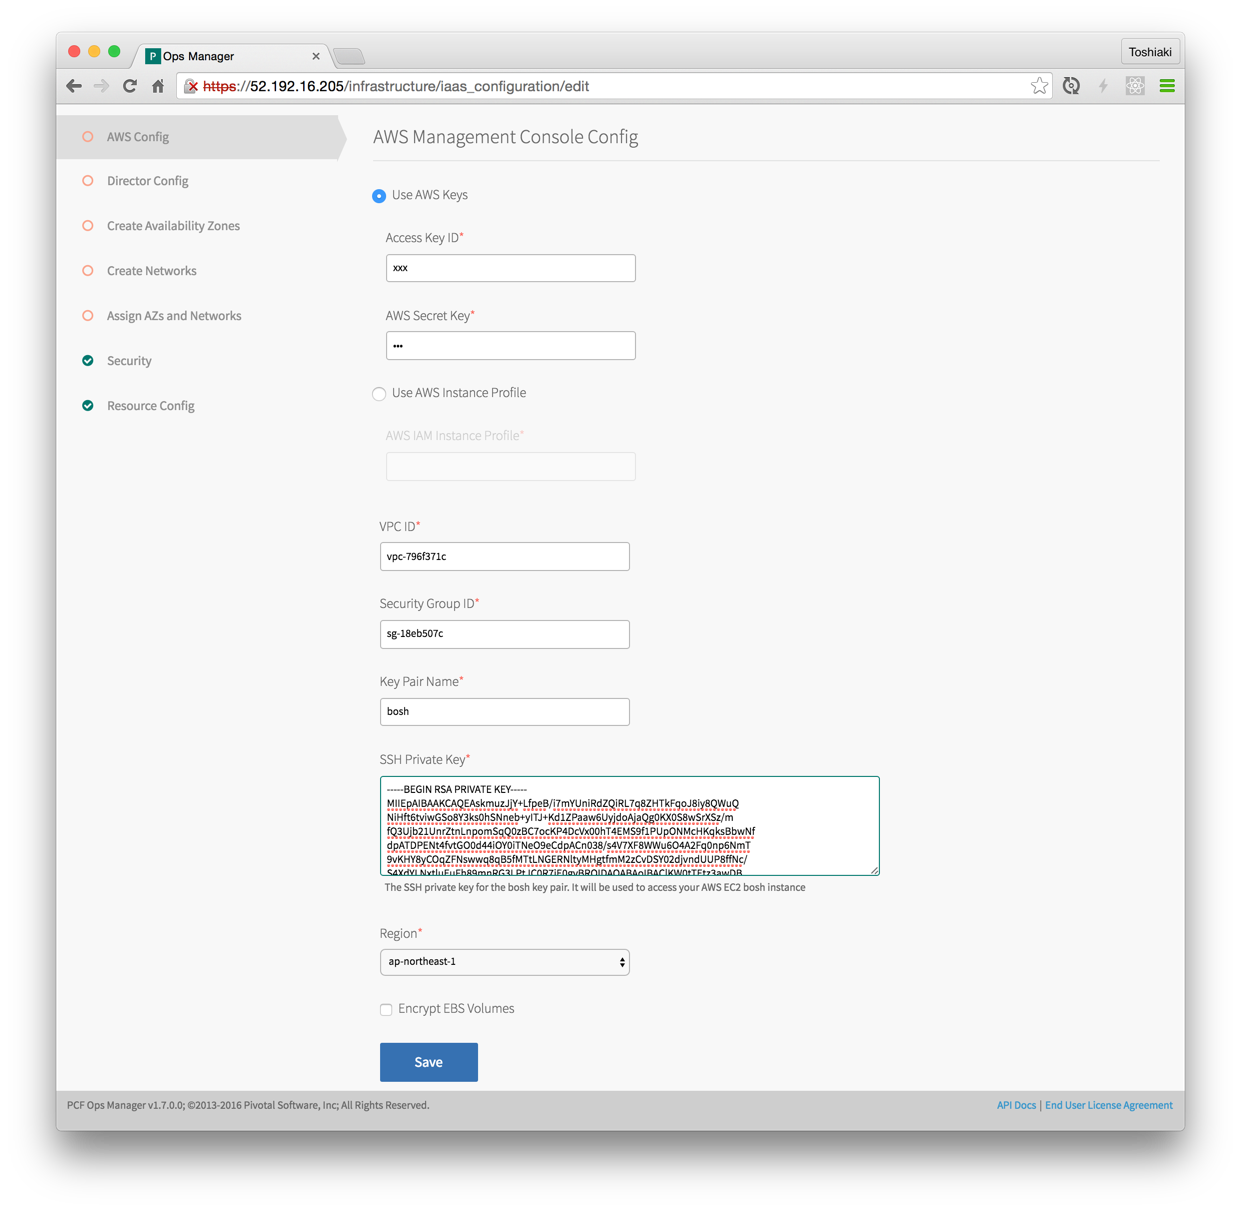
- Access Key IDはCloud FormationのOutputsタブの
PcfIamUserAccessKey - Access Secret KeyはCloud FormationのOutputsタブの
PcfIamUserSecretAccessKey - VPC IDはCloud FormationのOutputsタブの
PcfVpc
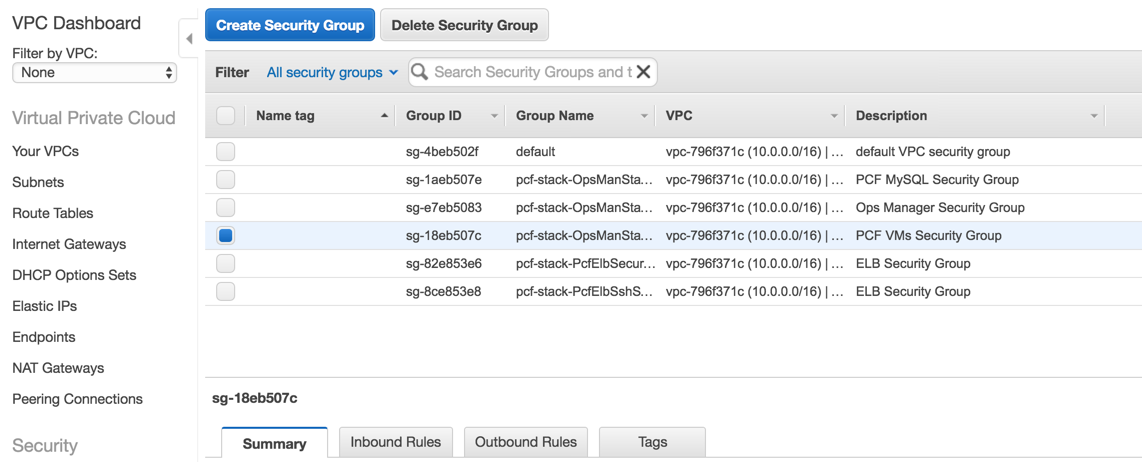
を設定します。Security Group IDはVPCのセキュリティグループ一覧をみて、DescriptionがPCF VMs Security Groupのものを選びます。
AWSのKey Pair名とそのpemファイルの内容をKey Pair NameとSSH Private Keyに設定します。 Regionを選択して「Save」をクリック。
Director Config
Ops Manager Directorの設定をします。
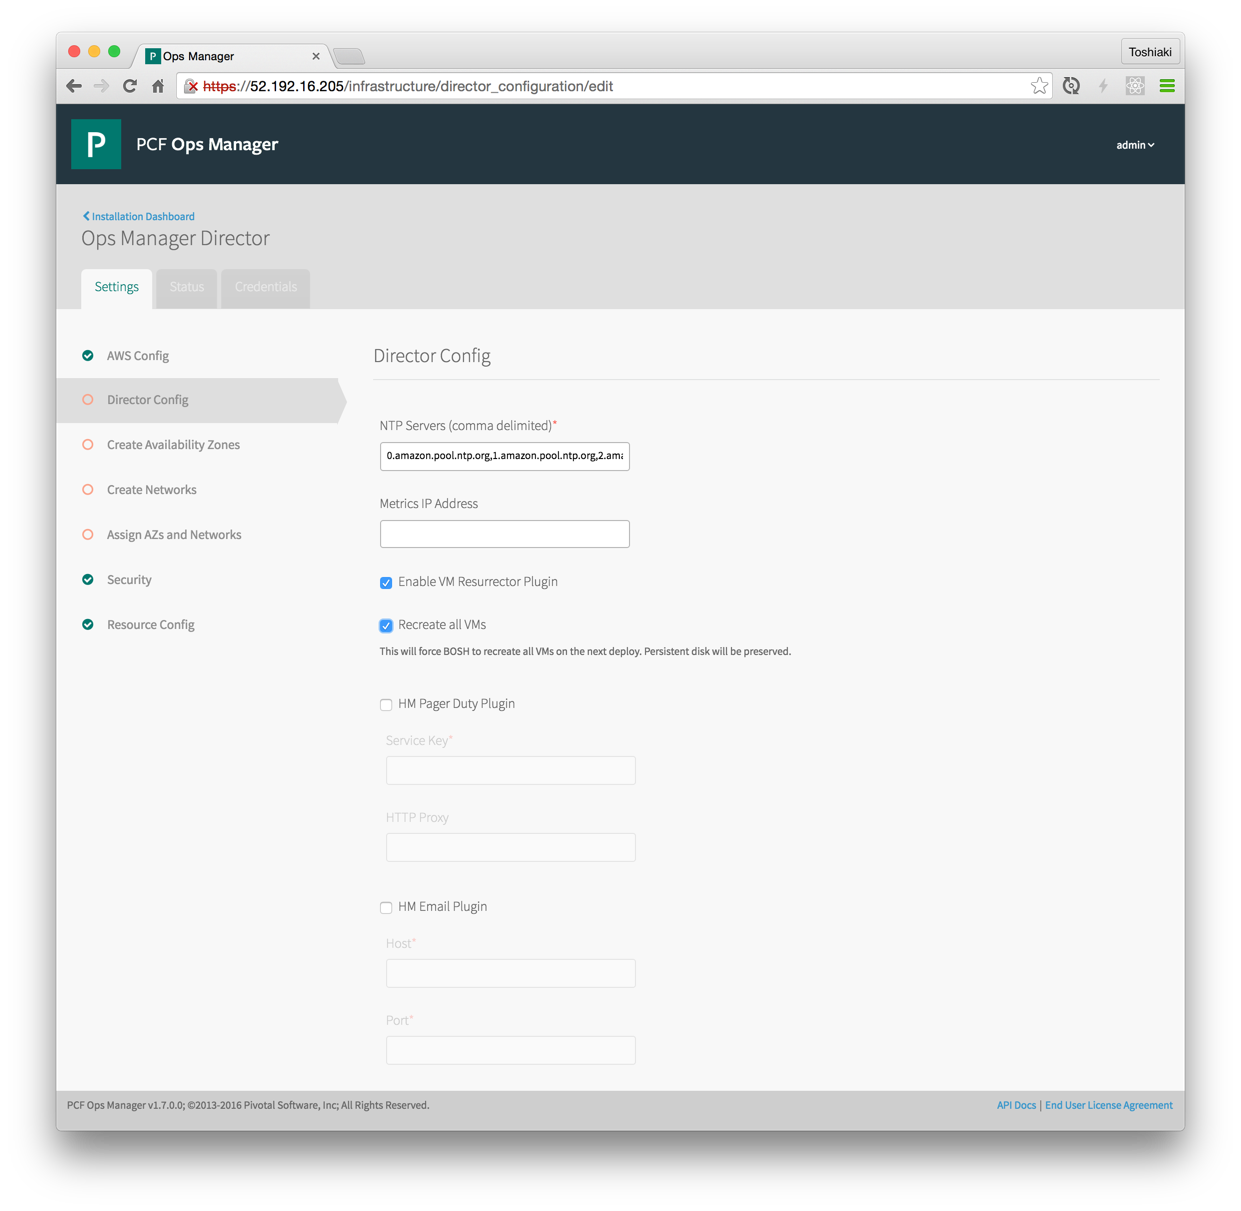
NTP Serversには以下の値を設定。
0.amazon.pool.ntp.org,1.amazon.pool.ntp.org,2.amazon.pool.ntp.org,3.amazon.pool.ntp.org
「Enable VM Resurrector Plugin」と「Recreate all VMs」にチェックを入れてください。
今回は簡易インストールとしてBlobstoreとDatabaseはInternalなものを使うので設定不要です。 (本番環境ではS3、RDSを使った方が良いです)
以上で「Save」をクリック。
Create Availability Zones
Availability Zoneの設定
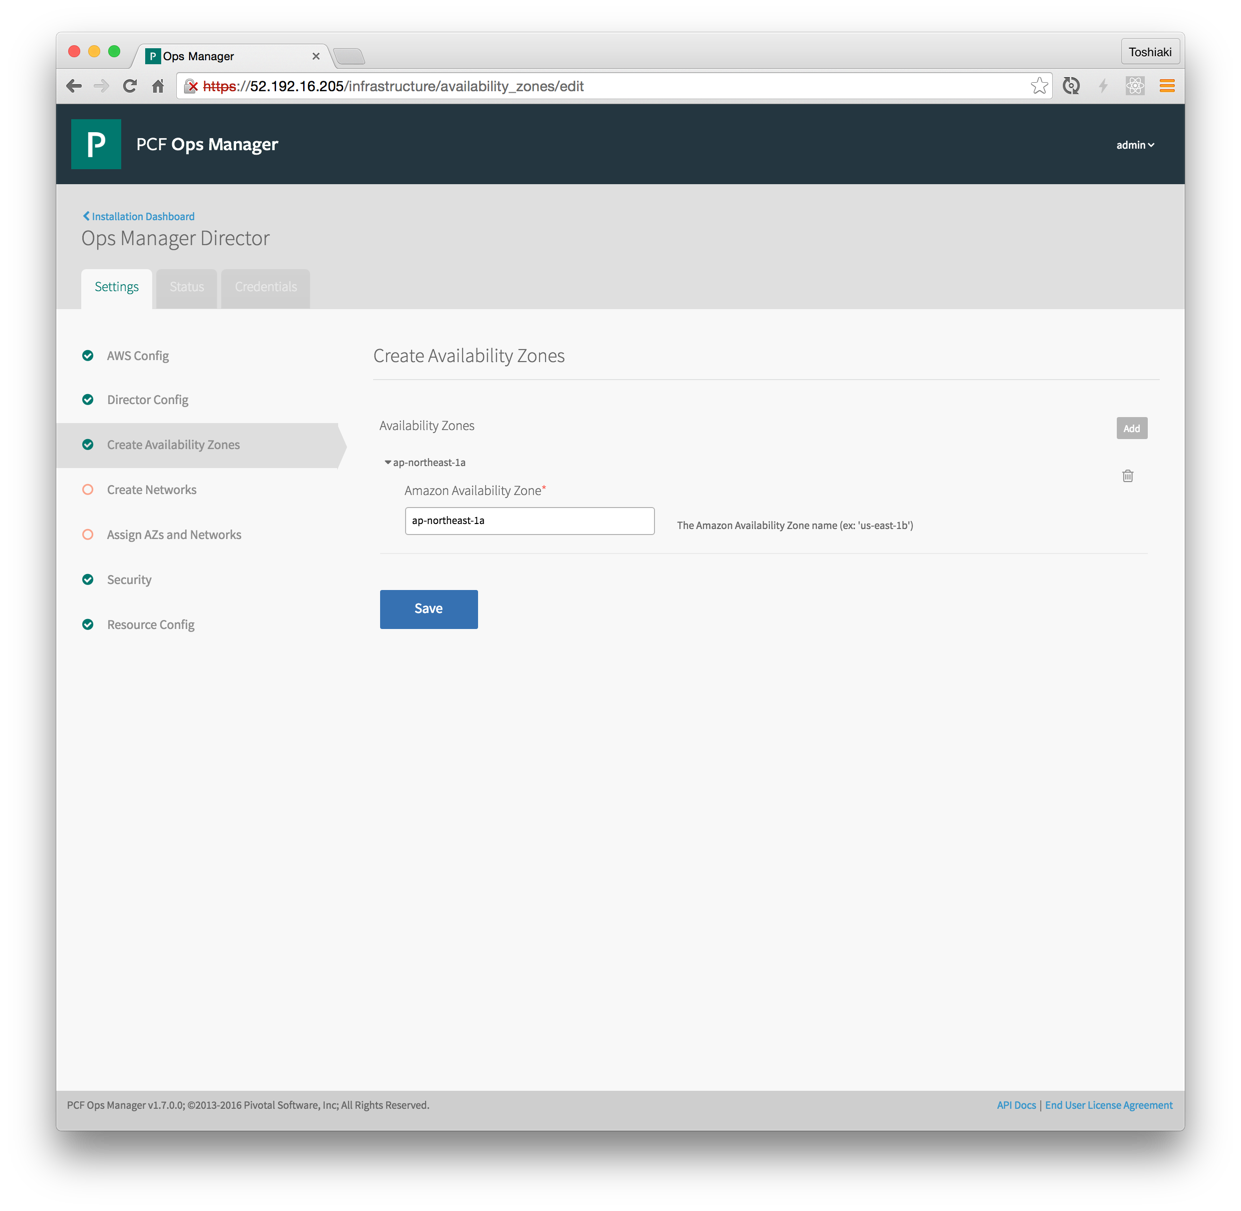
「Add」をクリックしてCloud FormationのOutputsタブのPcfPrivateSubnetAvailabilityZoneの値を設定して「Save」をクリック。
Create Networks
ネットワークの設定
「Add Network」をクリックして、Privateサブネットの情報を入力。
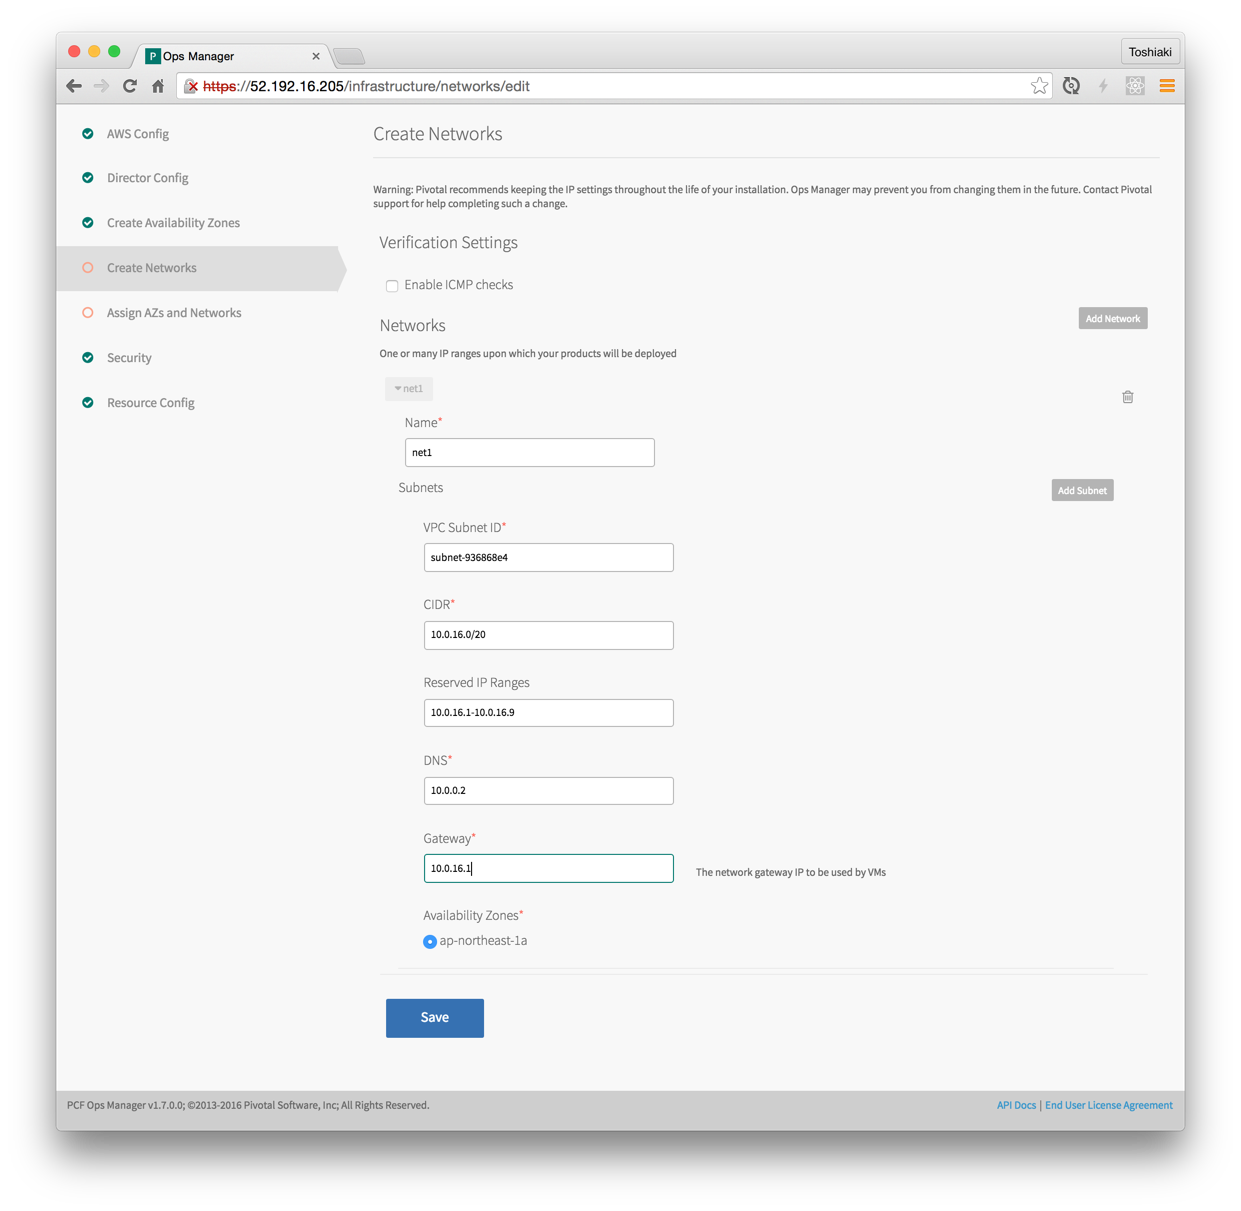
VPCのサブネット一覧でpcf-private-subnetを確認して、Subnet ID、CIDR、Availability Zoneを入力。

CIDRが10.0.16.0/20の場合、
- Reserverd IP Rangesは
10.0.16.1-10.0.16.9 - Gatewayは
10.0.16.1 - DNSは
10.0.0.2(10.0.16.2ではない)
Multi-AZ対応するには「Create Availability Zones」で
ap-northeast-1cを追加して、「Create Networks」のnet1にて「Add Subnet」をクリックし、pcf-private-subnet2の情報を追加すればOKです
「Save」をクリック。
Assign AZs and Networks
これまで設定してきたものを選択
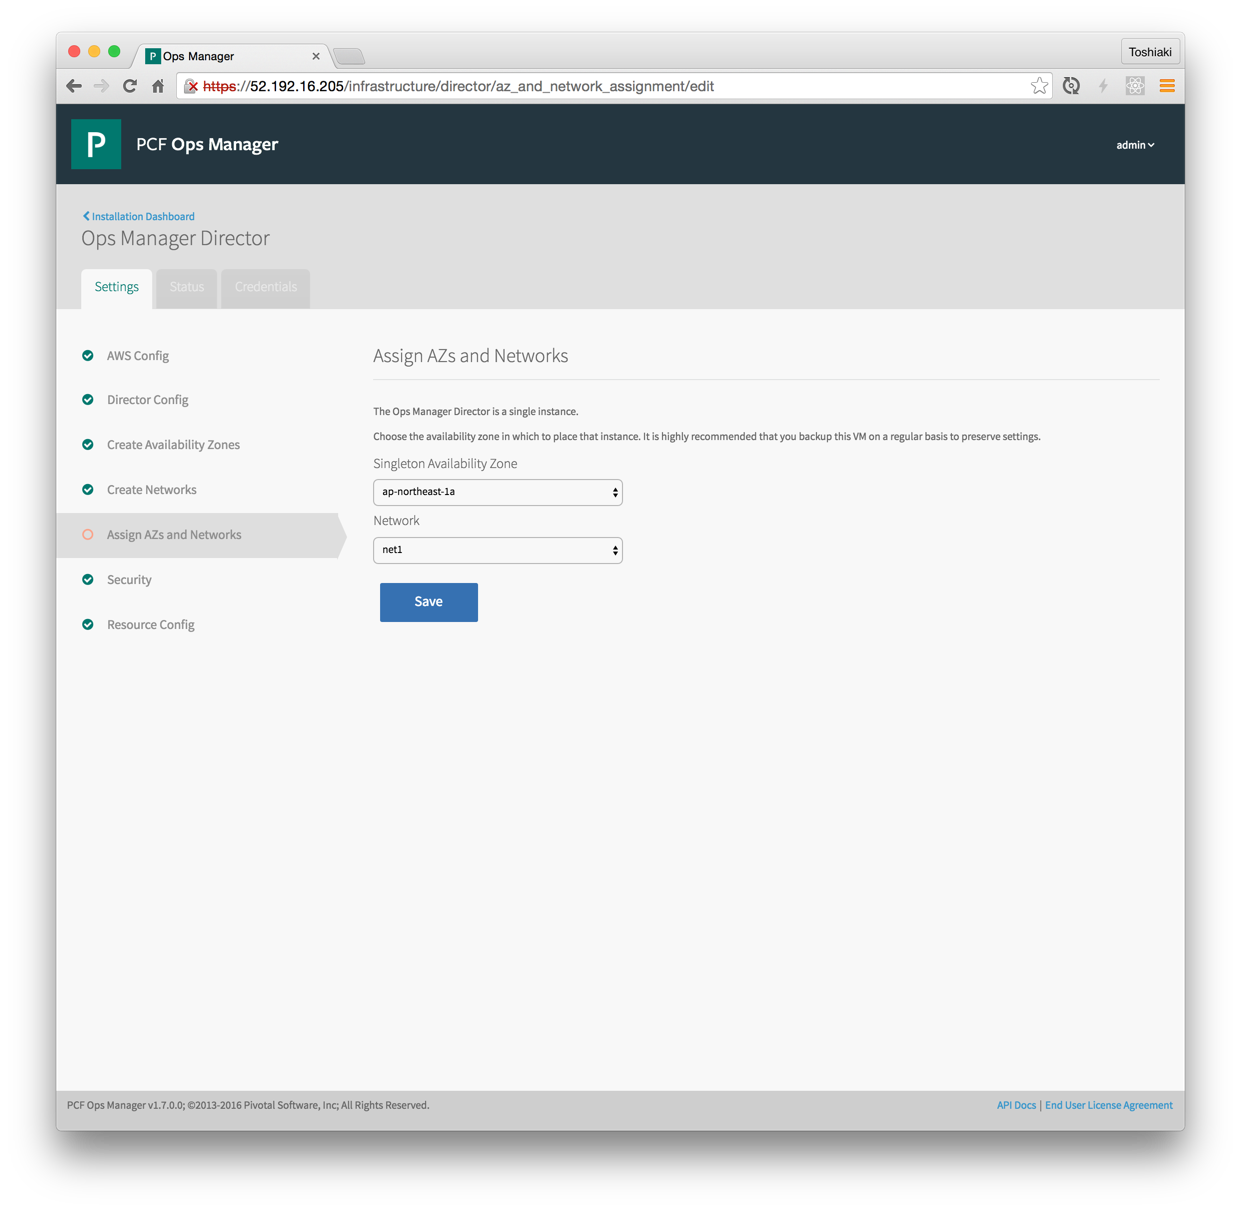
複数のAZを作った場合はOps Manager Directorと同じAZを選択
「Save」をクリック。
Ops ManagerにTopに戻るとタイルの設定が完了したので緑色になっていることがわかります。

「Apply Changes」をクリックするとインストール(bosh-init deploy)が始まります。
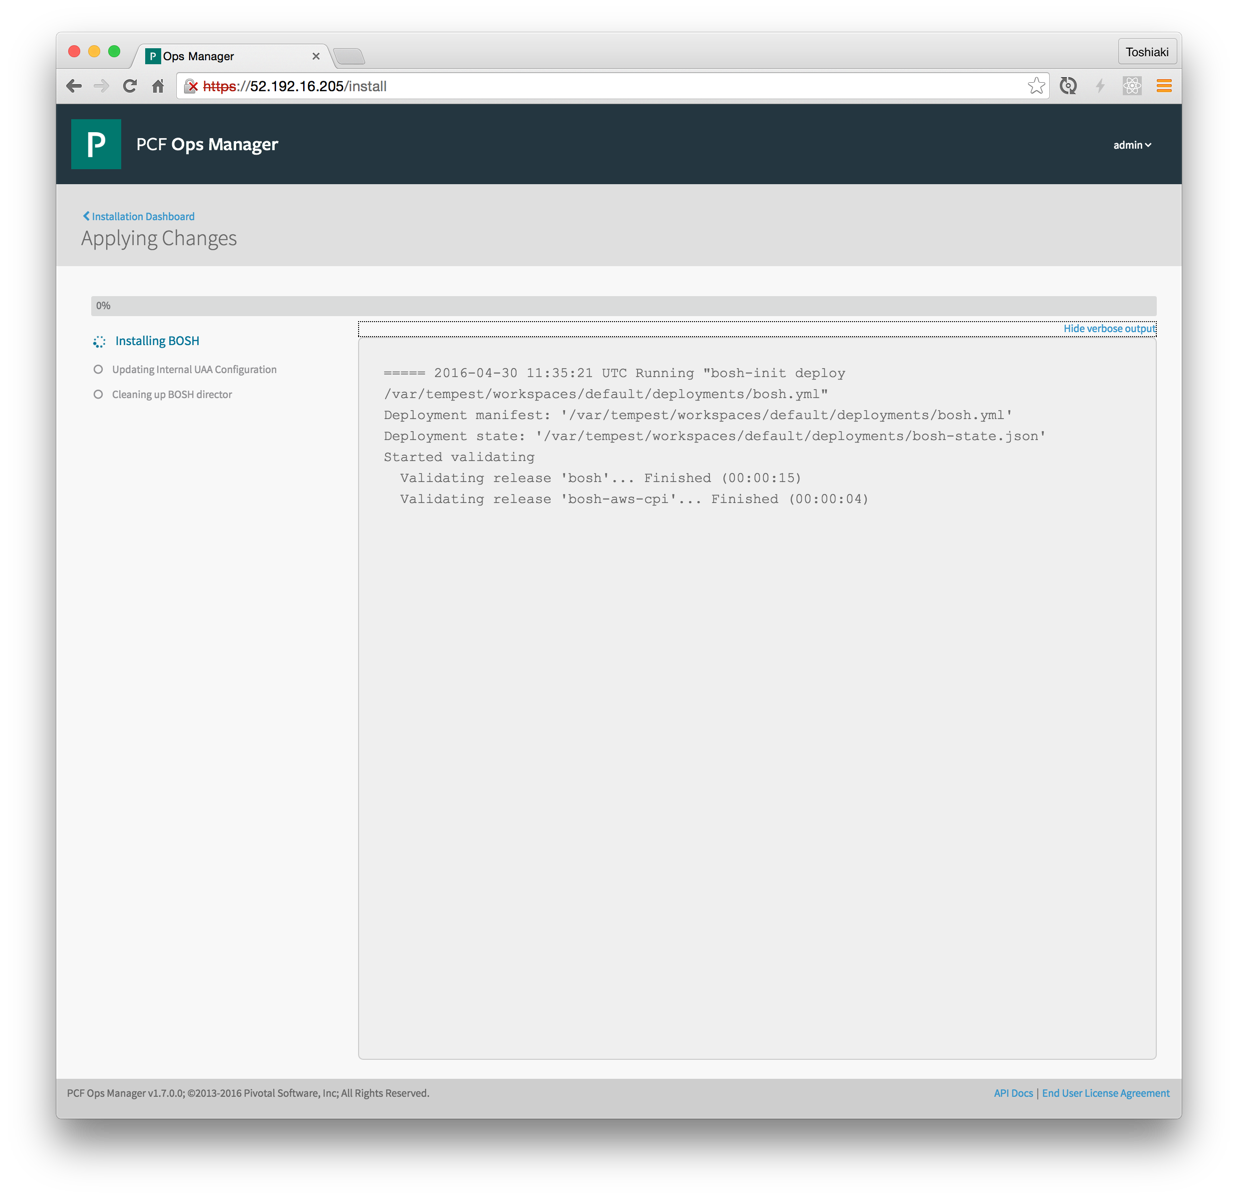
15分くらいでインストールが完了します。

bosh/0というEC2インスタンスができます。
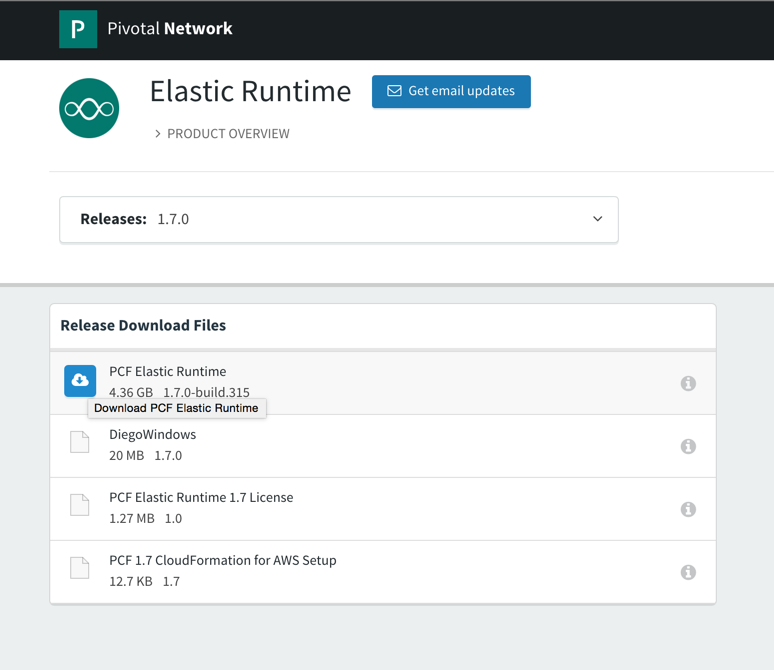
Elastic Runtimeのインストール
次にElastic Runtime(所謂Cloud Foundry)のインストールを行います。
https://network.pivotal.io/products/elastic-runtime
から「PCF Elastic Runtime」をダウンロードしてください。4.36GBあるので時間がかかります。
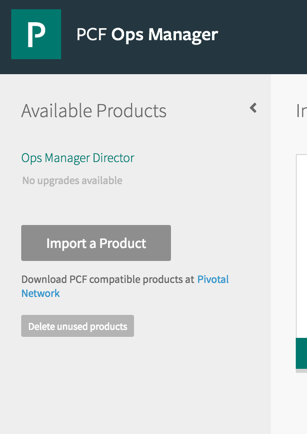
Ops Managerの左側の「Import a Product」をクリックしてダウンロードしたcf-1.7.0-build.xxx.pivotalをアップロードします。
結構時間がかかります。

左のAvailable ProductsからPivotal Elastic Runtimeを選択して「Add」をクリック
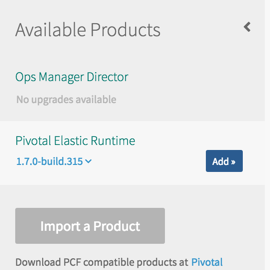
Pivotal Elastic Runtimeのタイルが追加されるので、それをクリック

Domains
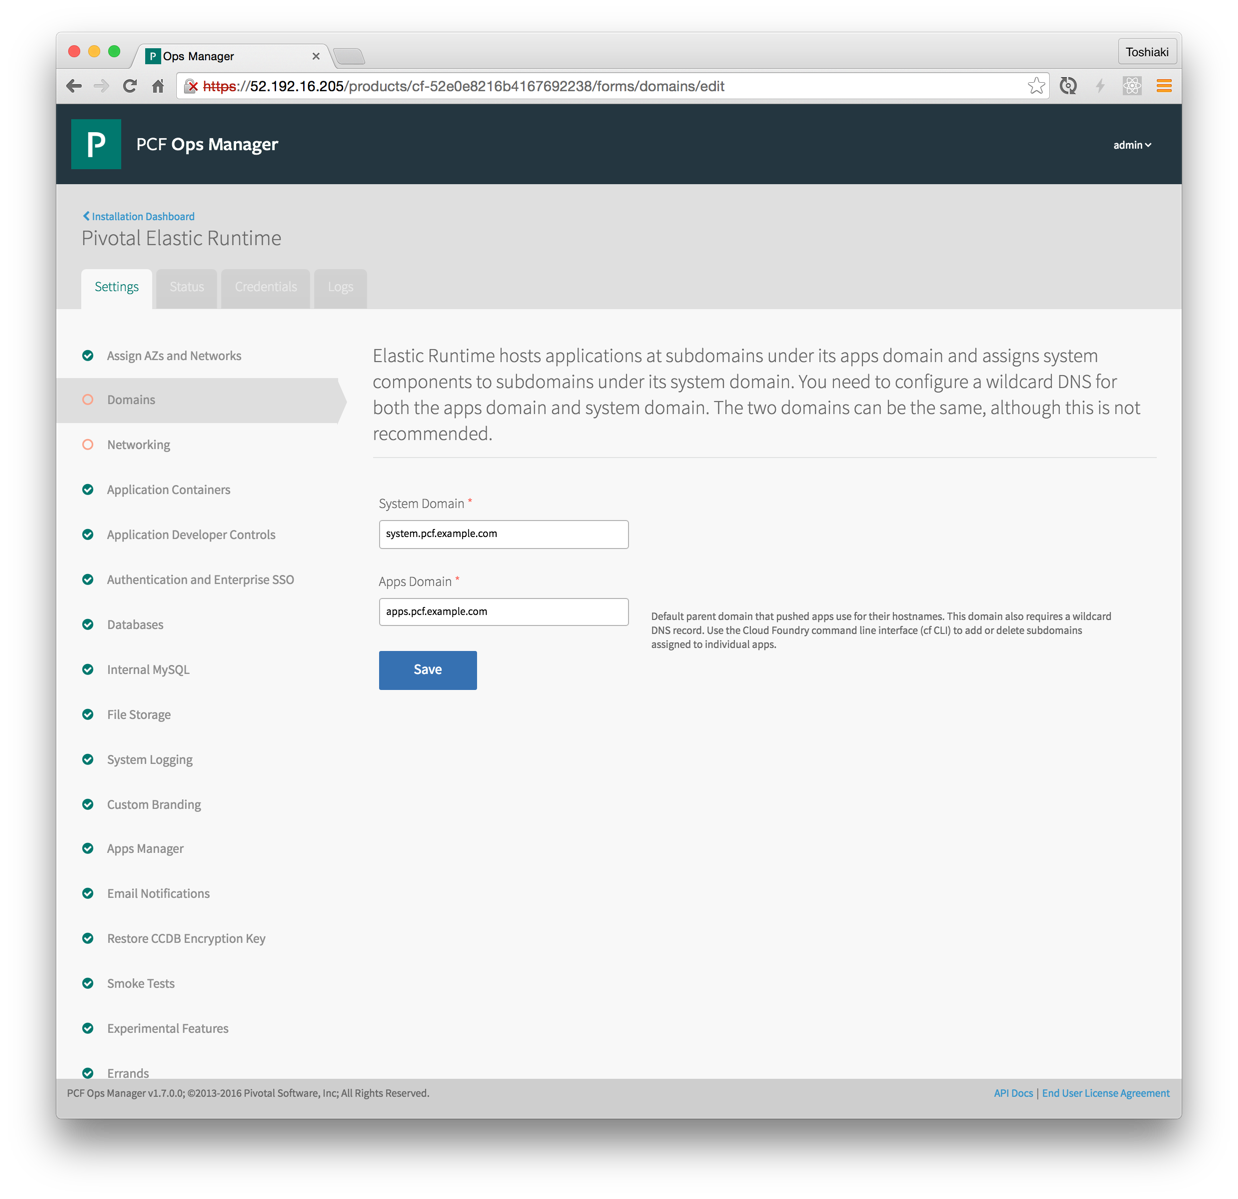
- System Domainに
system.pcf.example.com - Apps Domainに
apps.pcf.example.com
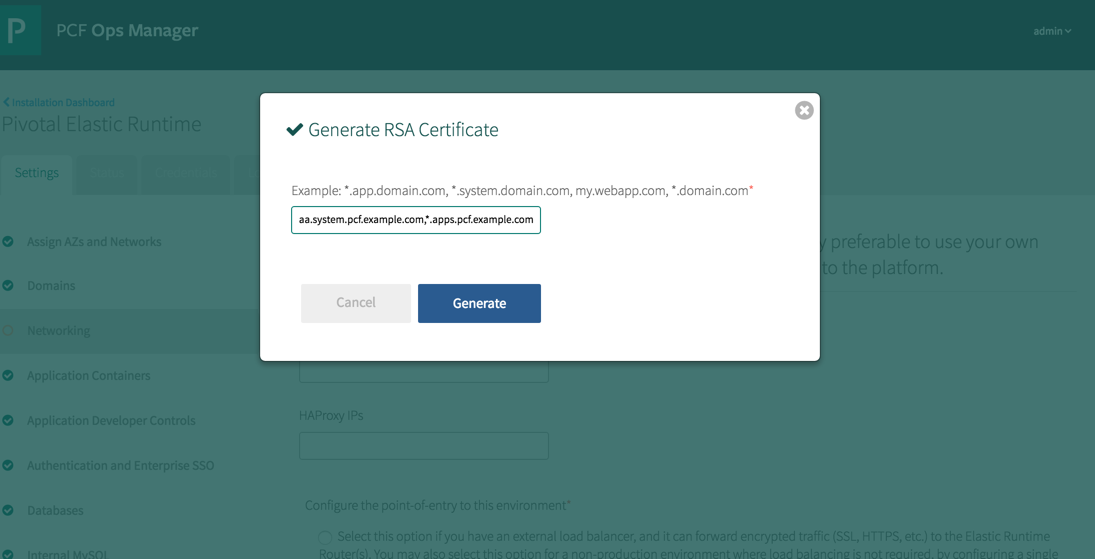
Networking
Router IPs、HAProxy IPsは設定不要。
「Generate RSA Certificate」をクリック。

*.pcf.example.com,**.system.pcf.example.com,*.login.system.pcf.example.com,*.uaa.system.pcf.example.com,*.apps.pcf.example.comを入力して「Generate」をクリック。
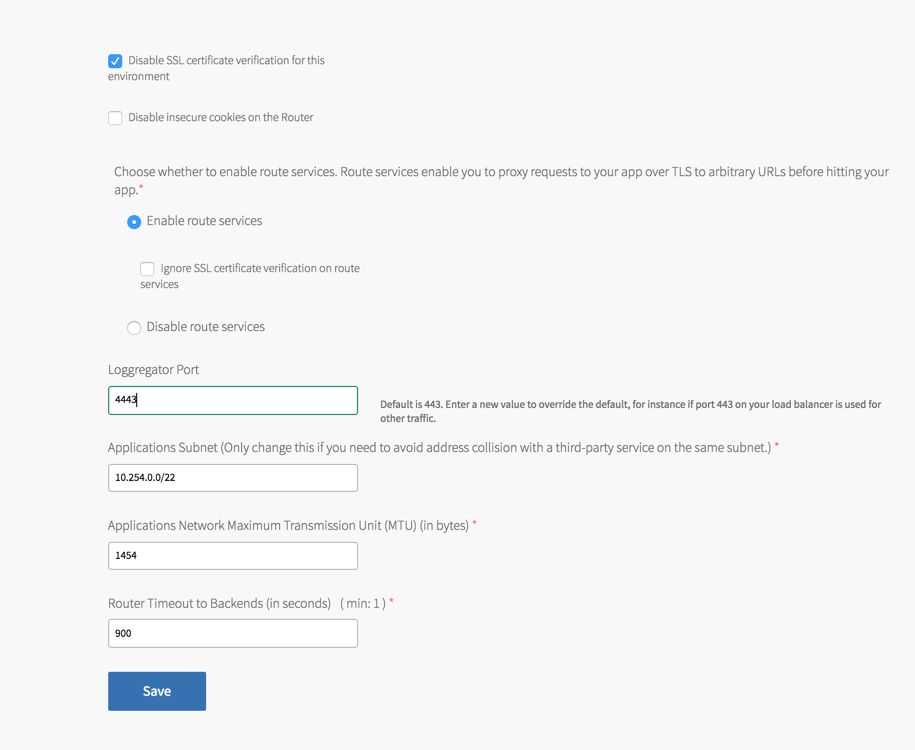
- 「Disable SSL certificate verification for this environment」にチェック
- Loggregator Portを
4443に変更
して「Save」をクリック
Resource Config
HTTP用とSSH用のELB名をそれぞれRouterとDiego Brainに設定。

ELBを使っているのでHA Proxyは不要。HA ProxyのInstance数を0に。

TOPに戻って「Apply Changes」
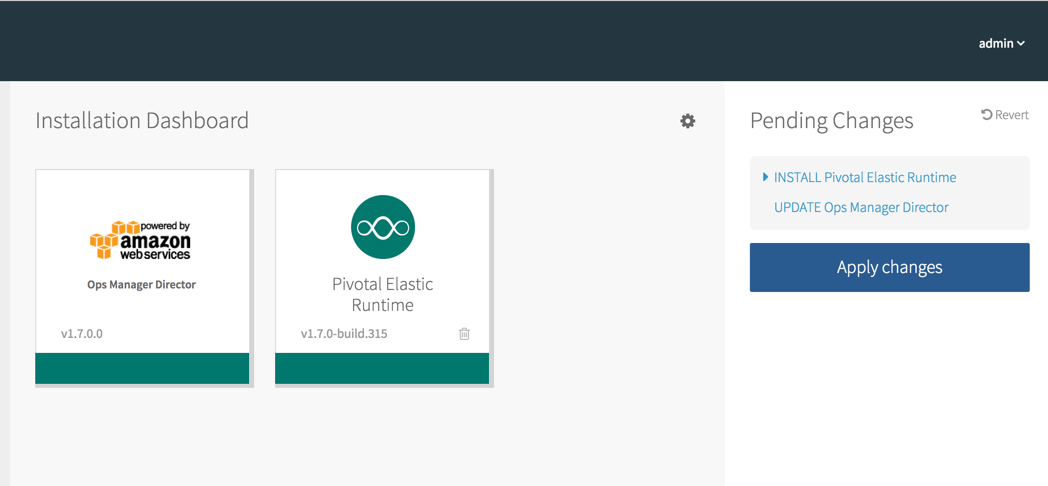
インストールには1時間くらいかかります。

Apps Managerにアクセス
「Pivotal Elastic Runtime」をクリックして、

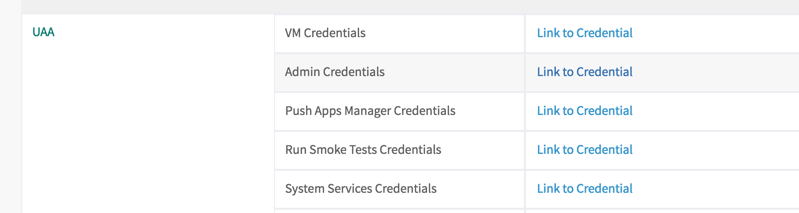
「Credentials」をクリック
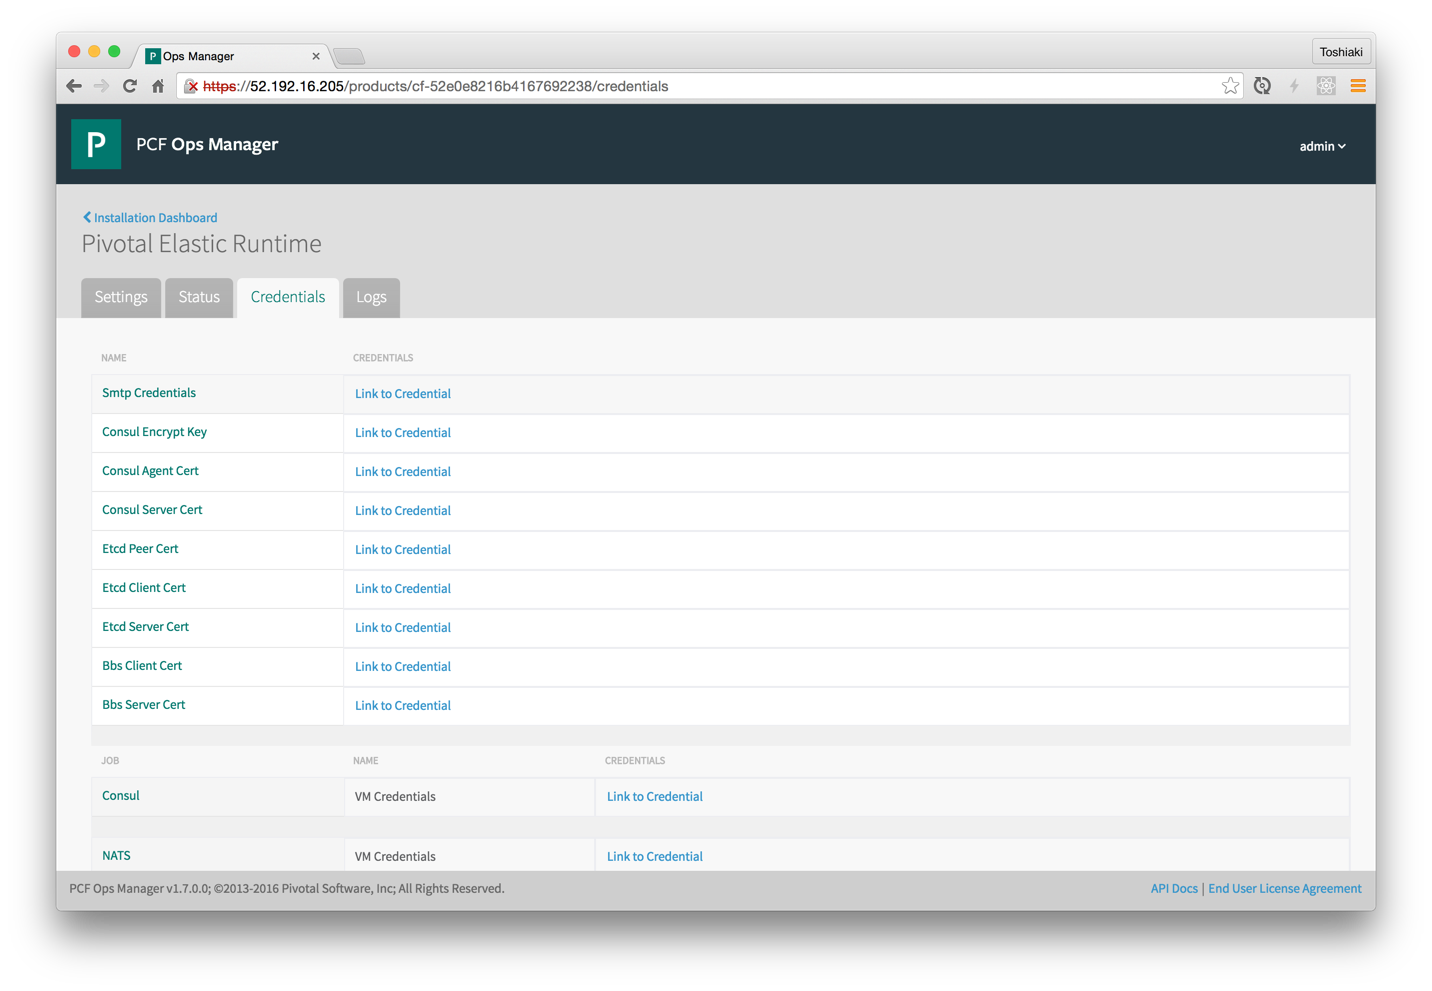
UAAの「Admin Credentials」の「Link to Credential」をクリックしてApps Managerのユーザー名とパスワードを確認。
Apps ManagerのURLは https://console.system.pcf.example.com
ログインページにリダイレクトされるので、さきほどのユーザー情報を入力して「SIGN IN」
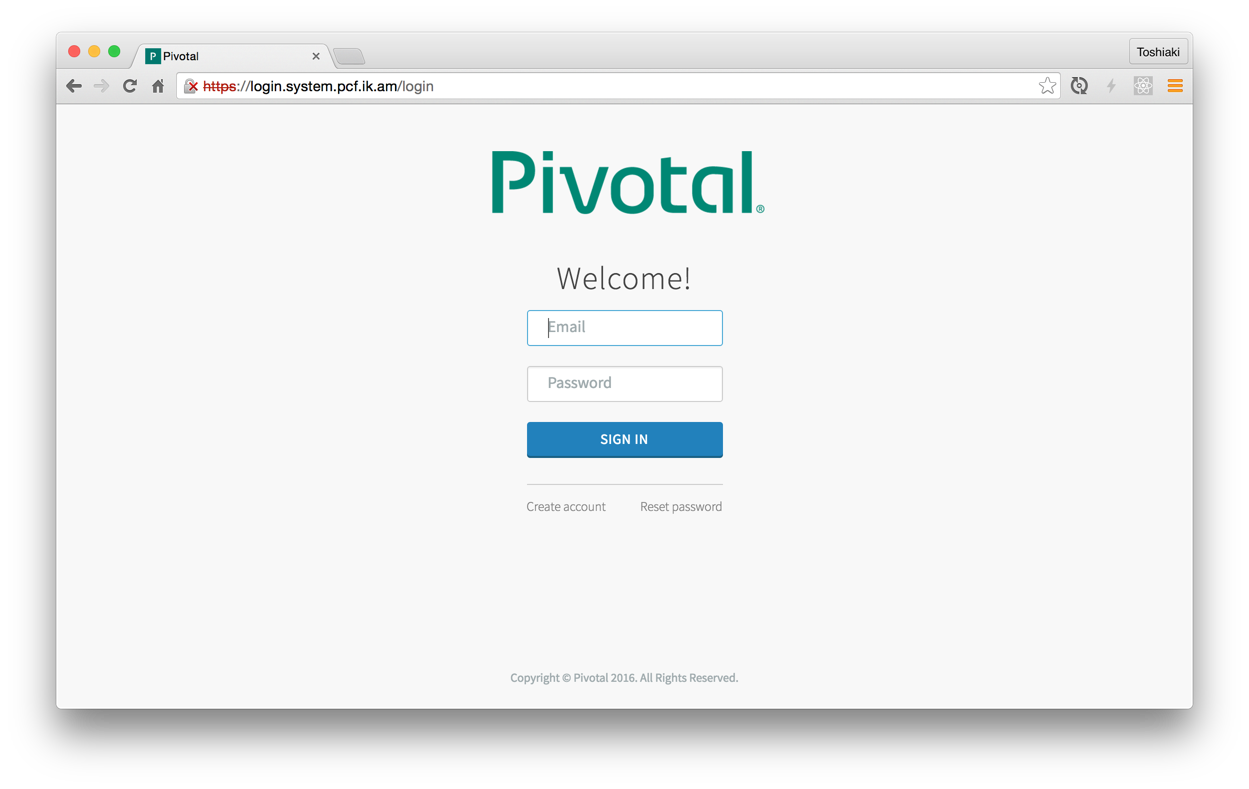
Apps Managerにログインできます。

Organization作成
「Create a New Org」をクリック

Org名を入力して、「Create Org」をクリック

cfコマンドでログイン
まずはadminでログインします
$ cf login -a https://api.system.pcf.example.com --skip-ssl-validation
API endpoint: https://api.system.pcf.example.com

Email> admin

Password>
Authenticating...
OK

Select an org (or press enter to skip):
1. system
2. tmaki

Org> 2
Targeted org tmaki

Targeted space development


API endpoint:   https://api.system.pcf.example.com (API version: 2.54.0)
User:           admin
Org:            tmaki
Space:          development
ユーザーの作成
SMTPの設定が行われていればユーザーの作成をApps Managerからできますが、今回は設定していないのでCLIでユーザーを作成します。
$ cf create-user tmaki password
Creating user tmaki...
OK

TIP: Assign roles with 'cf set-org-role' and 'cf set-space-role'
$ cf set-org-role tmaki tmaki OrgManager
Assigning role OrgManager to user tmaki in org tmaki as admin...
OK
$ cf set-space-role tmaki tmaki development SpaceManager
Assigning role SpaceManager to user tmaki in org tmaki / space development as admin...
OK
$ cf set-space-role tmaki tmaki development SpaceDeveloper
Assigning role SpaceDeveloper to user tmaki in org tmaki / space development as tmaki...
OK
作ったユーザーで再度ログイン
$ cf login
API endpoint: https://api.system.pcf.ik.am

Email> tmaki

Password>
Authenticating...
OK

Targeted org tmaki

Targeted space development


API endpoint:   https://api.system.pcf.ik.am (API version: 2.54.0)
User:           tmaki
Org:            tmaki
Space:          development
アプリケーションのpush
$ git clone https://github.com/cloudfoundry-community/simple-go-web-app.git
$ cd simple-go-web-app
$ cf push
Using manifest file /Users/makit/pcf-install/simple-go-web-app/manifest.yml

Creating app simple-go-web-app in org tmaki / space development as tmaki...
OK

Creating route simple-go-web-app.apps.pcf.ik.am...
OK

Binding simple-go-web-app.apps.pcf.ik.am to simple-go-web-app...
OK

Uploading simple-go-web-app...
Uploading app files from: /Users/makit/pcf-install/simple-go-web-app
Uploading 229.5K, 47 files
Done uploading
OK

Starting app simple-go-web-app in org tmaki / space development as tmaki...
Downloading binary_buildpack...
Downloading nodejs_buildpack...
Downloading ruby_buildpack...
Downloading java_buildpack_offline...
Downloading staticfile_buildpack...
Downloading go_buildpack...
Downloading python_buildpack...
Downloading php_buildpack...
Downloaded staticfile_buildpack
Downloaded java_buildpack_offline
Downloaded ruby_buildpack
Downloaded php_buildpack
Downloaded binary_buildpack
Downloaded go_buildpack
Downloaded nodejs_buildpack
Downloaded python_buildpack
Creating container
Successfully created container
Downloading app package...
Downloaded app package (89.4K)
Staging...
-------> Buildpack version 1.7.5
file:///tmp/buildpacks/bed5d9adeefee86d3e8d47bc6ddafe83/dependencies/https___pivotal-buildpacks.s3.amazonaws.com_concourse-binaries_godep_godep-v62-linux-x64.tgz
-----> Checking Godeps/Godeps.json file.
-----> Installing go1.5.4... done
Downloaded [file:///tmp/buildpacks/bed5d9adeefee86d3e8d47bc6ddafe83/dependencies/https___storage.googleapis.com_golang_go1.5.4.linux-amd64.tar.gz]
-----> Running: godep go install -tags cloudfoundry ./...
Exit status 0
Staging complete
Uploading droplet, build artifacts cache...
Uploading build artifacts cache...
Uploading droplet...
Uploaded build artifacts cache (77.1M)
Uploaded droplet (2.2M)
Uploading complete

1 of 1 instances running

App started


OK

App simple-go-web-app was started using this command `simple-go-web-app`

Showing health and status for app simple-go-web-app in org tmaki / space development as tmaki...
OK

requested state: started
instances: 1/1
usage: 128M x 1 instances
urls: simple-go-web-app.apps.pcf.ik.am
last uploaded: Sat Apr 30 15:00:51 UTC 2016
stack: unknown
buildpack: Go

     state     since                    cpu    memory         disk         details
#0   running   2016-05-01 12:01:40 AM   0.0%   3.7M of 128M   8.7M of 1G
アクセス
$ curl http://simple-go-web-app.apps.pcf.ik.am/
Hello world
特に問題なし。
その他、MySQL、Redis、RabbitMQも同様にOps Managerからインストール可能です。
PCFを使うとCloud Foundryのインストールが本当に楽です。