---
title: Pivotal Container Service (PKS)にService Catalogをインストールするためのworkaround
tags: ["Kubernetes", "PKS", "Service Catalog", "Open Service Broker API", "BOSH", "CFCR"]
categories: ["Dev", "CaaS", "Kubernetes", "PKS"]
date: 2019-01-06T09:33:35Z
updated: 2019-04-01T18:22:27Z
---
> ⚠️ 【Updated】 ⚠️
>
> 以下のバージョンで再確認したところ、特に追加設定不要でService Catalogをインストールできました。
> * Pivotal Container Service 1.3.5
> * Ops Manager 2.4.7
> * Kubernetes 1.12.7
> * Service Catalog 0.1.42
>
> 下記の作業は**行わないでください**。
以前k8s meetupで話した[Service Catalog](https://svc-cat.io)ですが、執筆現時点ではPKS上で使うにはちょっとしたhackを行う必要があったので、
その方法をメモします。CFCRでも基本的には同じです。
以前の資料はこちら。
以下の内容は次のバージョンで確認しました。
* Pivotal Container Service 1.2.6
* Ops Manager 2.3.7
* Kubernetes 1.11.6
* Service Catalog 0.1.38
> ⚠️: 本記事の内容はPivotalが推奨する方法ではありません。試す場合は自己責任で行い、本内容で生じる問題をサポートに問い合わせないでください。
**目次**
### Helmのインストール
Helmは好みではないのですが、現状Service CatalogをインストールするにはHelmを使うのが一番簡単なのでこの記事ではHelmを使用します。
Helmインストール済みの場合はskipしてください。
まずはTillerをデプロイするための`ServiceAccout`と`ClusterRoleBinding`の設定をします。
```yaml
cat < Note: There are a few setup requirements for getting the aggregation layer working in your environment to support mutual TLS auth between the proxy and extension apiservers. Kubernetes and the kube-apiserver have multiple CAs, so make sure that the proxy is signed by the aggregation layer CA and not by something else, like the master CA.
PKSで作成されたk8sクラスタのAPI Serverに設定されている起動オプションは次のコマンドで確認できます。
```
bosh -d service-instance_ ssh master -c "cat /var/vcap/jobs/kube-apiserver/config/bpm.yml"
```
``は`pks cluster `または`bosh deployments`で確認できます。
次のような出力結果になります。
```yaml
processes:
- name: kube-apiserver
executable: /var/vcap/packages/kubernetes/bin/kube-apiserver
args:
- --anonymous-auth=true
- --allow-privileged=false
- --apiserver-count=1
- --bind-address=0.0.0.0
- --cloud-provider=vsphere
- --cloud-config=/var/vcap/jobs/kube-apiserver/config/cloud-provider.ini
- --kubelet-client-key=/var/vcap/jobs/kube-apiserver/config/
- --kubelet-client-certificate=/var/vcap/jobs/kube-apiserver/config/
- --enable-admission-plugins=LimitRanger,DefaultTolerationSeconds,ValidatingiceAccount,DefaultStorageClass,MutatingAdmissionWebhook,DenyEscalatingExec,SecurityContextDeny
- --disable-admission-plugins=PersistentVolumeLabel
- --enable-bootstrap-token-auth
- --enable-swagger-ui
- --etcd-servers=https://master-0.etcd.cfcr.internal:2379
- --etcd-cafile=/var/vcap/jobs/kube-apiserver/config/etcd-ca.crt
-
- --etcd-certfile=/var/vcap/jobs/kube-apiserver/config/etcd-client.crt
- --etcd-keyfile=/var/vcap/jobs/kube-apiserver/config/etcd-client.key
- --kubelet-https
- --secure-port=8443
- --service-account-key-file=/var/vcap/jobs/kube-apiserver/config/
- --service-account-lookup
- --service-cluster-ip-range=10.100.200.0/24
- --service-node-port-range=30000-32767
- --tls-cert-file=/var/vcap/jobs/kube-apiserver/config/kubernetes.pem
- --tls-private-key-file=/var/vcap/jobs/kube-apiserver/config/
- --token-auth-file=/var/vcap/jobs/kube-apiserver/config/tokens.csv
- --storage-media-type=application/json
- --enable-aggregator-routing
- --v=2
- --authorization-mode=RBAC
- --runtime-config=api/v1
- --client-ca-file=/var/vcap/jobs/kube-apiserver/config/kubernetes.pem
- --proxy-client-cert-file=/var/vcap/jobs/kube-apiserver/config/
- --proxy-client-key-file=/var/vcap/jobs/kube-apiserver/config/
- --requestheader-allowed-names=aggregator
- --requestheader-client-ca-file=/var/vcap/jobs/kube-apiserver/config/
- --requestheader-extra-headers-prefix=X-Remote-Extra-
- --requestheader-group-headers=X-Remote-Group
- --requestheader-username-headers=X-Remote-User
- --audit-log-path=/var/vcap/sys/log/kube-apiserver/audit.log
- --audit-log-maxage=0
- --audit-log-maxsize=49
- --audit-log-maxbackup=7
- --audit-policy-file=/var/vcap/jobs/kube-apiserver/config/audit_policy.yml
- --oidc-issuer-url=https://api.pks.ik.am:8443/oauth/token
- --oidc-client-id=pks_cluster_client
- --oidc-username-claim=user_name
- "--oidc-username-prefix=-"
- --oidc-groups-claim=roles
- "--oidc-groups-prefix="
- --oidc-ca-file=/var/vcap/jobs/kube-apiserver/config/oidc-ca.pem
env:
```
`--requestheader-allowed-names=aggregator`がありますが、どうも使われているCAのCNが`aggregator`でなく、API Serverのhost名、つまり`pks create-cluster -e `で指定した``になっています。
上の例では`demo.pks.ik.am`です。
この場合、`--requestheader-allowed-names=aggregator,demo.pks.ik.am`にしてAPI Serverを再起動すればうまく動きます。
次のコマンドで`requestheader-allowed-names`の値を一時的に変更します。
```
bosh -d service-instance_ ssh master -c "sudo sed -i 's/--requestheader-allowed-names=aggregator$/--requestheader-allowed-names=aggregator,demo.pks.ik.am/g' /var/vcap/jobs/kube-apiserver/config/bpm.yml"
```
次のコマンドでAPI Serverを再起動します。
```
bosh -d service-instance_ ssh master -c "sudo /var/vcap/bosh/bin/monit restart kube-apiserver"
```
multi-master構成の場合は上記を全てのmasterに対して行います。`master/0`, `master/1`, `master/2`と言うように対象のVMを指定できます。
一旦Service Catalogのpodを削除して、再作成を待ちます。
```
kubectl -n catalog delete pod -l release=catalog
```
しばらくすると`catalog-apiserver`および`catalog-controller-manager`
```
$ kubectl get pod -n catalog
NAME READY STATUS RESTARTS AGE
catalog-catalog-apiserver-58dd7744c5-swcmg 2/2 Running 0 17h
catalog-catalog-controller-manager-755b8b54d4-97g7s 1/1 Running 2 17h
```
> 将来的にService CatalogがCRDを使う方針に変われば、このWorkaroundは不要になるかもしれません。
CFCR(v0.22.0+)の場合は次のようなops-fileを適用すれば良いです。
```yaml
- type: replace
path: /instance_groups/name=master/jobs/name=kube-apiserver/properties/k8s-args/requestheader-allowed-names
value: aggregator,master.cfcr.internal
```
### Workaroundの恒久適用
上記のようにVMにsshして修正するworkaroundは、一時的にしか効きません。
BOSHはimmutableなinfrastructureを提供するため、updateやrecreateのタイミングで元の設定に戻ります。
workaroundを恒久的に行うにはBOSHのライフサイクルのタイミングに合わせて`sed`を行うさらなるhackが必要があります。
[os-conf-release](https://github.com/cloudfoundry/os-conf-release)の[`pre-start-script`](https://bosh.io/jobs/pre-start-script?source=github.com/cloudfoundry/os-conf-release&version=20.0.0)jobを使うとpre-startのタイミングで任意のscriptを実行することができます。
この`pre-start-script`をMaster VMに無理矢理組み込むために[BOSH Runtime Config](https://bosh.io/docs/runtime-config/)が使えます。
次のruntime-configを作成してください。(`demo.pks.ik.am`と``の部分は変えてください)
```yaml
cat <<'EOF' > pks-service-catalog-hack.yml
releases:
- name: os-conf
version: "20.0.0"
url: "https://bosh.io/d/github.com/cloudfoundry/os-conf-release?v=20.0.0"
sha1: "a60187f038d45e2886db9df82b72a9ab5fdcc49d"
addons:
- name: pks-service-catalog-hack_
jobs:
- name: pre-start-script
release: os-conf
properties:
script: |
#!/bin/bash
sed -i 's/--requestheader-allowed-names=aggregator$/--requestheader-allowed-names=aggregator,demo.pks.ik.am/g' /var/vcap/jobs/kube-apiserver/config/bpm.yml
include:
deployments:
- service-instance_
jobs:
- name: kube-apiserver
release: kubo
EOF
```
適用したいクラスタが複数ある場合は`addoins`以下の内容をコピー&ペーストして``を変えてください。
これをPKSのBOSH Directorに適用します。
```
bosh -n update-runtime-config --name=pks-service-catalog-hack pks-service-catalog-hack.yml --no-redact
```
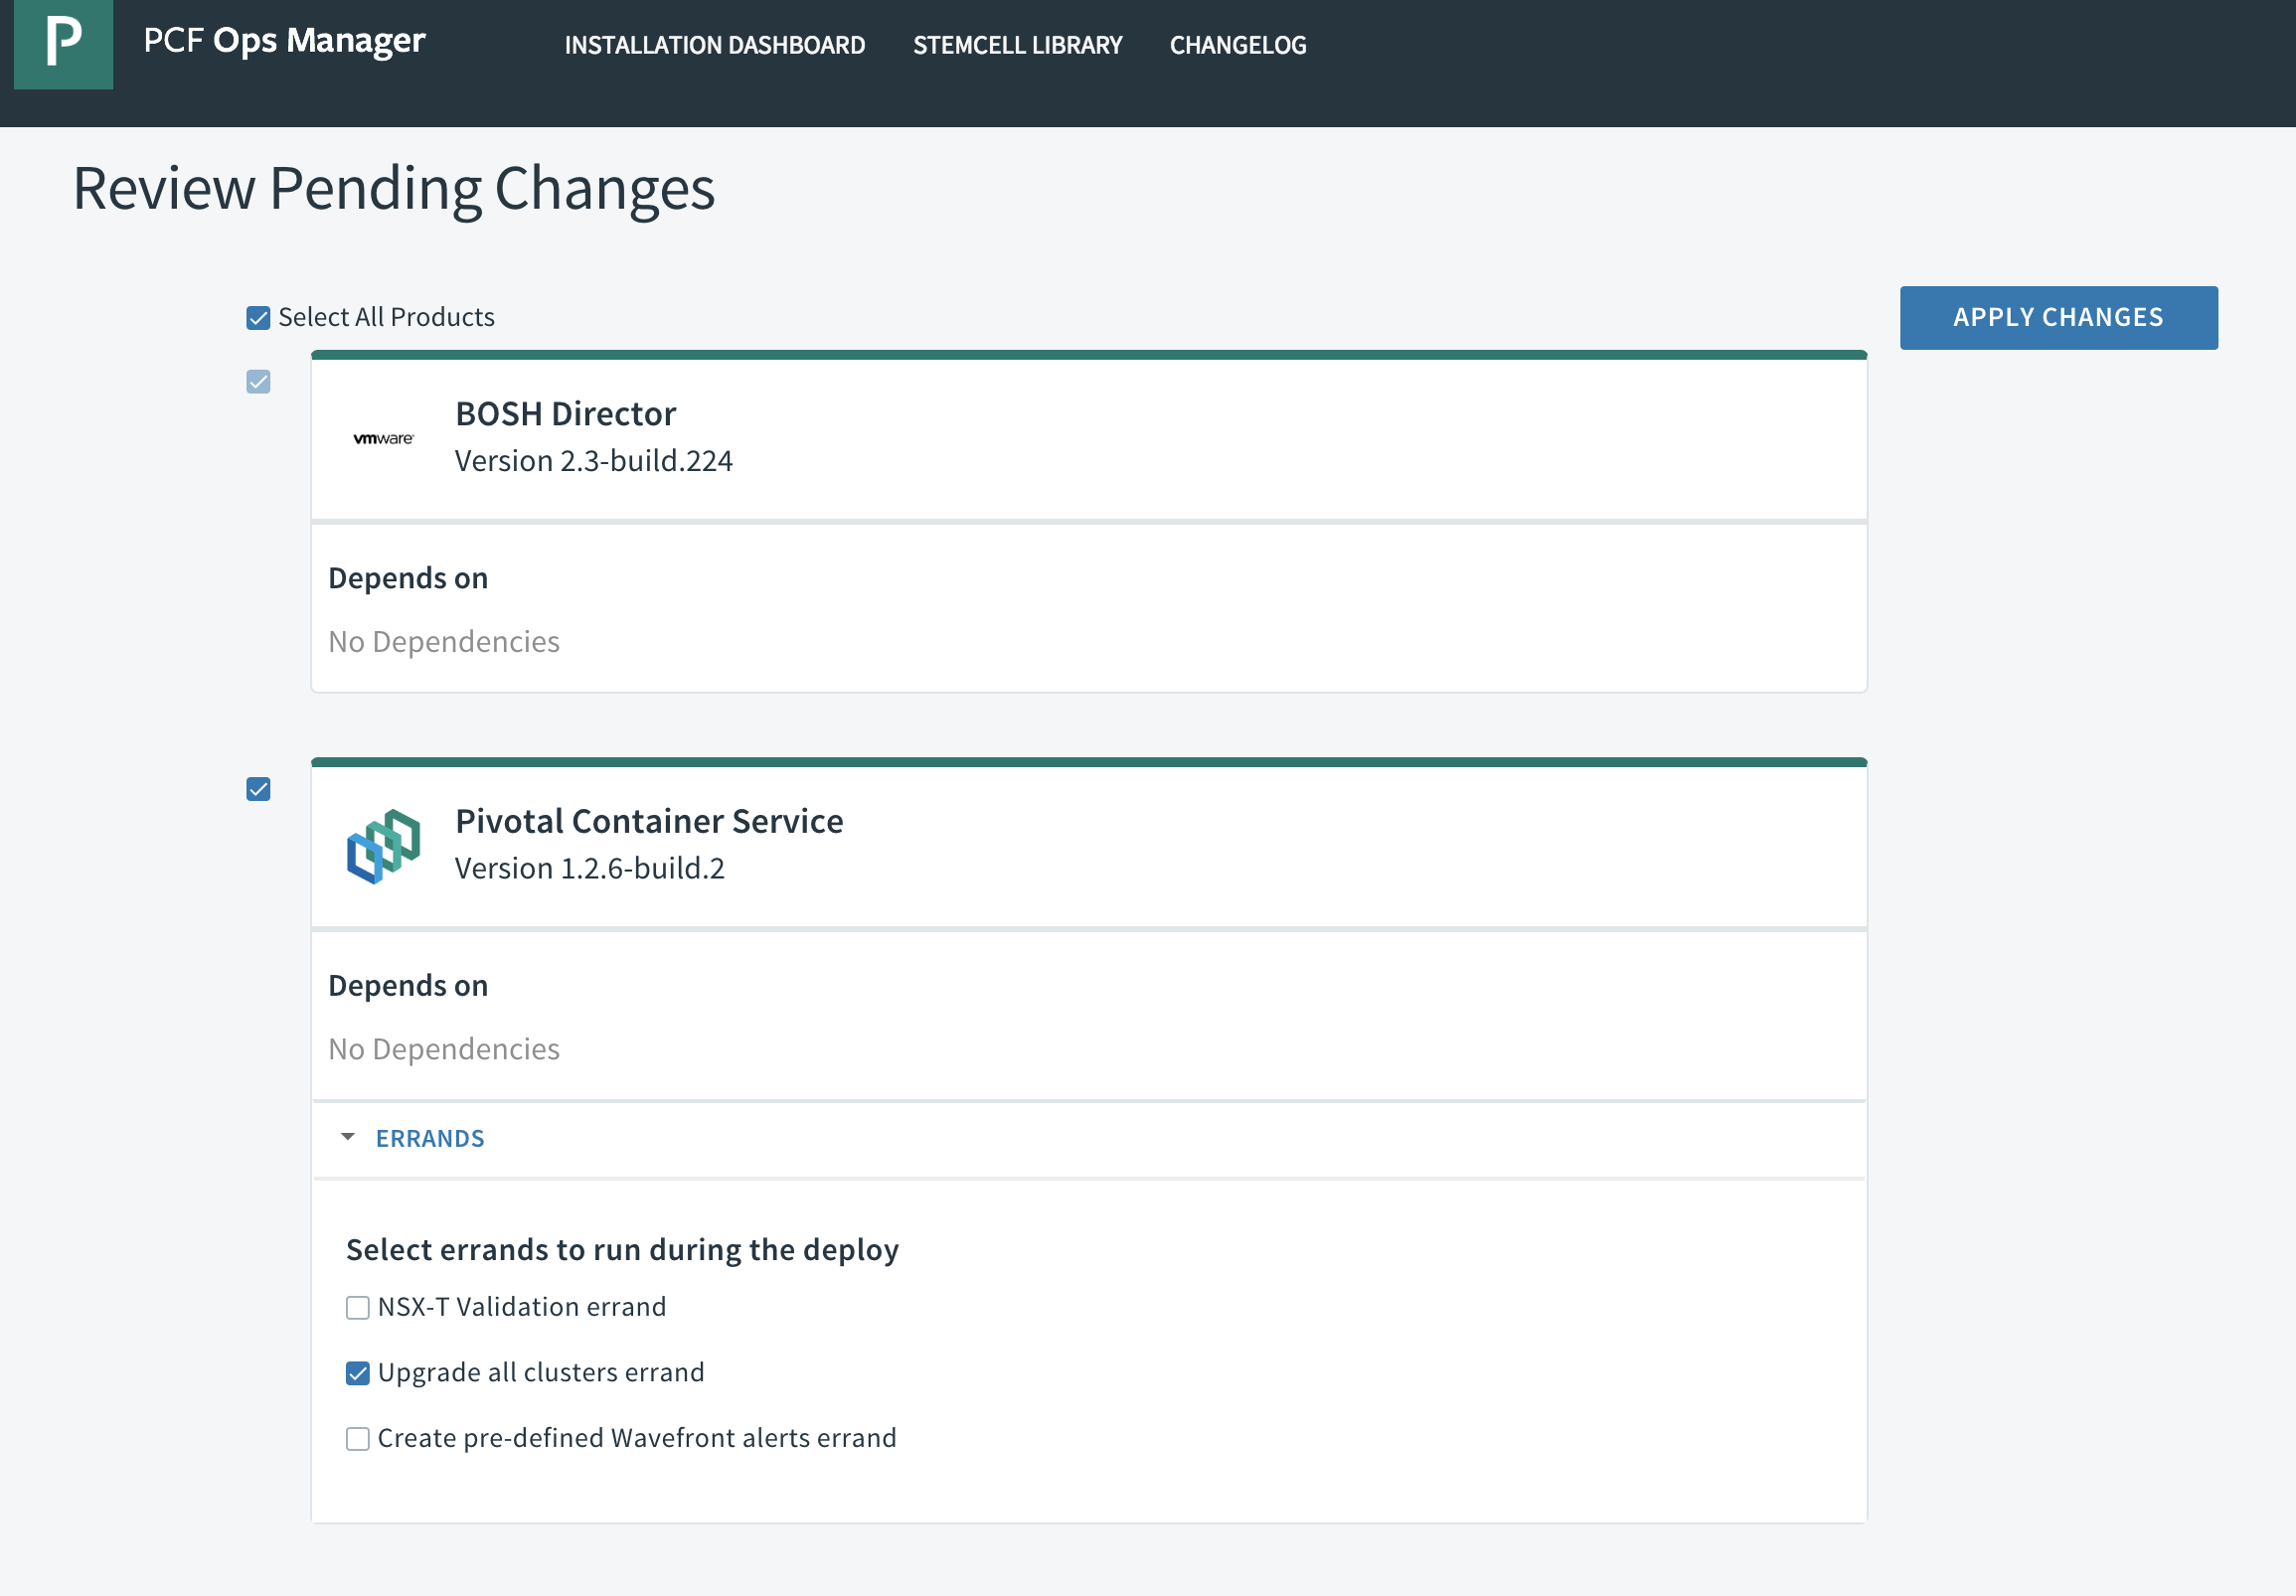
その後、Ops Manager上でApply Changesを実行します。その際、"Update all cluster errand"にチェックが入っていることを確認してください。
これでクラスタ名が``であるk8sのmaster vm上に上記のhackを適用できます。vmがrecreateされても大丈夫です。
少なくともPKS 1.2では動作しますが、1.3以降`/var/vcap/jobs/kube-apiserver/config/bpm.yml`の内容が変わると`sed`の条件が合致しなくなる可能性があります。
その場合はruntime configを修正してupdateする必要があります。
### サンプルのデプロイ
サンプルとしてKafka as a Serviceの[Cloud Karafka](https://www.cloudkarafka.com/)のインスタンスをプロビジョンしてくれるService Brokerをデプロイしてみます。
https://github.com/making/cloud-karafka-service-broker
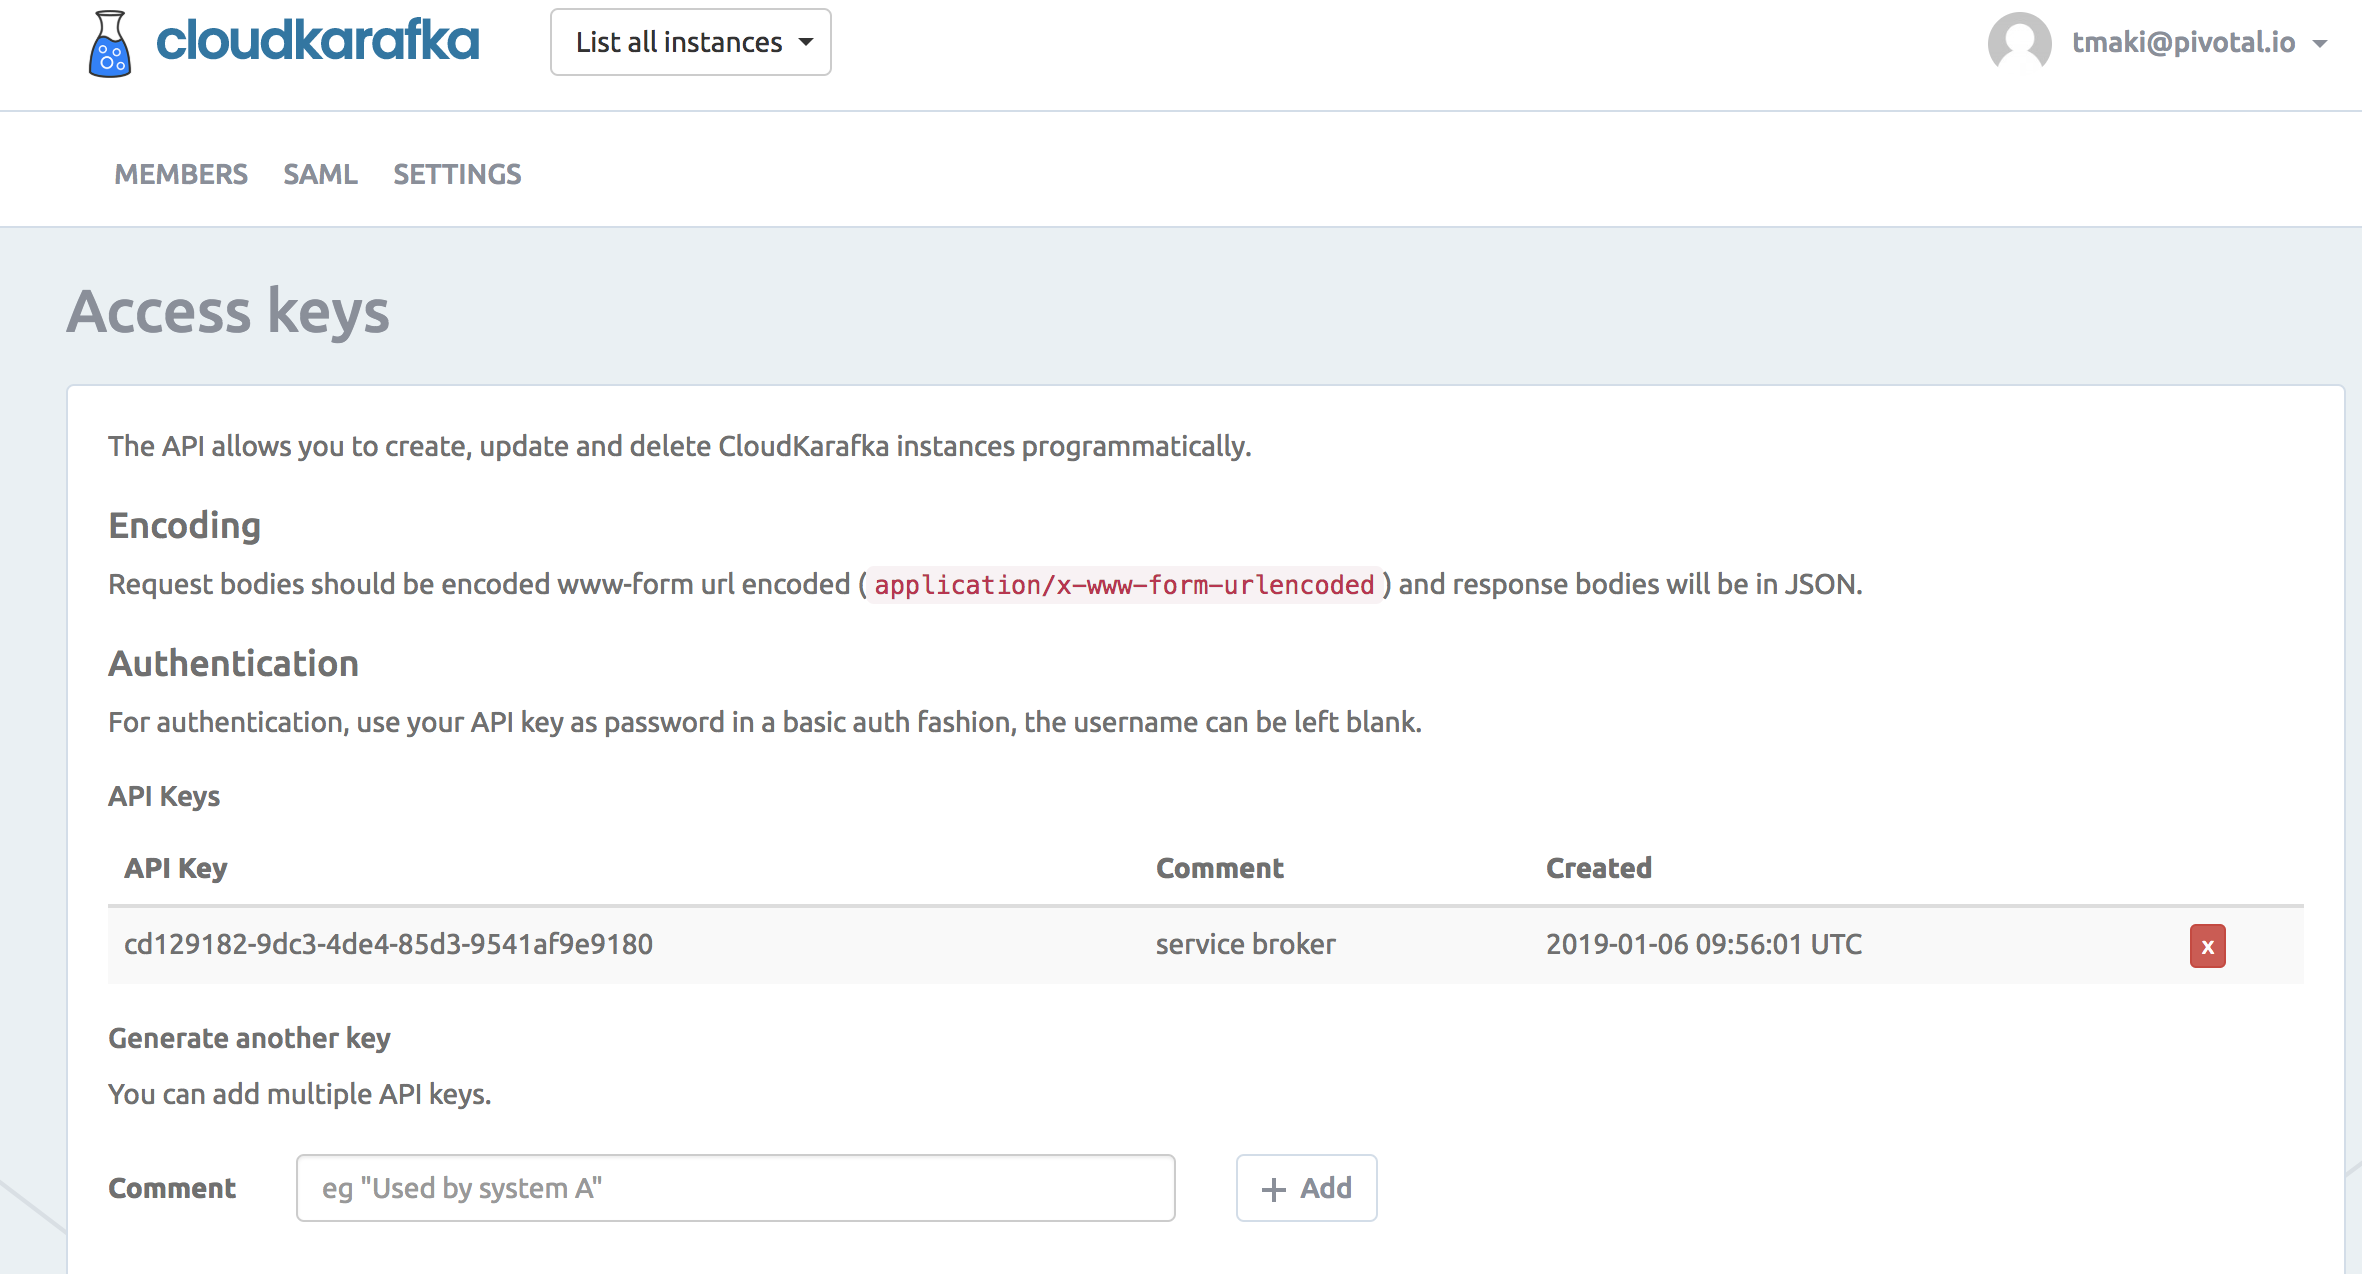
Cloud Karafkaのアカウントを作成して、[API Key](https://customer.cloudkarafka.com/team/api)を取得してください。
#### Service Brokerのデプロイ
まずはService Brokerを立ち上げます。
```
API_KEY=cd129182-9dc3-4de4-85d3-9541af9e9180
kubectl apply -f https://github.com/making/cloud-karafka-service-broker/raw/0.1.0/k8s/namespace.yml
kubectl create -n osb secret generic cloudkarafka-service-broker-secret \
--from-literal=username=admin\
--from-literal=password=password \
--from-literal=cloudkarafka-api-key=${API_KEY} \
--dry-run -o yaml > secret.yml
kubectl apply -f secret.yml
kubectl apply -f https://github.com/making/cloud-karafka-service-broker/raw/0.1.0/k8s/deployment.yml
```
次に`ClusterServiceBroker`リソースを作成します。次のようなmanifestになります。
```yaml
apiVersion: servicecatalog.k8s.io/v1beta1
kind: ClusterServiceBroker
metadata:
name: cloudkarafka
spec:
url: http://cloudkarafka-service-broker-service.osb.svc.cluster.local
authInfo:
basic:
secretRef:
name: cloudkarafka-service-broker-secret
namespace: osb
```
デプロイします。
```
kubectl apply -f https://github.com/making/cloud-karafka-service-broker/raw/0.1.0/k8s/cluster-service-broker.yml
```
`ClusterServiceClass`リソースと`ClusterServicePlan`リソースを確認します。
```
$ kubectl get clusterserviceclasses -o custom-columns=CLASS:.spec.externalName,DESCRIPTION:.spec.description
CLASS DESCRIPTION
cloudkarafka CloudKarafka
$ kubectl get clusterserviceplans -o custom-columns=CLASS:.spec.clusterServiceBrokerName,PLAN:.spec.externalName,DESCRIPTION:.spec.description
CLASS PLAN DESCRIPTION
cloudkarafka duck Developer Duck
```
ユーティリティCLIとして`svcat` CLIをインストールします。
```
brew install kubernetes-service-catalog-client
```
同じく`ClusterServiceClass`リソースと`ClusterServicePlan`リソースを確認します
```
$ svcat get classes
NAME NAMESPACE DESCRIPTION
+--------------+-----------+--------------+
cloudkarafka CloudKarafka
$ svcat get plans
NAME NAMESPACE CLASS DESCRIPTION
+------+-----------+--------------+----------------+
duck cloudkarafka Developer Duck
$ svcat marketplace
CLASS PLANS DESCRIPTION
+--------------+-------+--------------+
cloudkarafka duck CloudKarafka
```
#### Serice Instanceの作成
Karafkaサービスの実インスタンスとなる`ServiceInstance`リソースを作成します。次のようなmanifestになります。
```yaml
apiVersion: servicecatalog.k8s.io/v1beta1
kind: ServiceInstance
metadata:
name: demo-kafka
spec:
clusterServiceClassExternalName: cloudkarafka
clusterServicePlanExternalName: duck
```
デプロイします。
```
kubectl apply -f https://github.com/making/cloud-karafka-service-broker/raw/0.1.0/k8s/sample/service-instance.yml
```
`ServiceInstance`一覧を確認します。
```
$ kubectl get serviceinstances -n default
NAME CLASS PLAN STATUS AGE
demo-kafka ClusterServiceClass/cloudkarafka duck Ready 46s
```
`kubectl describe`で詳細を確認します。
```
$ kubectl describe serviceinstance -n default demo-kafka
Name: demo-kafka
Namespace: default
Labels:
Annotations: kubectl.kubernetes.io/last-applied-configuration:
{"apiVersion":"servicecatalog.k8s.io/v1beta1","kind":"ServiceInstance","metadata":{"annotations":{},"name":"demo-kafka","namespace":"defau...
API Version: servicecatalog.k8s.io/v1beta1
Kind: ServiceInstance
Metadata:
Creation Timestamp: 2019-01-06T11:52:16Z
Finalizers:
kubernetes-incubator/service-catalog
Generation: 1
Resource Version: 248
Self Link: /apis/servicecatalog.k8s.io/v1beta1/namespaces/default/serviceinstances/demo-kafka
UID: 83b979b6-11a9-11e9-9bad-8a484bfab1d8
Spec:
Cluster Service Class External Name: cloudkarafka
Cluster Service Class Ref:
Name: d21df959-6da8-495f-a8b6-ddc51d49eea2
Cluster Service Plan External Name: duck
Cluster Service Plan Ref:
Name: e64a8b50-be7f-48cf-9010-9ccb7fe075b5
External ID: 83b97931-11a9-11e9-9bad-8a484bfab1d8
Update Requests: 0
User Info:
Groups:
administrators
users
system:authenticated
UID:
Username: toshiaki
Status:
Async Op In Progress: false
Conditions:
Last Transition Time: 2019-01-06T11:52:19Z
Message: The instance was provisioned successfully
Reason: ProvisionedSuccessfully
Status: True
Type: Ready
Dashboard URL: https://customer.cloudkarafka.com/instance/6980/sso
Deprovision Status: Required
External Properties:
Cluster Service Plan External ID: e64a8b50-be7f-48cf-9010-9ccb7fe075b5
Cluster Service Plan External Name: duck
User Info:
Groups:
administrators
users
system:authenticated
UID:
Username: toshiaki
Observed Generation: 1
Orphan Mitigation In Progress: false
Provision Status: Provisioned
Reconciled Generation: 1
Events:
Type Reason Age From Message
---- ------ ---- ---- -------
Normal ProvisionedSuccessfully 2m51s service-catalog-controller-manager The instance was provisioned successfully
```
manifestの代わりに`svcat`で作ることもできます。
```
svcat provision -n default --class cloudkarafka demo-kafka --plan duck
```
`svcat`を使ってService Instanceの詳細を確認します。
```
$ svcat -n default describe instance demo-kafka
Name: demo-kafka
Namespace: default
Status: Ready - The instance was provisioned successfully @ 2019-01-06 11:52:19 +0000 UTC
DashboardURL: https://customer.cloudkarafka.com/instance/6980/sso
Class: cloudkarafka
Plan: duck
Parameters:
No parameters defined
Bindings:
No bindings defined
```
Cloud Karafkaの[インスタンス一覧](https://customer.cloudkarafka.com/instance)を確認すると、インスタンスが作成されていることがわかります。

インスタンス名にService InstanceのExternal IDが使われています。
#### Service Bindingの作成
次に`ServiceBinding`リソースを作成します。次のようなmanifestになります。
```yaml
apiVersion: servicecatalog.k8s.io/v1beta1
kind: ServiceBinding
metadata:
name: demo-kafka-binding
spec:
instanceRef:
name: demo-kafka
secretName: demo-kafka-secret
```
デプロイします。
```
kubectl apply -f https://github.com/making/cloud-karafka-service-broker/raw/0.1.0/k8s/sample/service-binding.yml
```
`ServiceBinding`一覧を確認します。
```
$ kubectl get servicebindings -n default
NAME SERVICE-INSTANCE SECRET-NAME STATUS AGE
demo-kafka-binding demo-kafka demo-kafka-secret Ready 6m
```
`demo-kafka-secret`という`Secret`リソースが作成されています。
```
$ kubectl describe secret -n default demo-kafka-secret
Name: demo-kafka-secret
Namespace: default
Labels:
Annotations:
Type: Opaque
Data
====
password: 32 bytes
topicPrefix: 9 bytes
username: 8 bytes
brokers: 107 bytes
ca: 2086 bytes
name: 39 bytes
```
#### サンプルアプリのデプロイ
Kafka Producerをデプロイします。
```
kubectl apply -f https://github.com/making/cloud-karafka-service-broker/raw/0.1.0/k8s/sample/producer.yml
```
Kafka Consumerをデプロイします。
```
kubectl apply -f https://github.com/making/cloud-karafka-service-broker/raw/0.1.0/k8s/sample/consumer.yml
```
Serviceは`NodePort`で公開されています。
```
$ kubectl get service,pod -n default
NAME TYPE CLUSTER-IP EXTERNAL-IP PORT(S) AGE
service/demo-kafka-consumer-service NodePort 10.100.200.113 80:31876/TCP 6m
service/demo-kafka-producer-service NodePort 10.100.200.57 80:30776/TCP 19m
service/kubernetes ClusterIP 10.100.200.1 443/TCP 1d
NAME READY STATUS RESTARTS AGE
pod/demo-kafka-consumer-dd94c966b-jsgv6 1/1 Running 0 6m
pod/demo-kafka-producer-7b44d795d4-drg89 1/1 Running 0 19m
```
Consumerにアクセスします。Server-Sent Eventでメッセージが流れます。
```
curl :31876/messages
```
Producerにメッセージを送ります。
```
curl :30776/messages -H Content-Type:text/plain -d Hello
curl :30776/messages -H Content-Type:text/plain -d Hello2
```
Consumer側にメッセージが流れます。
```
data:Hello
data:Hello2
```
これで次のようなデータの流れが実現できました。
```
Producer -> [Cloud Karafka] -> Consumer
```
Cloud KarafkaのインスタンスはService Broker経由で`ServiceInstance`リソースとして作成され、
アクセスするためにCredentials情報は`ServiceBinding`リソースで作成され`Secret`に保存されています。
これでDeveloperがCloud Karafkaのコンソールでインスタンスを作成してCredentialsをコピーしてSecretを手で作成しなくて済みます。
次は[AWS Service Broker](https://github.com/awslabs/aws-servicebroker/)を試したい。