Pivotal Container Service (PKS) 1.3をCLIでAzureにインストールするメモ
PKS 1.3をAzureインストールするメモです。
PKSはクラウド非依存のGKEとかAKSみたいなソフトウェアで、k8s自体をインストールする以上の話になります。 なので、本記事でk8sクラスタ作成までちょっと作業が多いです。単純にGKEやAKSのクラスタ作成と比較するのはフェアではないです。
この記事では環境作成をCIで自動化するための事前作業としてCLIで手作業した内容のメモです。 PKSを初めて使う場合はGUI(Web UI)で操作することが多いので、この記事はAdvancedな内容です。
公式なインストール手順はこちらです。
目次
CLIのインストール
各種CLIをインストールします。
omはPKSをインストールするGUIであるOpsManagerをCLIで操作するためのツールです。
pivnetはPKSやテンプレートVMのStemcellをCLIでダウンロードするためのツールです。
az-automationはTerraform用のAzureアカウントを作成するツールです。
brew tap starkandwayne/cf
brew install om
brew tap pivotal/tap
brew install pivnet-cli
brew tap genevieve/tap
brew install azure-cli
brew install az-automation
$ om --version
0.50.0
$ pivnet --version
0.0.55
$ az --version
azure-cli (2.0.54)
TerraformでAzureの環境作成
az login済みの前提です。
Terraformのtemplateを取得します。この記事の内容はc4c5a3170f0f7da06535c2523e98fe4a98fad8c4で試しました。
git clone https://github.com/pivotal-cf/terraforming-azure.git
az-automationでアカウント作成します。引数は適当に変えてください。
az-automation \
  --account xxxxxxxx-xxxx-xxxx-xxxx-xxxxxxxxxxxx \
  --identifier-uri http://tf.maki \
  --display-name tf-maki \
  --credential-output-file creds.vars
creds.varsにアカウント情報が出力されます。
terraform.tfvarsを作成します。
ops_manager_image_uriはPivotal NetworkのPivotal Cloud Foundry Ops Manager for Azureから取得可能です。2.4の最新版のイメージを取得するのがオススメです。
terraform.tfvarsを作成しますenv_name、env_short_name(-を含めてはいけない)、dns_suffix、locationは好きなように変更してください。
sed -e 's/= /= "/g' -e 's/$/"/g' creds.vars > terraform.tfvars
cat <<EOF >> terraform.tfvars
env_name = "pks"
env_short_name = "pks"
location = "Japan East"
ops_manager_image_uri = "https://opsmanagersoutheastasia.blob.core.windows.net/images/ops-manager-2.4-build.131.vhd"
dns_suffix = "ik.am"
vm_admin_username = "admin"
EOF
執筆時点ではAKSはJapan Westで利用できませんが、PKSはJapan Westにもインストール可能です。
用意されているTerraformのテンプレートのnetwork security groupが少し都合が悪いので、ポートを変更します。
sed -i.bak \
  -e 's/mysql-healthcheck/pks-api/g' \
  -e 's/destination_port_range     = 1936/destination_port_range     = 9021/g' \
  -e 's/diego-ssh/uaa/g' \
  -e 's/destination_port_range     = 2222/destination_port_range     = 8443/g' \
  terraforming-azure/modules/infra/main.tf
terraformを実行します。
terraform init \
          terraforming-azure/terraforming-pks
terraform plan \
          -out=plan \
          terraforming-azure/terraforming-pks
terraform apply "plan"
しばらくするとPKSをインストールするために必要な諸々のリソースが作成されます。

以下をDNSのAレコードに登録します。
OpsManager
- hostname
terraform output -json | jq -r .ops_manager_dns.value - public-ip
terraform output -json | jq -r .ops_manager_ip.value
PKS API
- hostname
terraform output -json | jq -r .ops_manager_dns.value | sed 's/pcf/pks/g' - public-ip
cat terraform.tfstate | jq -r '.modules[] | select(.path[1] == "pks") | .resources["azurerm_public_ip.pks-lb-ip"].primary.attributes.ip_address'
DNSが使えない場合はIPアドレスを使っても良いですが、この記事はDNS名前提になっているので読み替えが必要です。
DNSに登録した場合はhttps://pcf.(env_name).(dns_suffix)でOpsManagerにアクセスできます。DNSを使わない場合はterraform output -json | jq -r .ops_manager_ip.valueのIPアドレスに直接アクセスしてください。
全てCLIで設定するのでブラウザでは操作しないでください。
OpsManagerの設定
omコマンドでOpsManagerの初期設定を行います。
管理者ユーザーを作成します。usernameやpasswordは適当に変更してください。
export OM_USERNAME=admin
export OM_PASSWORD=pkssword
export OM_DECRYPTION_PASSPHRASE=pkssword
export OM_TARGET=https://`terraform output -json | jq -r .ops_manager_dns.value`
export OM_SKIP_SSL_VALIDATION=true

om configure-authentication \
   --username $OM_USERNAME \
   --password $OM_PASSWORD \
   --decryption-passphrase $OM_DECRYPTION_PASSPHRASE
configuring internal userstore...
waiting for configuration to complete...
configuration complete
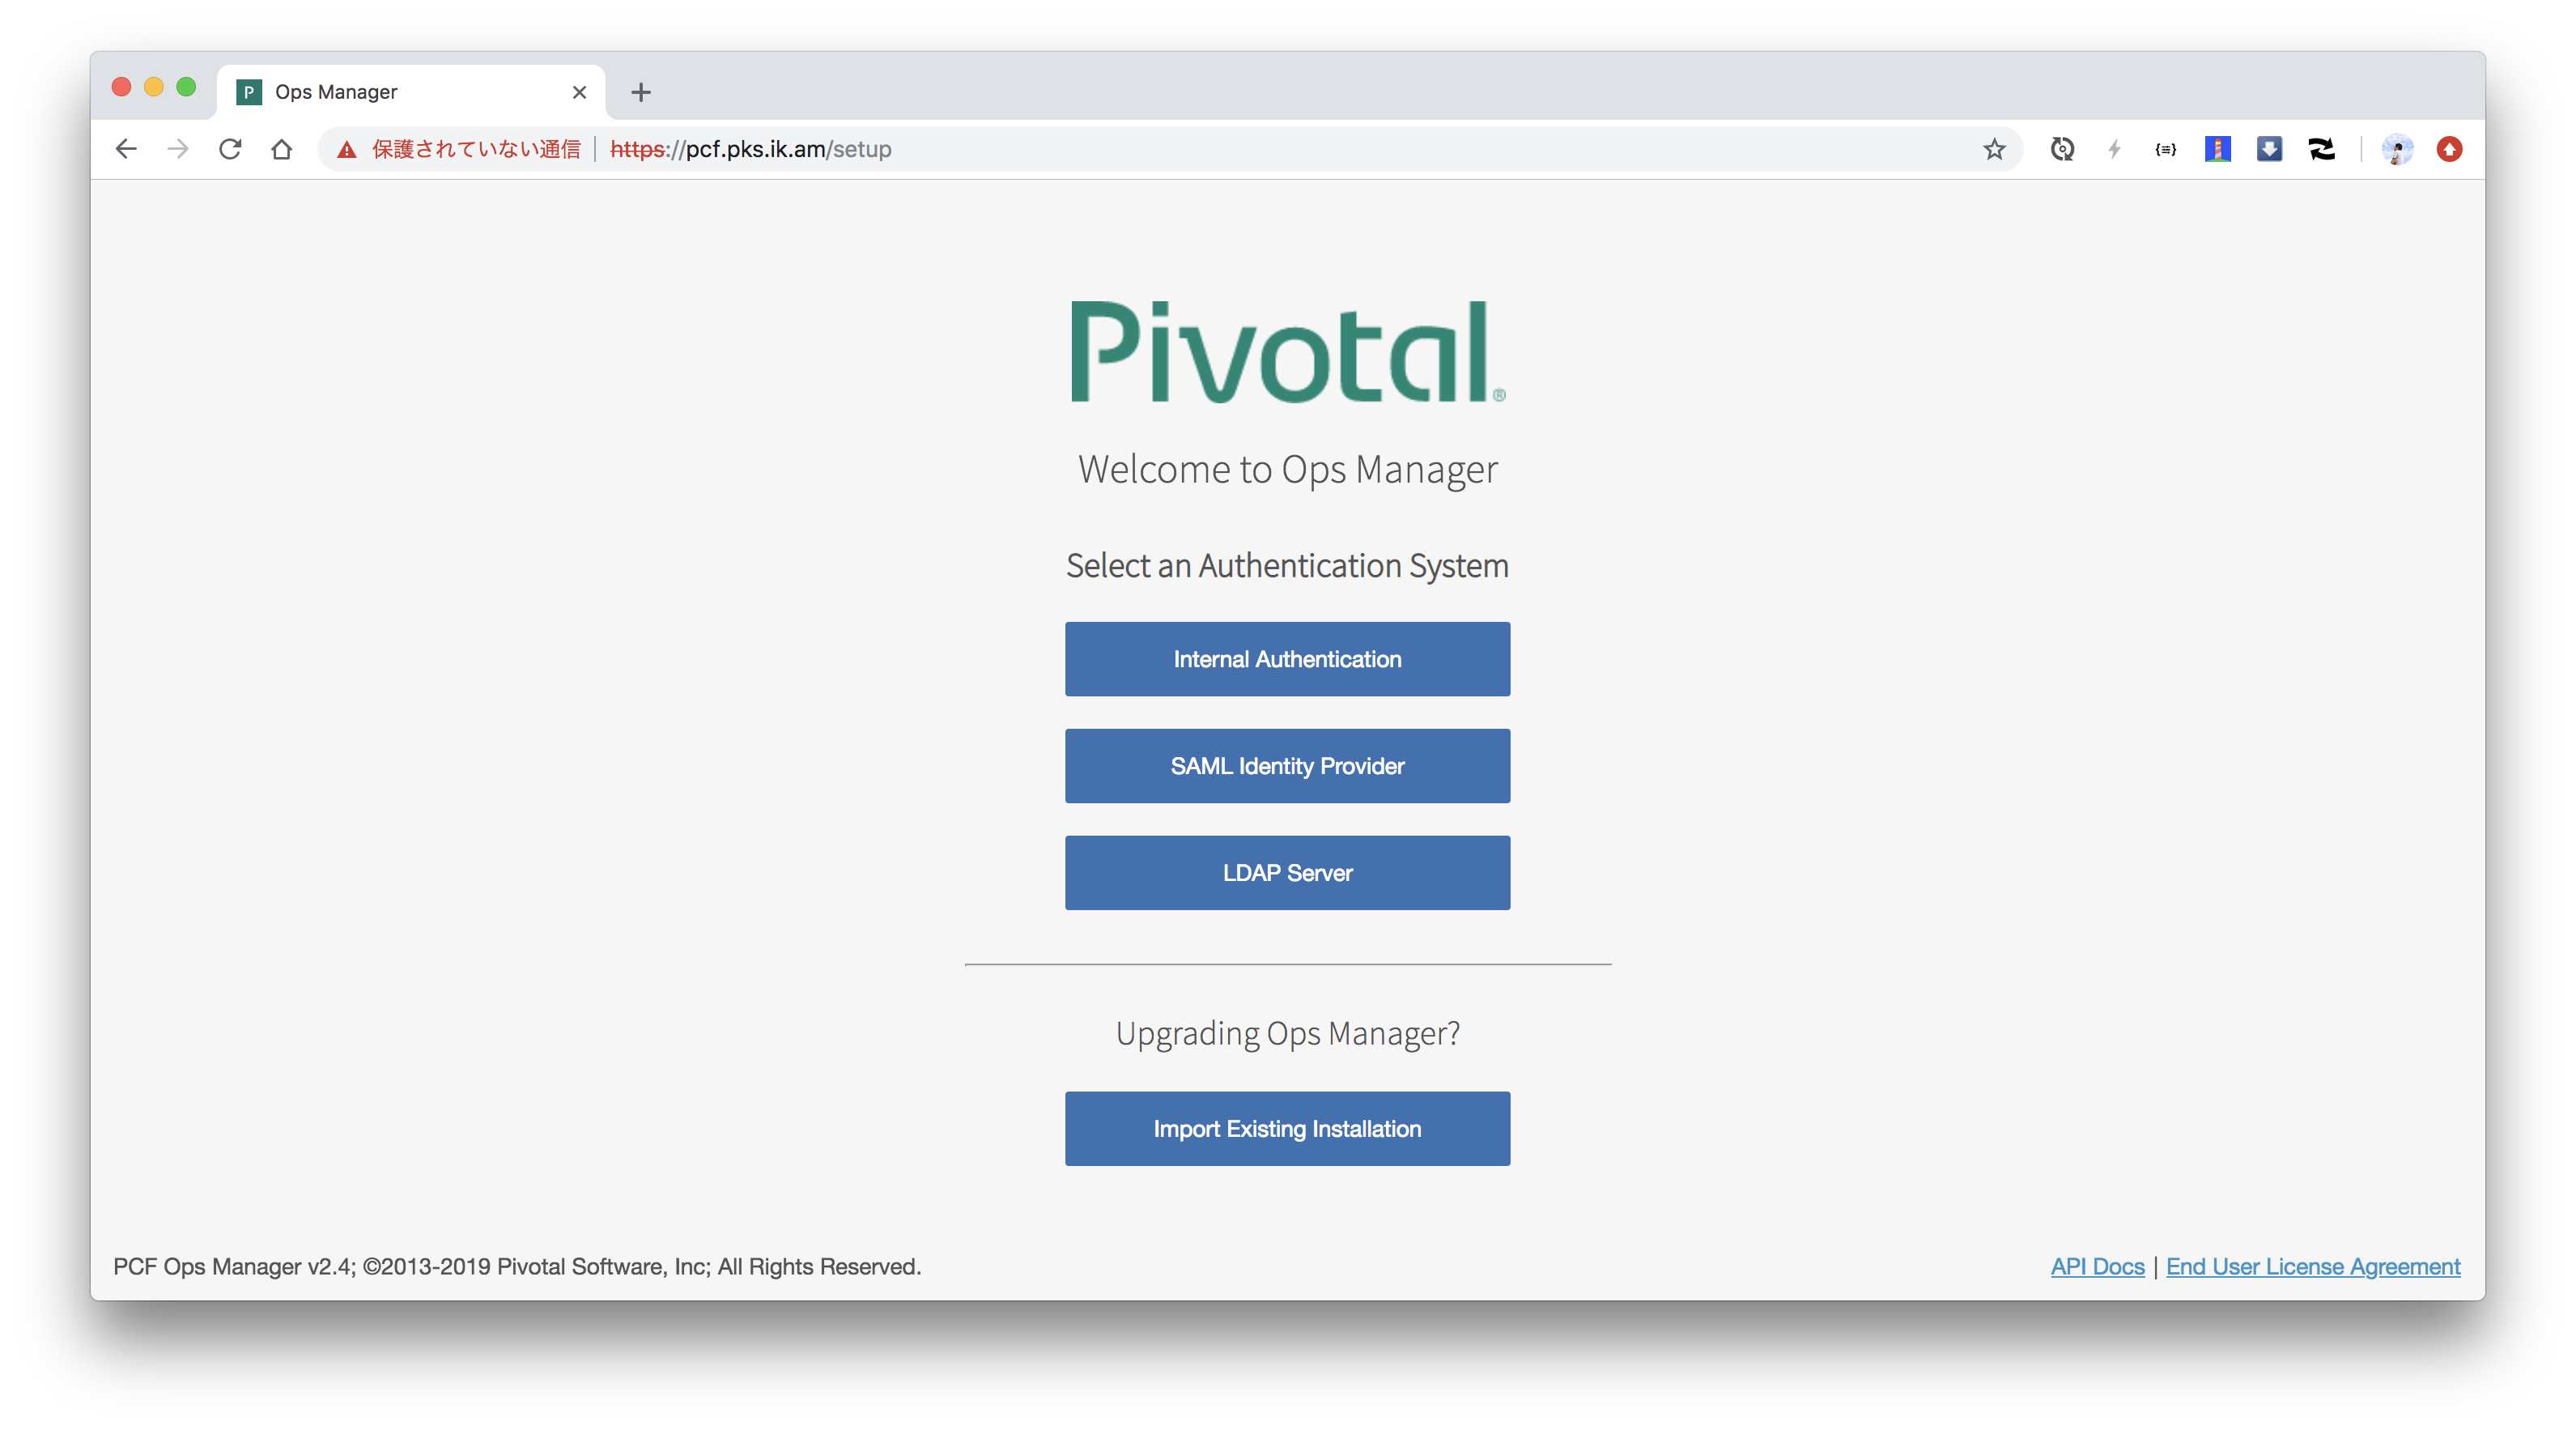
OpsManagerにアクセスするとログイン画面が表示されます。

管理者ユーザーでログインできます。
OpsManagerはデフォルトで自己署名のTLS証明書が使われています。自前の証明書(Let's encryptで取得したもの等)を使う場合は次のコマンドで設定できます。 この作業はオプションです。
om update-ssl-certificate \
   --certificate-pem="$(cat ~/path-to-letsencrypt/fullchain.pem)" \
   --private-key-pem="$(cat ~/path-to-letsencrypt/privkey.pem)"
Successfully applied custom SSL Certificate.
Please allow about 1 min for the new certificate to take effect.

BOSH Directorの設定
PKSのControl Plane (API Server)やKubernetesのインストール、アップデート、死活監視、自動復旧を担うBOSH Directorをインストールするための設定を行います。 必要な情報はterraformのoutputに含まれているので、terraformのoutputからBOSH Directorを設定するためのYAMLを生成します。
export SUBSCRIPTION_ID=$(terraform output -json | jq -r '.subscription_id.value')
export TENANT_ID=$(terraform output -json | jq -r '.tenant_id.value')
export CLIENT_ID=$(terraform output -json | jq -r '.client_id.value')
export CLIENT_SECRET=$(terraform output -json | jq -r '.client_secret.value')
export RESOURCE_GROUP_NAME=$(terraform output -json | jq -r '.pcf_resource_group_name.value')
export BOSH_STORAGE_ACCOUNT_NAME=$(terraform output -json | jq -r '.bosh_root_storage_account.value')
export DEPLOYMENTS_STORAGE_ACCOUNT_NAME=$(terraform output -json | jq -r '.wildcard_vm_storage_account.value')
export DEFAULT_SECURITY_GROUP=$(terraform output -json | jq -r '.bosh_deployed_vms_security_group_name.value')
export OPS_MANAGER_SSH_PUBLIC_KEY=$(terraform output -json | jq -r '.ops_manager_ssh_public_key.value' | sed 's/^/      /')
export OPS_MANAGER_SSH_PRIVATE_KEY=$(terraform output -json | jq -r '.ops_manager_ssh_private_key.value' | sed 's/^/      /')
export NETWORK_NAME=$(terraform output -json | jq -r '.network_name.value')
export MANAGEMENT_SUBNET_NAME=$(terraform output -json | jq -r '.management_subnet_name.value')
export MANAGEMENT_SUBNET_CIDRS=$(terraform output -json | jq -r '.management_subnet_cidrs.value[0]')
export MANAGEMENT_SUBNET_GATEWAY=$(terraform output -json | jq -r '.management_subnet_gateway.value')
export MANAGEMENT_RESERVED_IP_RANGES="$(echo $MANAGEMENT_SUBNET_CIDRS | sed 's|0/26$|1|g')-$(echo $MANAGEMENT_SUBNET_CIDRS | sed 's|0/26$|9|g')"
export PKS_SUBNET_NAME=$(terraform output -json | jq -r '.pks_subnet_name.value')
export PKS_SUBNET_CIDRS=$(terraform output -json | jq -r '.pks_subnet_cidrs.value[0]')
export PKS_SUBNET_GATEWAY=$(terraform output -json | jq -r '.pks_subnet_gateway.value')
export PKS_RESERVED_IP_RANGES="$(echo $PKS_SUBNET_CIDRS | sed 's|0/22$|1|g')-$(echo $PKS_SUBNET_CIDRS | sed 's|0/22$|9|g')"
export SERVICES_SUBNET_NAME=$(terraform output -json | jq -r '.services_subnet_name.value')
export SERVICES_SUBNET_CIDRS=$(terraform output -json | jq -r '.services_subnet_cidrs.value[0]')
export SERVICES_SUBNET_GATEWAY=$(terraform output -json | jq -r '.services_subnet_gateway.value')
export SERVICES_RESERVED_IP_RANGES="$(echo $SERVICES_SUBNET_CIDRS | sed 's|0/22$|1|g')-$(echo $SERVICES_SUBNET_CIDRS | sed 's|0/22$|9|g')"
export OPS_MGR_TRUSTED_CERTS=""

cat <<EOF > config.yml
networks-configuration:
  icmp_checks_enabled: false
  networks:
  - name: pks-infrastructure-network
    subnets:
    - iaas_identifier: $NETWORK_NAME/$MANAGEMENT_SUBNET_NAME
      cidr: $MANAGEMENT_SUBNET_CIDRS
      reserved_ip_ranges: $MANAGEMENT_RESERVED_IP_RANGES
      dns: "168.63.129.16"
      gateway: $MANAGEMENT_SUBNET_GATEWAY
  - name: pks-network
    subnets:
    - iaas_identifier: $NETWORK_NAME/$PKS_SUBNET_NAME
      cidr: $PKS_SUBNET_CIDRS
      reserved_ip_ranges: $PKS_RESERVED_IP_RANGES
      dns: "168.63.129.16"
      gateway: $PKS_SUBNET_GATEWAY
  - name: pks-services-network
    subnets:
    - iaas_identifier: $NETWORK_NAME/$SERVICES_SUBNET_NAME
      cidr: $SERVICES_SUBNET_CIDRS
      reserved_ip_ranges: $SERVICES_RESERVED_IP_RANGES
      dns: "168.63.129.16"
      gateway: $SERVICES_SUBNET_GATEWAY
network-assignment:
  network:
    name: pks-infrastructure-network
properties-configuration:
  iaas_configuration:
    subscription_id: $SUBSCRIPTION_ID
    tenant_id: $TENANT_ID
    client_id: $CLIENT_ID
    client_secret: $CLIENT_SECRET
    resource_group_name: $RESOURCE_GROUP_NAME
    bosh_storage_account_name: $BOSH_STORAGE_ACCOUNT_NAME
    cloud_storage_type: storage_accounts
    cloud_storage_type: managed_disks
    storage_account_type: Standard_LRS
    default_security_group: $DEFAULT_SECURITY_GROUP
    ssh_public_key: |
$OPS_MANAGER_SSH_PUBLIC_KEY
    ssh_private_key: |
$OPS_MANAGER_SSH_PRIVATE_KEY
    environment: AzureCloud
  director_configuration:
    ntp_servers_string: "0.pool.ntp.org,1.pool.ntp.org,2.pool.ntp.org,3.pool.ntp.org"
    resurrector_enabled: true
    post_deploy_enabled: true
    database_type: internal
    blobstore_type: local
  security_configuration:
    trusted_certificates: "$OPS_MGR_TRUSTED_CERTS"
    vm_password_type: generate
  syslog_configuration: {}
resource-configuration:
  director:
    instance_type:
      id: automatic
  compilation:
    instance_type:
      id: automatic
EOF
om CLIでこのYAMLを設定します。
om configure-director \
   --config config.yml
started configuring director options for bosh tile
finished configuring director options for bosh tile
started configuring network options for bosh tile
finished configuring network options for bosh tile
started configuring network assignment options for bosh tile
finished configuring network assignment options for bosh tile
started configuring resource options for bosh tile
applying resource configuration for the following jobs:
	compilation
	director
finished configuring resource options for bosh tile
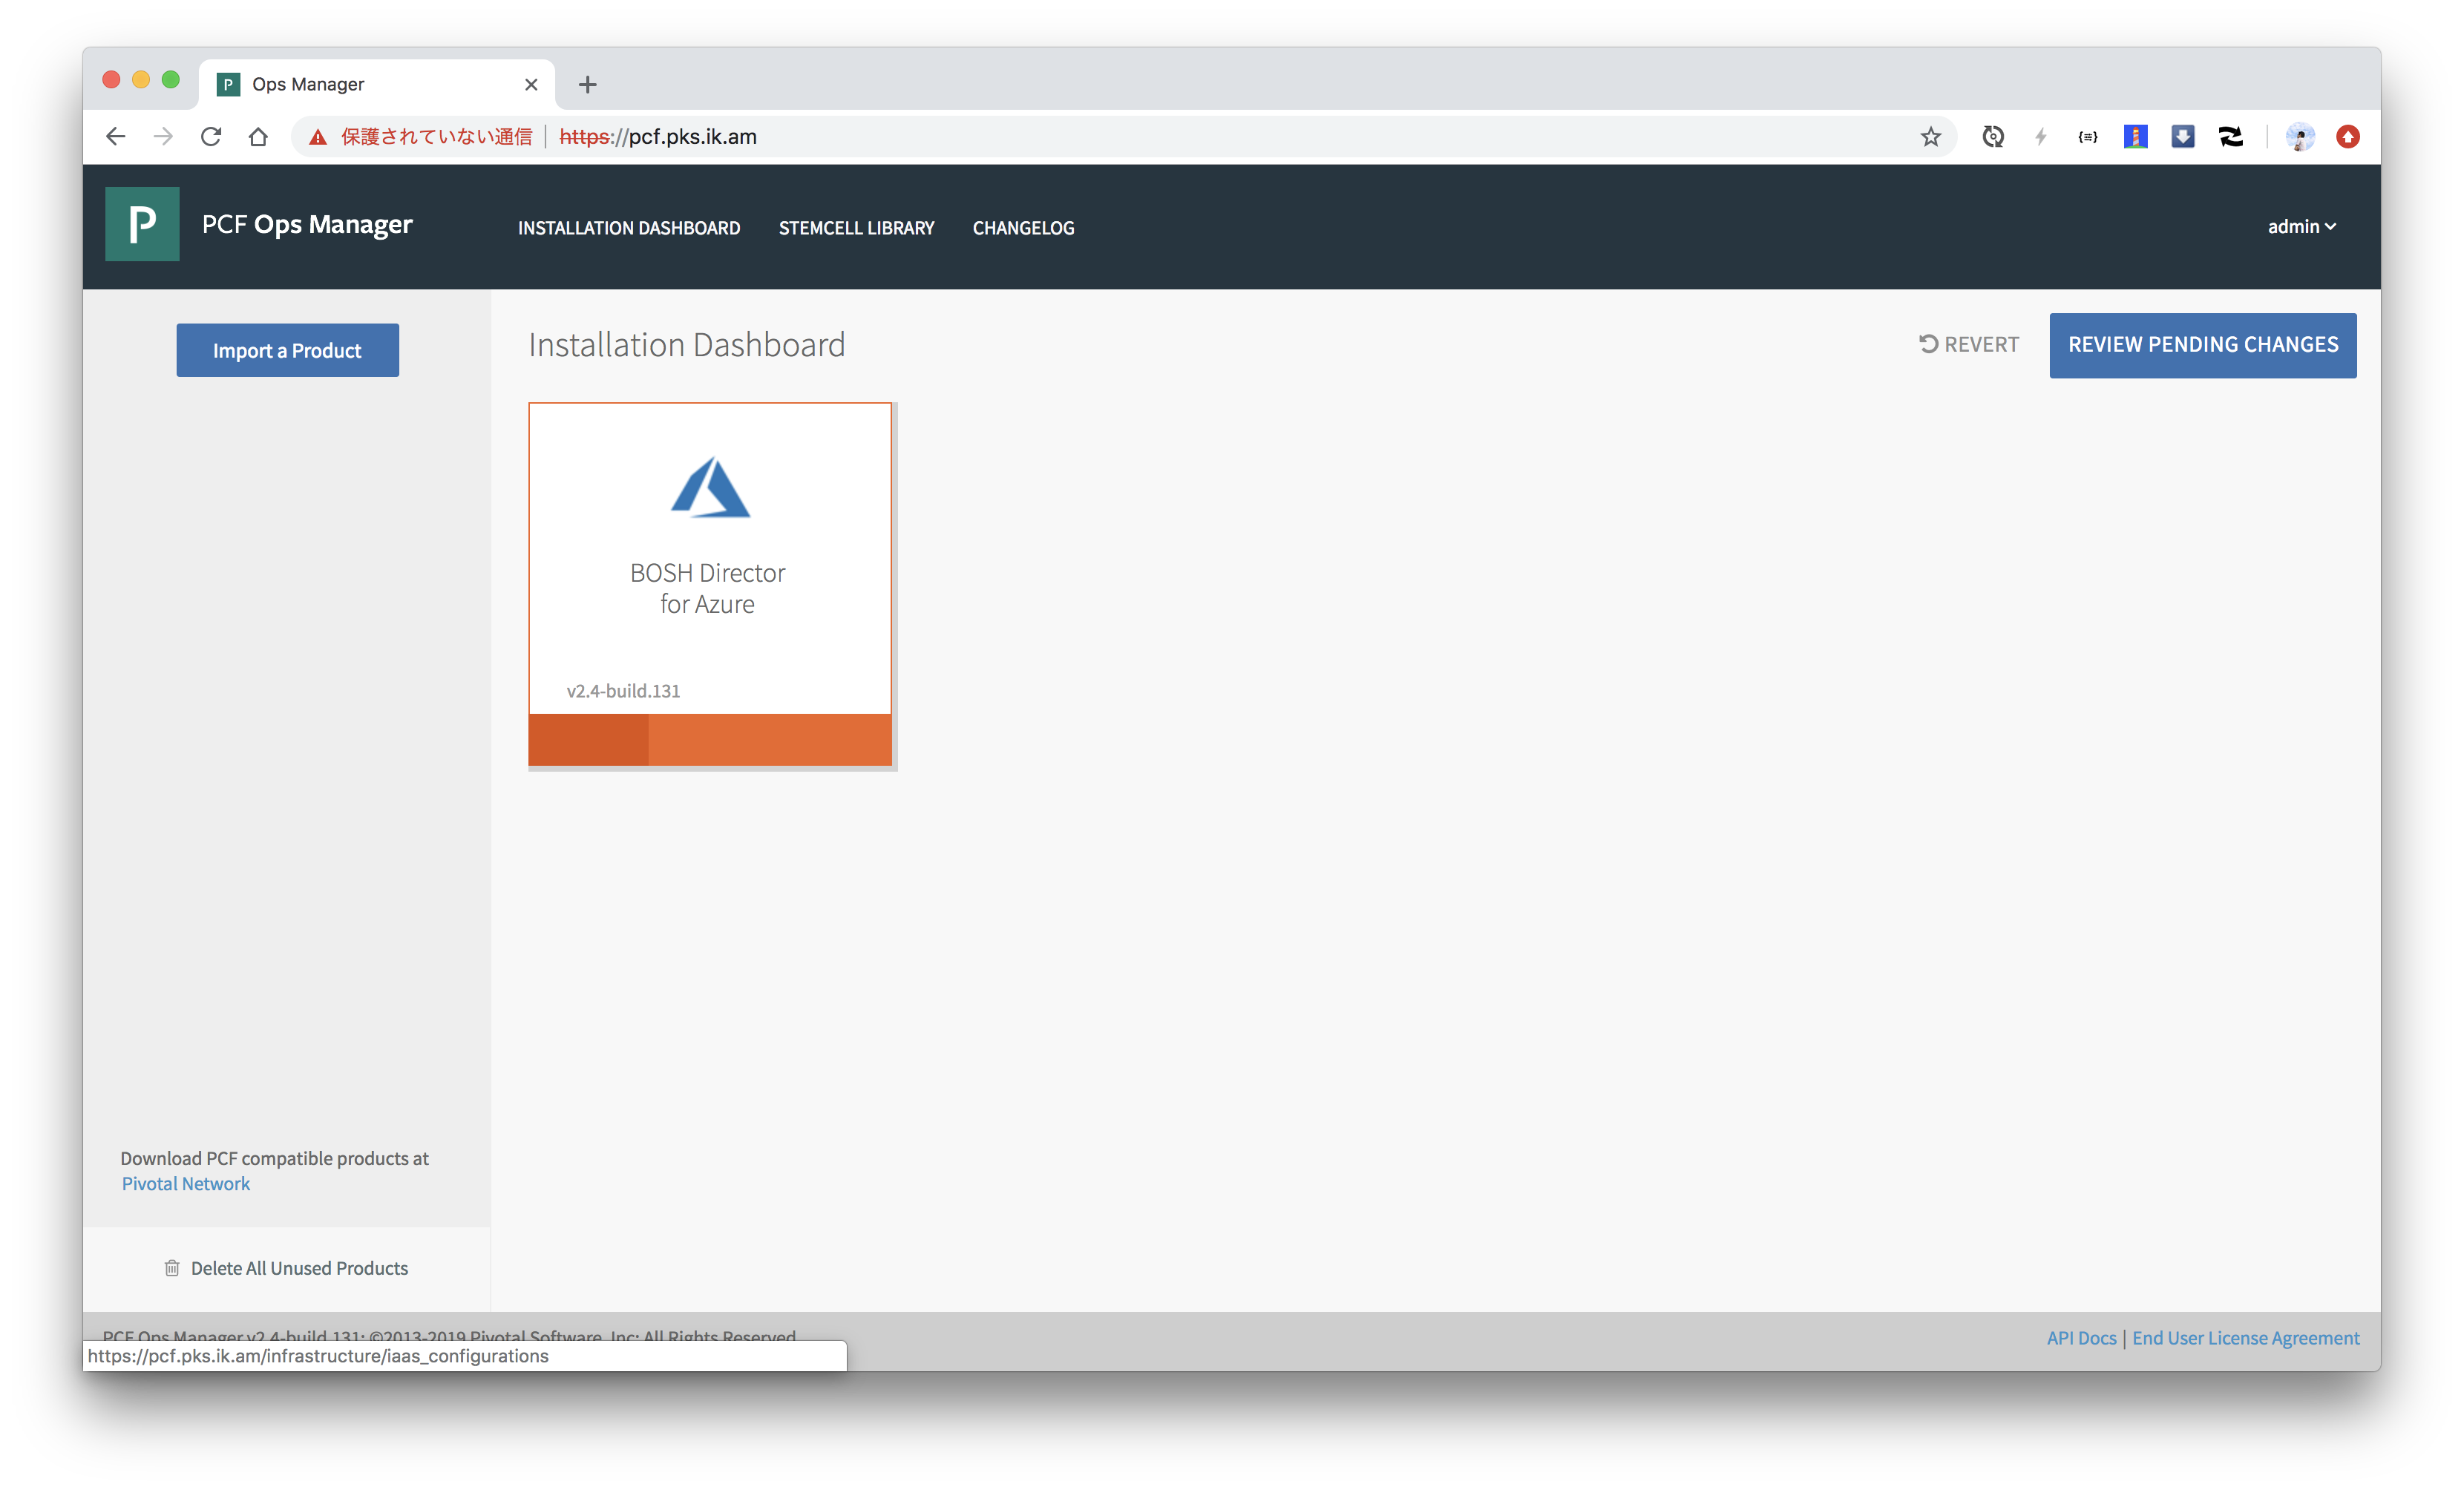
オレンジ色だった箇所が緑色になれば設定完了です。
AzureのManaged Identities作成
KubernetesのMaster, WorkerがAzureを操作する権限を制限するためにManaged Indentiesを作成します。
なぜかTerraformのテンプレートに含まれていないので、azコマンドで作成します。
Master用
cat <<EOF > pks_master_role.json
{
    "Name":  "PKS master",
    "IsCustom":  true,
    "Description":  "Permissions for PKS master",
    "Actions":  [
        "Microsoft.Network/*",
        "Microsoft.Compute/disks/*",
        "Microsoft.Compute/virtualMachines/write",
        "Microsoft.Compute/virtualMachines/read",
        "Microsoft.Storage/storageAccounts/*"
    ],
    "NotActions":  [

    ],
    "DataActions":  [

    ],
    "NotDataActions":  [

    ],
    "AssignableScopes":  [
      "/subscriptions/${SUBSCRIPTION_ID}/resourceGroups/${RESOURCE_GROUP_NAME}"
    ]
}
EOF
az role definition create --role-definition pks_master_role.json
az identity create -g ${RESOURCE_GROUP_NAME} -n pks-master

az role assignment create \
  -g ${RESOURCE_GROUP_NAME} \
  --role "PKS master" \
  --assignee-object-id `az identity list -g ${RESOURCE_GROUP_NAME} | jq -r '.[] | select(.name == "pks-master") | .principalId'`
Managed Identity名が重複していたら
Nameを変更してください。企業アカウントを使っている場合は、重複する可能性があります。
Worker用
cat <<EOF > pks_worker_role.json
{
    "Name":  "PKS worker",
    "IsCustom":  true,
    "Description":  "Permissions for PKS worker",
    "Actions":  [
        "Microsoft.Storage/storageAccounts/*"
    ],
    "NotActions":  [

    ],
    "DataActions":  [

    ],
    "NotDataActions":  [

    ],
    "AssignableScopes":  [
      "/subscriptions/${SUBSCRIPTION_ID}/resourceGroups/${RESOURCE_GROUP_NAME}"
    ]
}
EOF
az role definition create --role-definition pks_worker_role.json
az identity create -g ${RESOURCE_GROUP_NAME} -n pks-worker

az role assignment create \
  -g ${RESOURCE_GROUP_NAME} \
  --role "PKS worker" \
  --assignee-object-id `az identity list -g ${RESOURCE_GROUP_NAME} | jq -r '.[] | select(.name == "pks-worker") | .principalId'`
PKSの設定
まずはPKSをPivotal Networkからダウンロードします。
PIVNET_TOKENはPivotal NetworkのProfileページから取得できます。
PIVNET_TOKEN=xxxxxxxxxxxxxxxxxxxxxxxxxxxxxxxxxxxxxxxxxxxxxxxxxxxxxxxxxxxx
pivnet login --api-token=${PIVNET_TOKEN}
Logged-in successfully
pivnet CLIでダウンロードします。ダウンロードしたいバージョンは-rで指定します。
pivnet product-filesでダウンロード対象のファイル群を確認できます。
pivnet product-files -p pivotal-container-service -r 1.3.0
+--------+---------------------------+----------------+---------------------+------------------------------------------------------------------+------------------------------------------------------------------------------------------+
|   ID   |           NAME            |  FILE VERSION  |      FILE TYPE      |                              SHA256                              |                                      AWS OBJECT KEY                                      |
+--------+---------------------------+----------------+---------------------+------------------------------------------------------------------+------------------------------------------------------------------------------------------+
| 292401 | PKS OSL 1.3.0             | 1.3.0          | Open Source License |                                                                  | product-files/pivotal-container-service/PKS_OSL_1.3.0.txt                                |
| 289735 | Pivotal Container Service | 1.3.0-build.38 | Software            | 9bc9914b9e35014ba34d4a7bef91498f8ac76196fa78fa42ff71317a8657fc1b | product-files/pivotal-container-service/pivotal-container-service-1.3.0-build.38.pivotal |
| 278453 | Kubectl 1.12.4 - Mac      | 1.3.0-build.30 | Software            | 4c76cb796344a10291157acc66fd3afc56f065663b15bf798b30a7a622731d16 | product-files/pivotal-container-service/kubectl-darwin-amd64-1.12.4                      |
| 278454 | Kubectl 1.12.4 - Linux    | 1.3.0-build.30 | Software            | 0258d3af3597a938fadc885268d11f8879baebd8ffe026d8ba416dab26d67e38 | product-files/pivotal-container-service/kubectl-linux-amd64-1.12.4                       |
| 278455 | Kubectl 1.12.4 - Windows  | 1.3.0-build.30 | Software            | 4eaadb13d9d84357e9820e05befb2df0a6fa8a8262cc8655daf42d43980056b1 | product-files/pivotal-container-service/kubectl-windows-amd64-1.12.4.exe                 |
| 287865 | PKS CLI - Mac             | 1.3.0-build.35 | Software            | f015af7a359627a3b043e5f3ebfe0ba6bbfc576cc0beef57c77140949cc51e57 | product-files/pivotal-container-service/pks-darwin-amd64-1.3.0-build.126                 |
| 287866 | PKS CLI - Linux           | 1.3.0-build.35 | Software            | 5fc6e91d5df13fbdbaac1b4e574eac129386150b22a1b74e2952cdf17c6878da | product-files/pivotal-container-service/pks-linux-amd64-1.3.0-build.126                  |
| 287867 | PKS CLI - Windows         | 1.3.0-build.35 | Software            | a1dd279ab18082b01ad64ee07b4b6357ed574c675ce875475a4e0caf4f3cb290 | product-files/pivotal-container-service/pks-windows-amd64-1.3.0-build.126.exe            |
+--------+---------------------------+----------------+---------------------+------------------------------------------------------------------+------------------------------------------------------------------------------------------+
.pivotalで終わるファイルがPKSの実体です。pivnet donwload-product-filesコマンドでダウンロードできます。
pivnet download-product-files -p pivotal-container-service -r 1.3.0 --glob=pivotal-container-service-*.pivotal --accept-eula
2019/01/17 12:51:55 Downloading 'pivotal-container-service-1.3.0-build.38.pivotal' to 'pivotal-container-service-1.3.0-build.38.pivotal'
 4.01 GiB / 4.01 GiB [===========================================] 100.00% 6m41s
2019/01/17 12:58:37 Verifying SHA256
2019/01/17 12:58:52 Successfully verified SHA256
ダウンロードしたファイルをOpsManagerにアップロードします。
om upload-product -p ./pivotal-container-service-1.3.0-build.38.pivotal
processing product
beginning product upload to Ops Manager
 4.01 GiB / 4.01 GiB [===========================================] 100.00% 6m50s
1m30s elapsed, waiting for response from Ops Manager...
finished upload
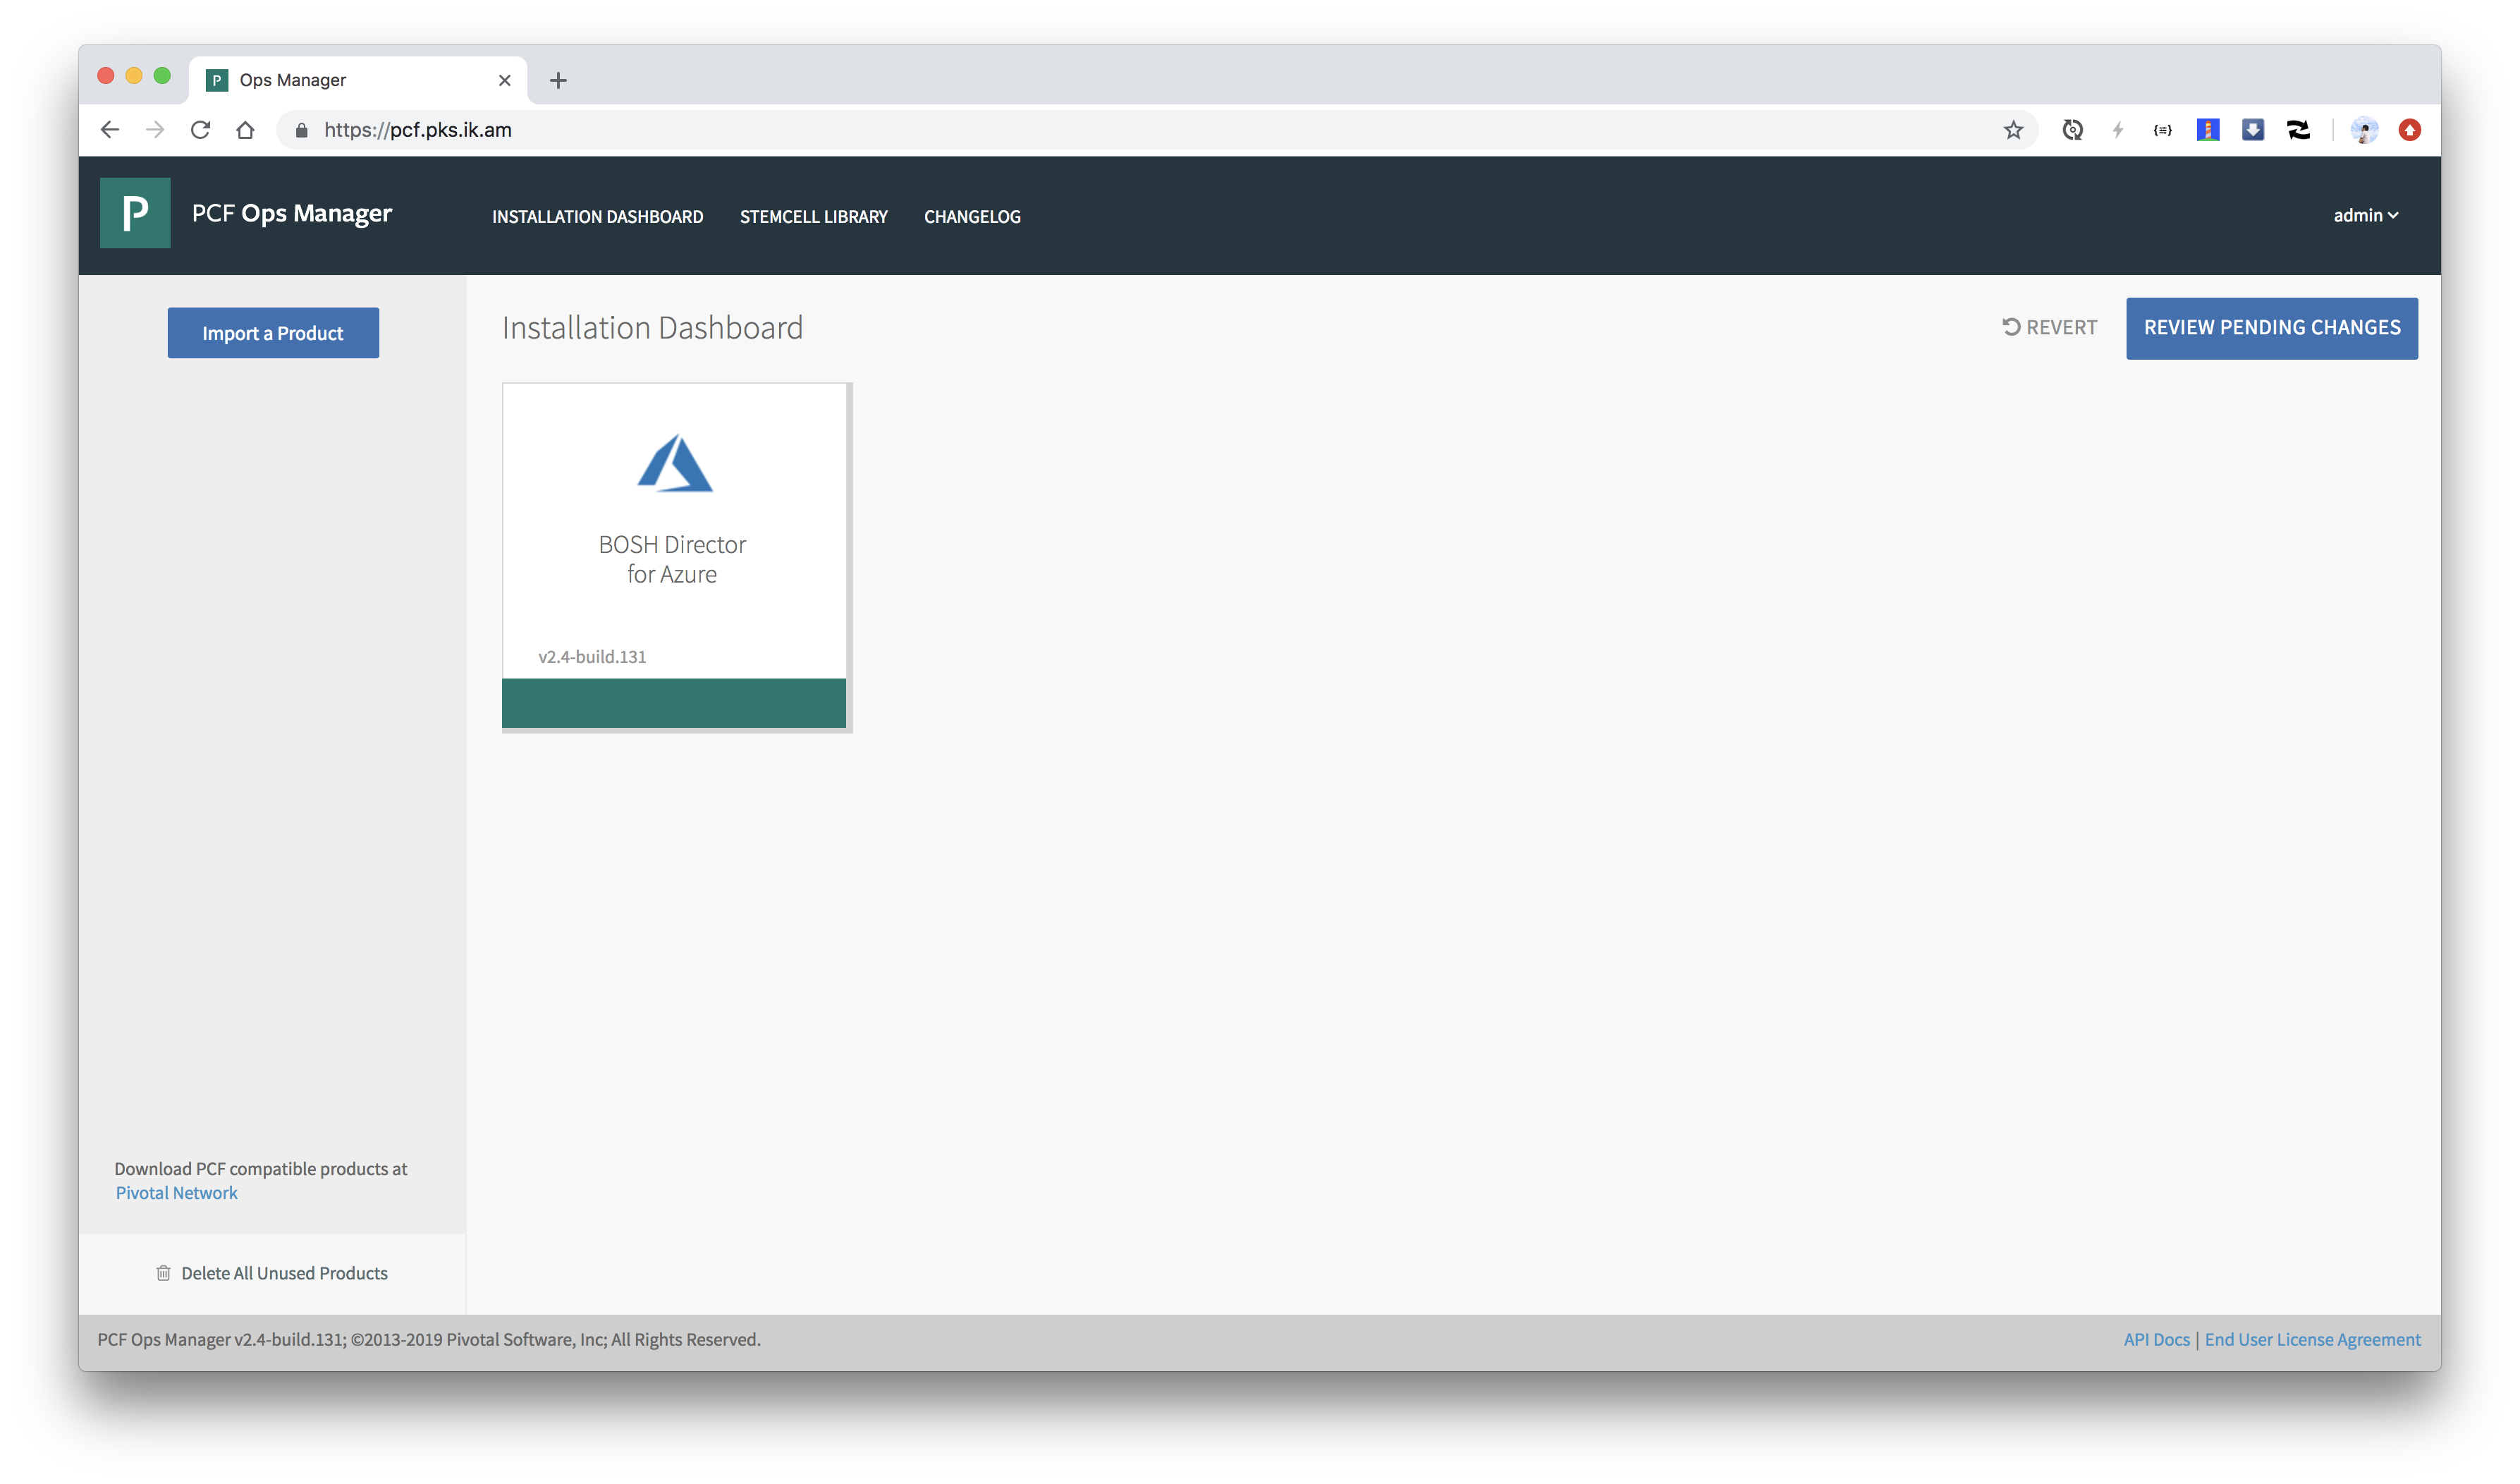
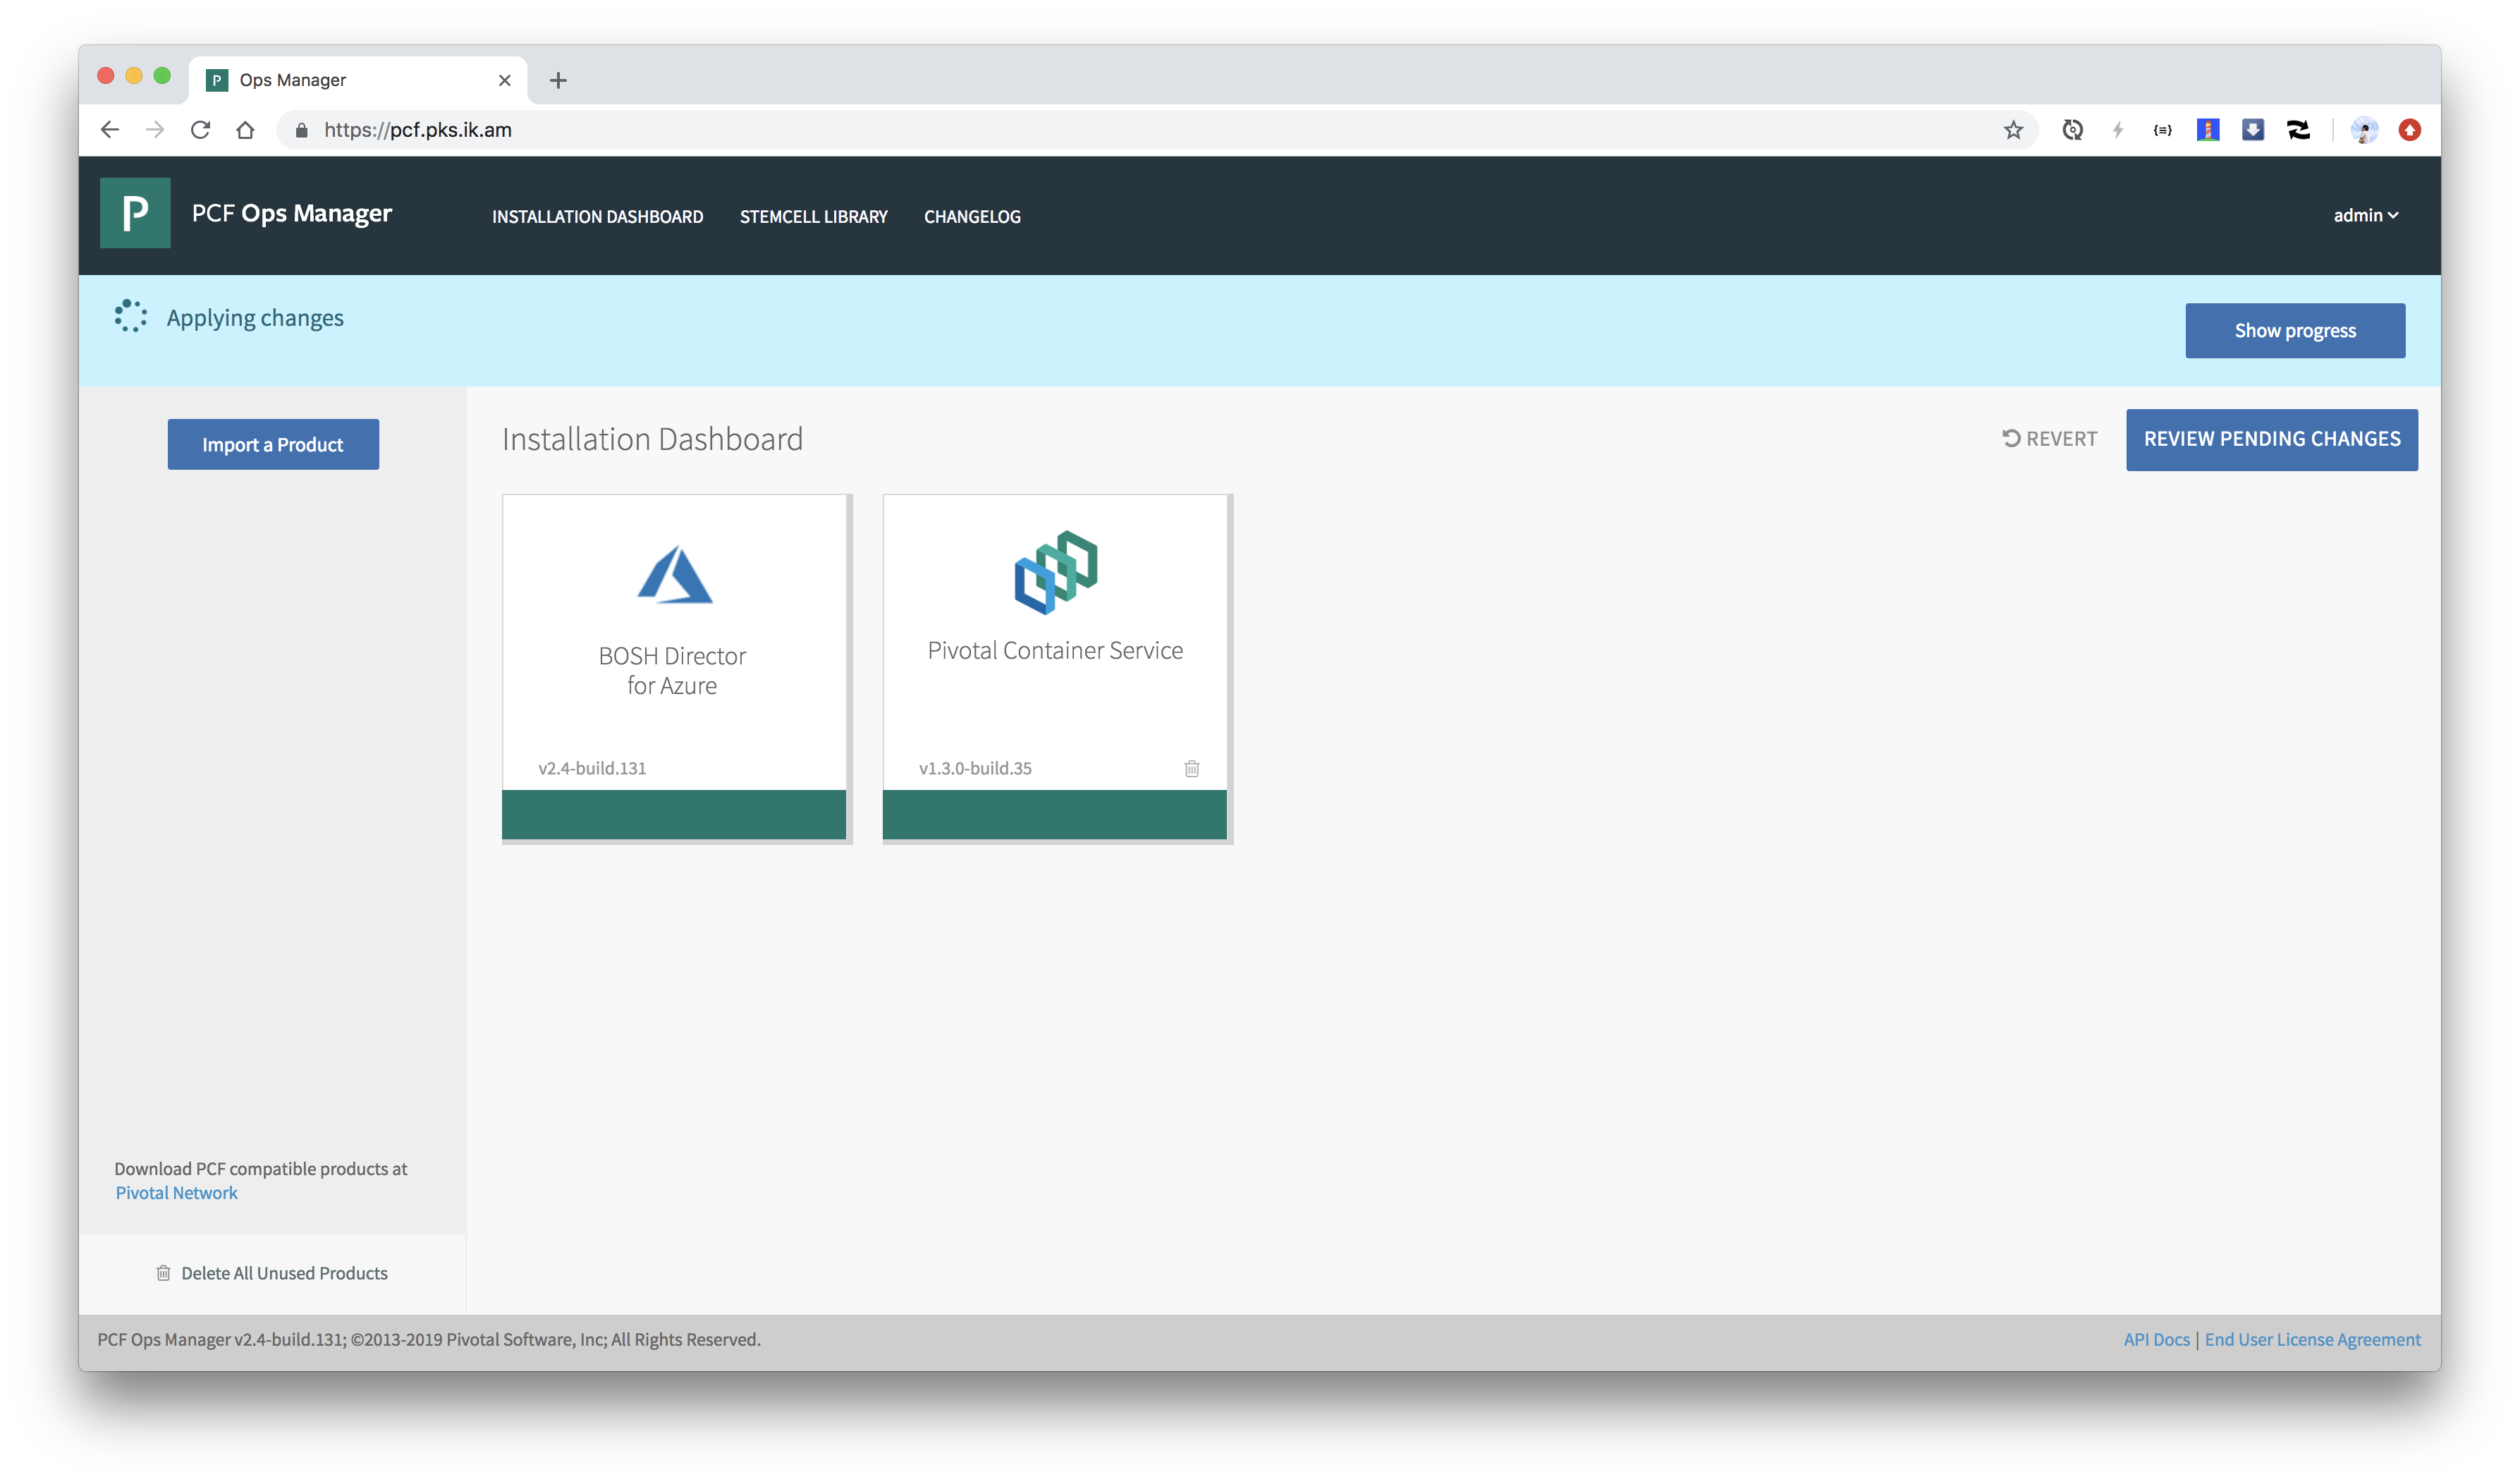
アップロードされたプロダクトはOpsManagerの左側に表示されます。

アップロードされたプロダクトをステージングします。
export FILENAME=`ls -t -n1 *.pivotal | awk 'NR==1 {print $1}'`
export PRODUCT_NAME=`basename $FILENAME .pivotal | python -c 'print("-".join(raw_input().split("-")[:-2]))'` # pivotal-container-service
export PRODUCT_VERSION=`basename $FILENAME .pivotal | python -c 'print("-".join(raw_input().split("-")[-2:]))'` # 1.3.0-build.35

om stage-product -p ${PRODUCT_NAME} -v ${PRODUCT_VERSION}
staging pivotal-container-service 1.3.0-build.38
finished staging
PKSの設定画面が出ます。オレンジ色なので設定未完です。
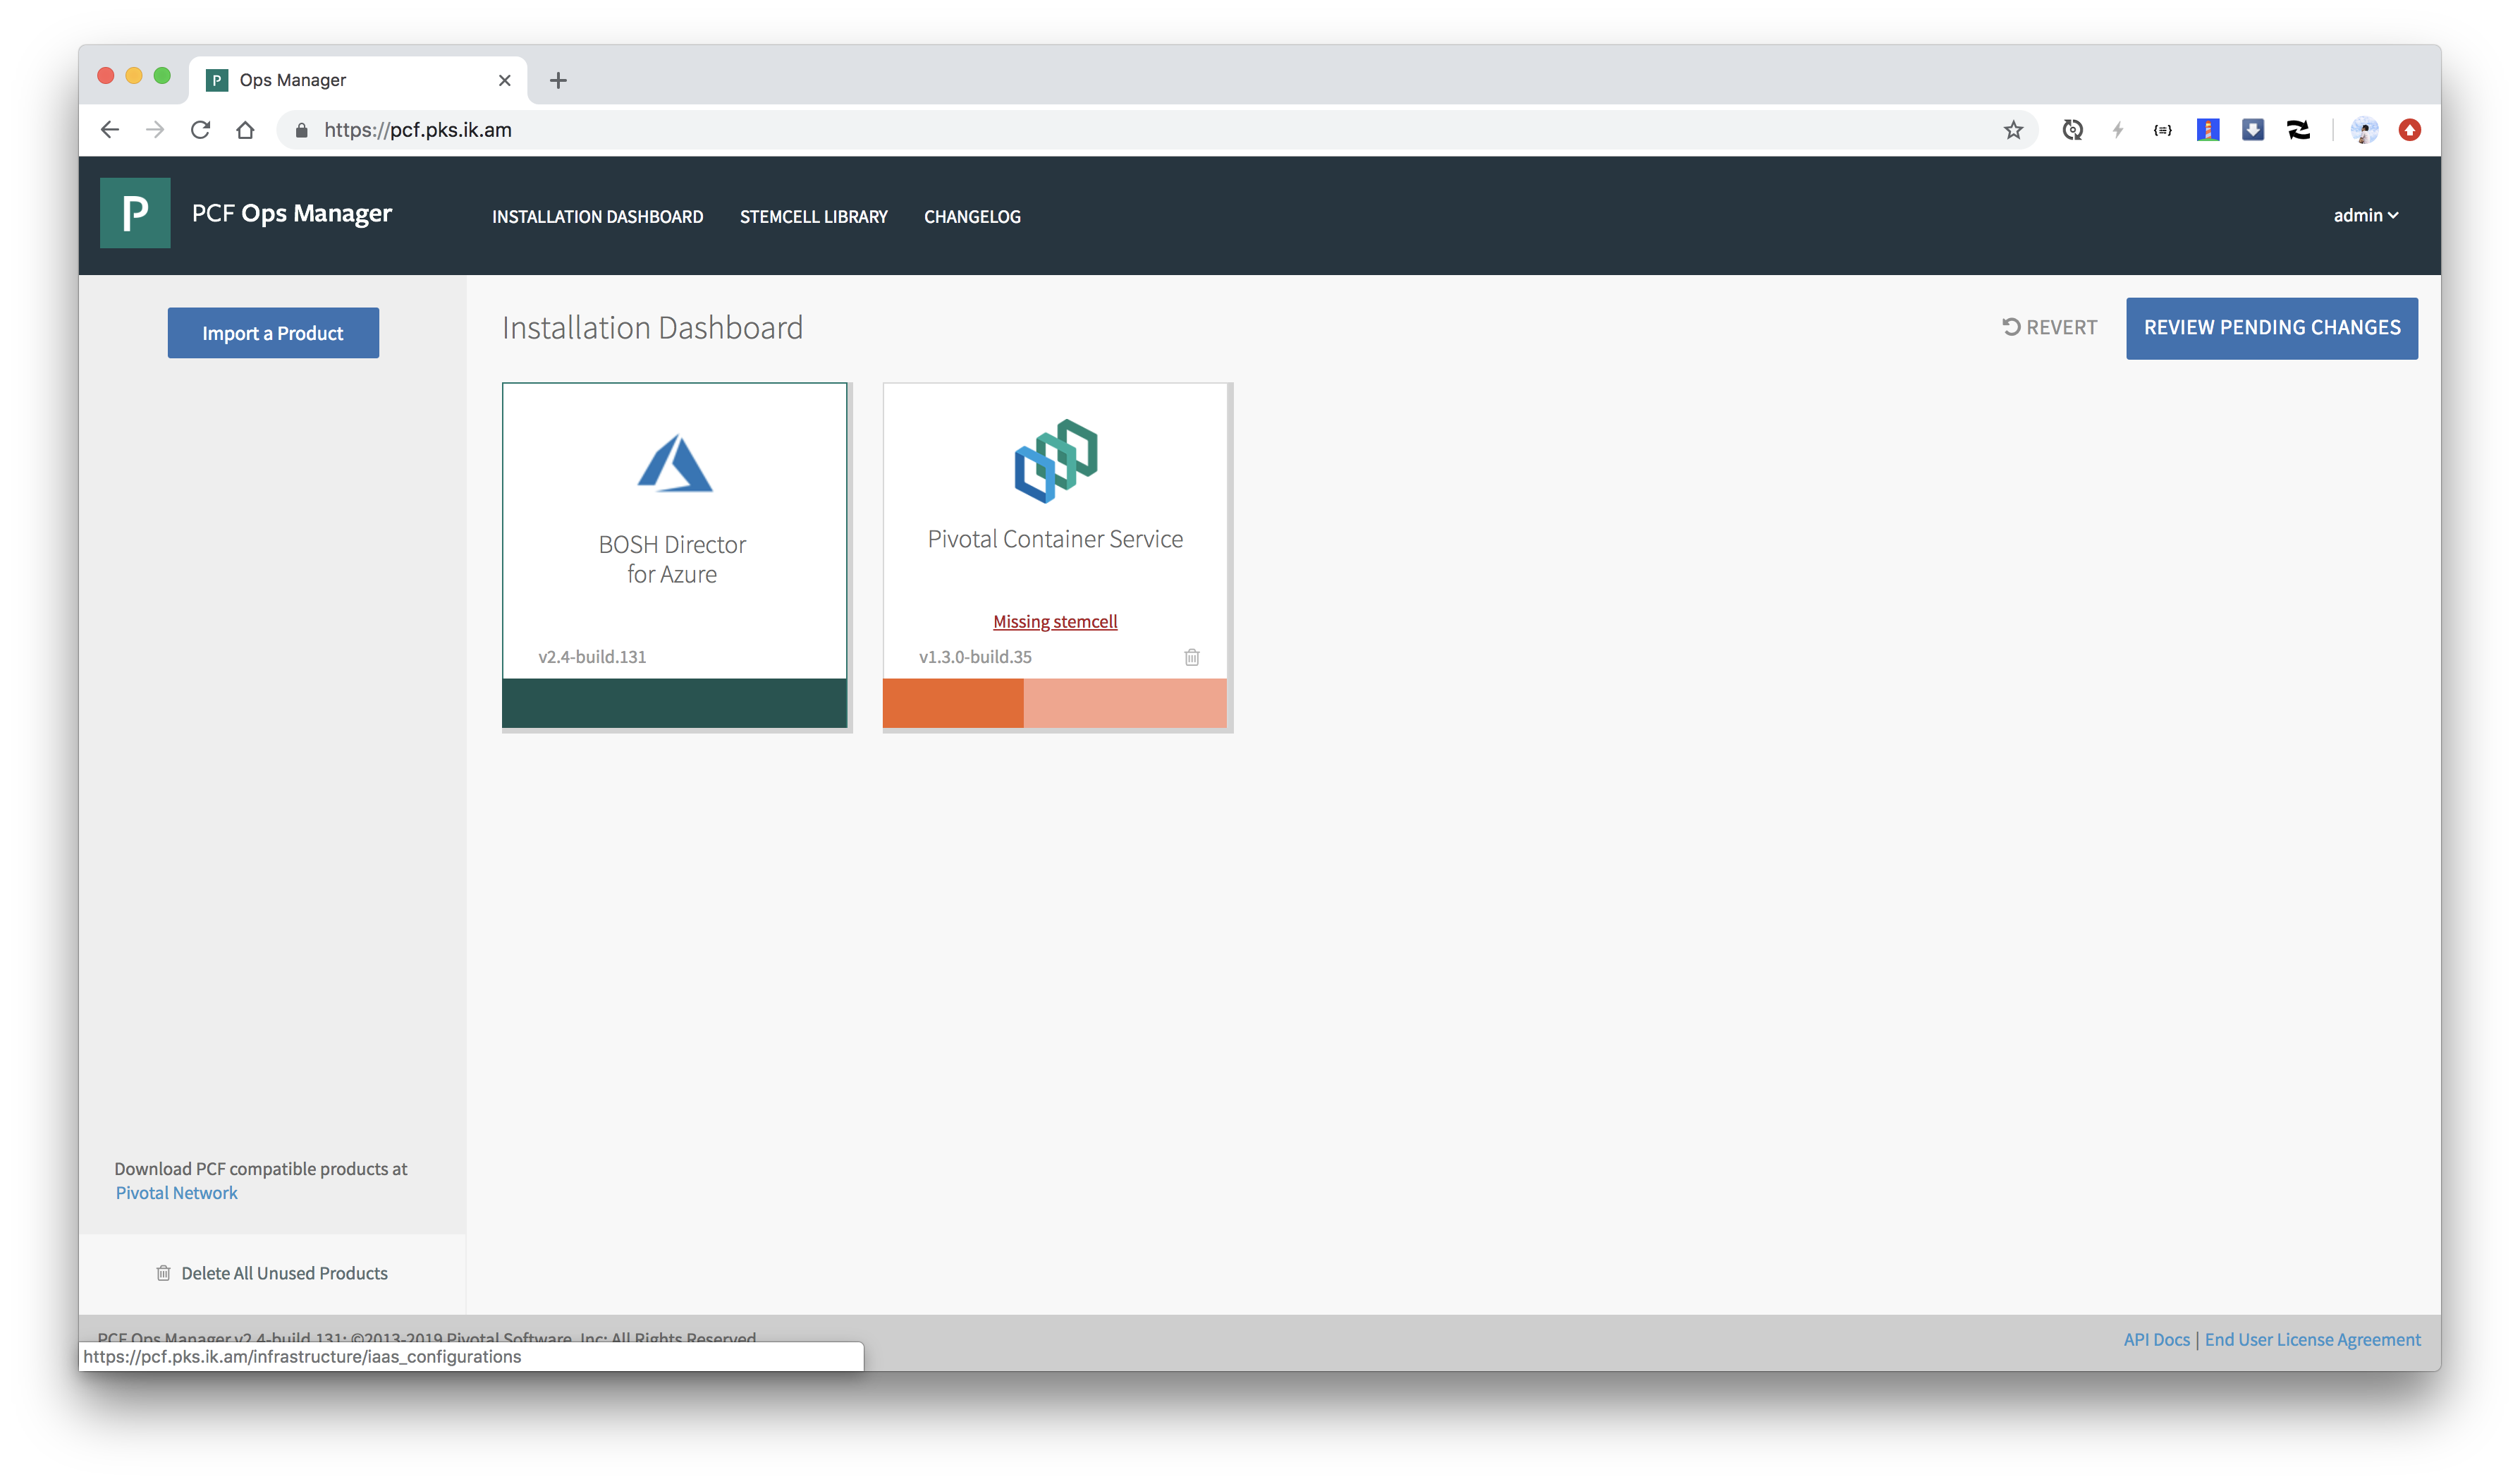
Missing stemcellと出ています。これはPKSが必要としているStemcell(Ubuntu VMのベースイメージ)のバージョンが用意されていないことを示します。
StemcellはPivotal Networkからダウンロードできます。
export STEMCELL_VERSION=`pivnet dependency-specifiers -p pivotal-container-service -r 1.3.0 --format=json | jq -r '.[] | select( .product.slug == "stemcells-ubuntu-xenial") | .specifier'`
pivnet download-product-files -p stemcells-ubuntu-xenial -r ${STEMCELL_VERSION} --glob=*azure*.tgz --accept-eula
2019/01/15 18:10:23 Downloading 'bosh-stemcell-170.15-azure-hyperv-ubuntu-xenial-go_agent.tgz' to 'bosh-stemcell-170.15-azure-hyperv-ubuntu-xenial-go_agent.tgz'
 499.69 MiB / 499.68 MiB [=========================================] 100.00% 59s
2019/01/15 18:11:29 Verifying SHA256
2019/01/15 18:11:33 Successfully verified SHA256
om CLIでStemcellをOpsManagerにアップロードします。
om upload-stemcell -s ./bosh-stemcell-*.tgz
processing stemcell
beginning stemcell upload to Ops Manager
 499.68 MiB / 499.68 MiB [=========================================] 100.00% 58s
8s elapsed, waiting for response from Ops Manager...
finished upload
Missing stemcellが消えます。

PKSを設定するためのYAMLファイルを生成します。
# DNS名を使うことが前提
WILDCARD_DOMAIN=`terraform output -json | jq -r .ops_manager_dns.value | sed 's/pcf/*/g'`

# PKS APIのTLS証明書を自己署名で作成する場合
CERTIFICATES=`om generate-certificate -d ${WILDCARD_DOMAIN}`
export CERT_PEM=`echo $CERTIFICATES | jq -r '.certificate' | sed 's/^/        /'`
export KEY_PEM=`echo $CERTIFICATES | jq -r '.key' | sed 's/^/        /'`

# PKS APIのTLS証明書にLet's encrypt等を使う場合
# export CERT_PEM=`cat ~/path-to-letsencrypt/fullchain.pem | sed 's/^/        /'`
# export KEY_PEM=`cat ~/path-to-letsencrypt/privkey.pem | sed 's/^/        /'`

export API_HOSTNAME=`terraform output -json | jq -r .ops_manager_dns.value | sed 's/pcf/pks/g'`
export VNET_NAME=`terraform output --json | jq -r '.network_name.value'`
export PRIMARY_AVAILABILITY_SET=`echo ${VNET_NAME} | sed 's/-virtual-network/-pks-as/g'`
export LOCATION=`grep location terraform.tfvars  | sed -e 's/location = //g' -e 's/"//g' -e 's/ //g' | tr [:upper:] [:lower:]`
export PKS_API_LB_NAME=`echo ${VNET_NAME} | sed 's/-virtual-network/-pks-lb/g'`

cat <<EOF > product.yml
product-name: pivotal-container-service
network-properties:
  network:
    name: pks-network
  other_availability_zones:
  - name: "null"
  service_network:
    name: pks-services-network
  singleton_availability_zone:
    name: "null"
product-properties:
  .pivotal-container-service.pks_tls:
    value:
      cert_pem: |
${CERT_PEM}
      private_key_pem: |
${KEY_PEM}
  .properties.pks_api_hostname:
    value: ${API_HOSTNAME}
  .properties.plan1_selector:
    value: Plan Active
  .properties.plan1_selector.active.master_vm_type:
    value: Standard_F1s
  .properties.plan1_selector.active.master_instances:
    value: 1
  .properties.plan1_selector.active.master_az_placement:
    value:
    - "null"
  .properties.plan1_selector.active.worker_vm_type:
    value: Standard_F2s
  .properties.plan1_selector.active.worker_instances:
    value: 1
  .properties.plan1_selector.active.worker_az_placement:
    value:
    - "null"
  .properties.plan1_selector.active.allow_privileged_containers:
    value: true
  .properties.plan2_selector:
    value: Plan Active
  .properties.plan2_selector.active.master_vm_type:
    value: Standard_DS1_v2
  .properties.plan2_selector.active.master_instances:
    value: 1
  .properties.plan2_selector.active.master_az_placement:
    value:
    - "null"
  .properties.plan2_selector.active.worker_vm_type:
    value: Standard_DS2_v2
  .properties.plan2_selector.active.worker_instances:
    value: 3
  .properties.plan2_selector.active.worker_az_placement:
    value:
    - "null"
  .properties.plan2_selector.active.allow_privileged_containers:
    value: false
  .properties.plan3_selector:
    value: Plan Inactive
  .properties.telemetry_selector:
    value: disabled
  .properties.uaa_oidc:
    value: true
  .properties.cloud_provider:
    value: Azure
  .properties.cloud_provider.azure.subscription_id:
    value: ${SUBSCRIPTION_ID}
  .properties.cloud_provider.azure.location:
    value: ${LOCATION}
  .properties.cloud_provider.azure.tenant_id:
    value: ${TENANT_ID}
  .properties.cloud_provider.azure.resource_group_name:
    value: ${RESOURCE_GROUP_NAME}
  .properties.cloud_provider.azure.vnet_name:
    value: ${VNET_NAME}
  .properties.cloud_provider.azure.vnet_resource_group_name:
    value: ${RESOURCE_GROUP_NAME}
  .properties.cloud_provider.azure.default_security_group:
    value: ${DEFAULT_SECURITY_GROUP}
  .properties.cloud_provider.azure.primary_availability_set:
    value: ${PRIMARY_AVAILABILITY_SET}
  .properties.cloud_provider.azure.azure_master_managed_identity:
    value: pks-master
  .properties.cloud_provider.azure.azure_worker_managed_identity:
    value: pks-worker
resource-config:
  pivotal-container-service:
    instances: automatic
    persistent_disk:
      size_mb: automatic
    instance_type:
      id: Standard_F2s
    internet_connected: false
    elb_names:
    - $PKS_API_LB_NAME
errand-config:
  delete-all-clusters:
    pre-delete-state: true
  pks-nsx-t-precheck:
    post-deploy-state: false
  smoke-tests:
    post-deploy-state: false
  upgrade-all-service-instances:
    post-deploy-state: true
  wavefront-alert-creation:
    post-deploy-state: false
  wavefront-alert-deletion:
    pre-delete-state: false
EOF
k8sクラスタを作るためのプランを3つまで作成できます。プランごとに、Master、WorkerのVM Type、インスタンス数、ディスクサイズを指定できます。 wokerのインスタンス数はk8sクラスタを作成するときに指定できますし、リサイズもできますが他の値はプラン毎に固定です。 好きな値を設定してください。
om CLIでYAMLを設定します。
om configure-product \
  --config product.yml
configuring product...
setting up network
finished setting up network
setting properties
finished setting properties
applying resource configuration for the following jobs:
	pivotal-container-service
applying errand configuration for the following errands:
	delete-all-clusters
	pks-nsx-t-precheck
	smoke-tests
	upgrade-all-service-instances
	wavefront-alert-creation
	wavefront-alert-deletion
finished configuring product
オレンジ色が緑色になれば設定完了です。

PKSのデプロイ
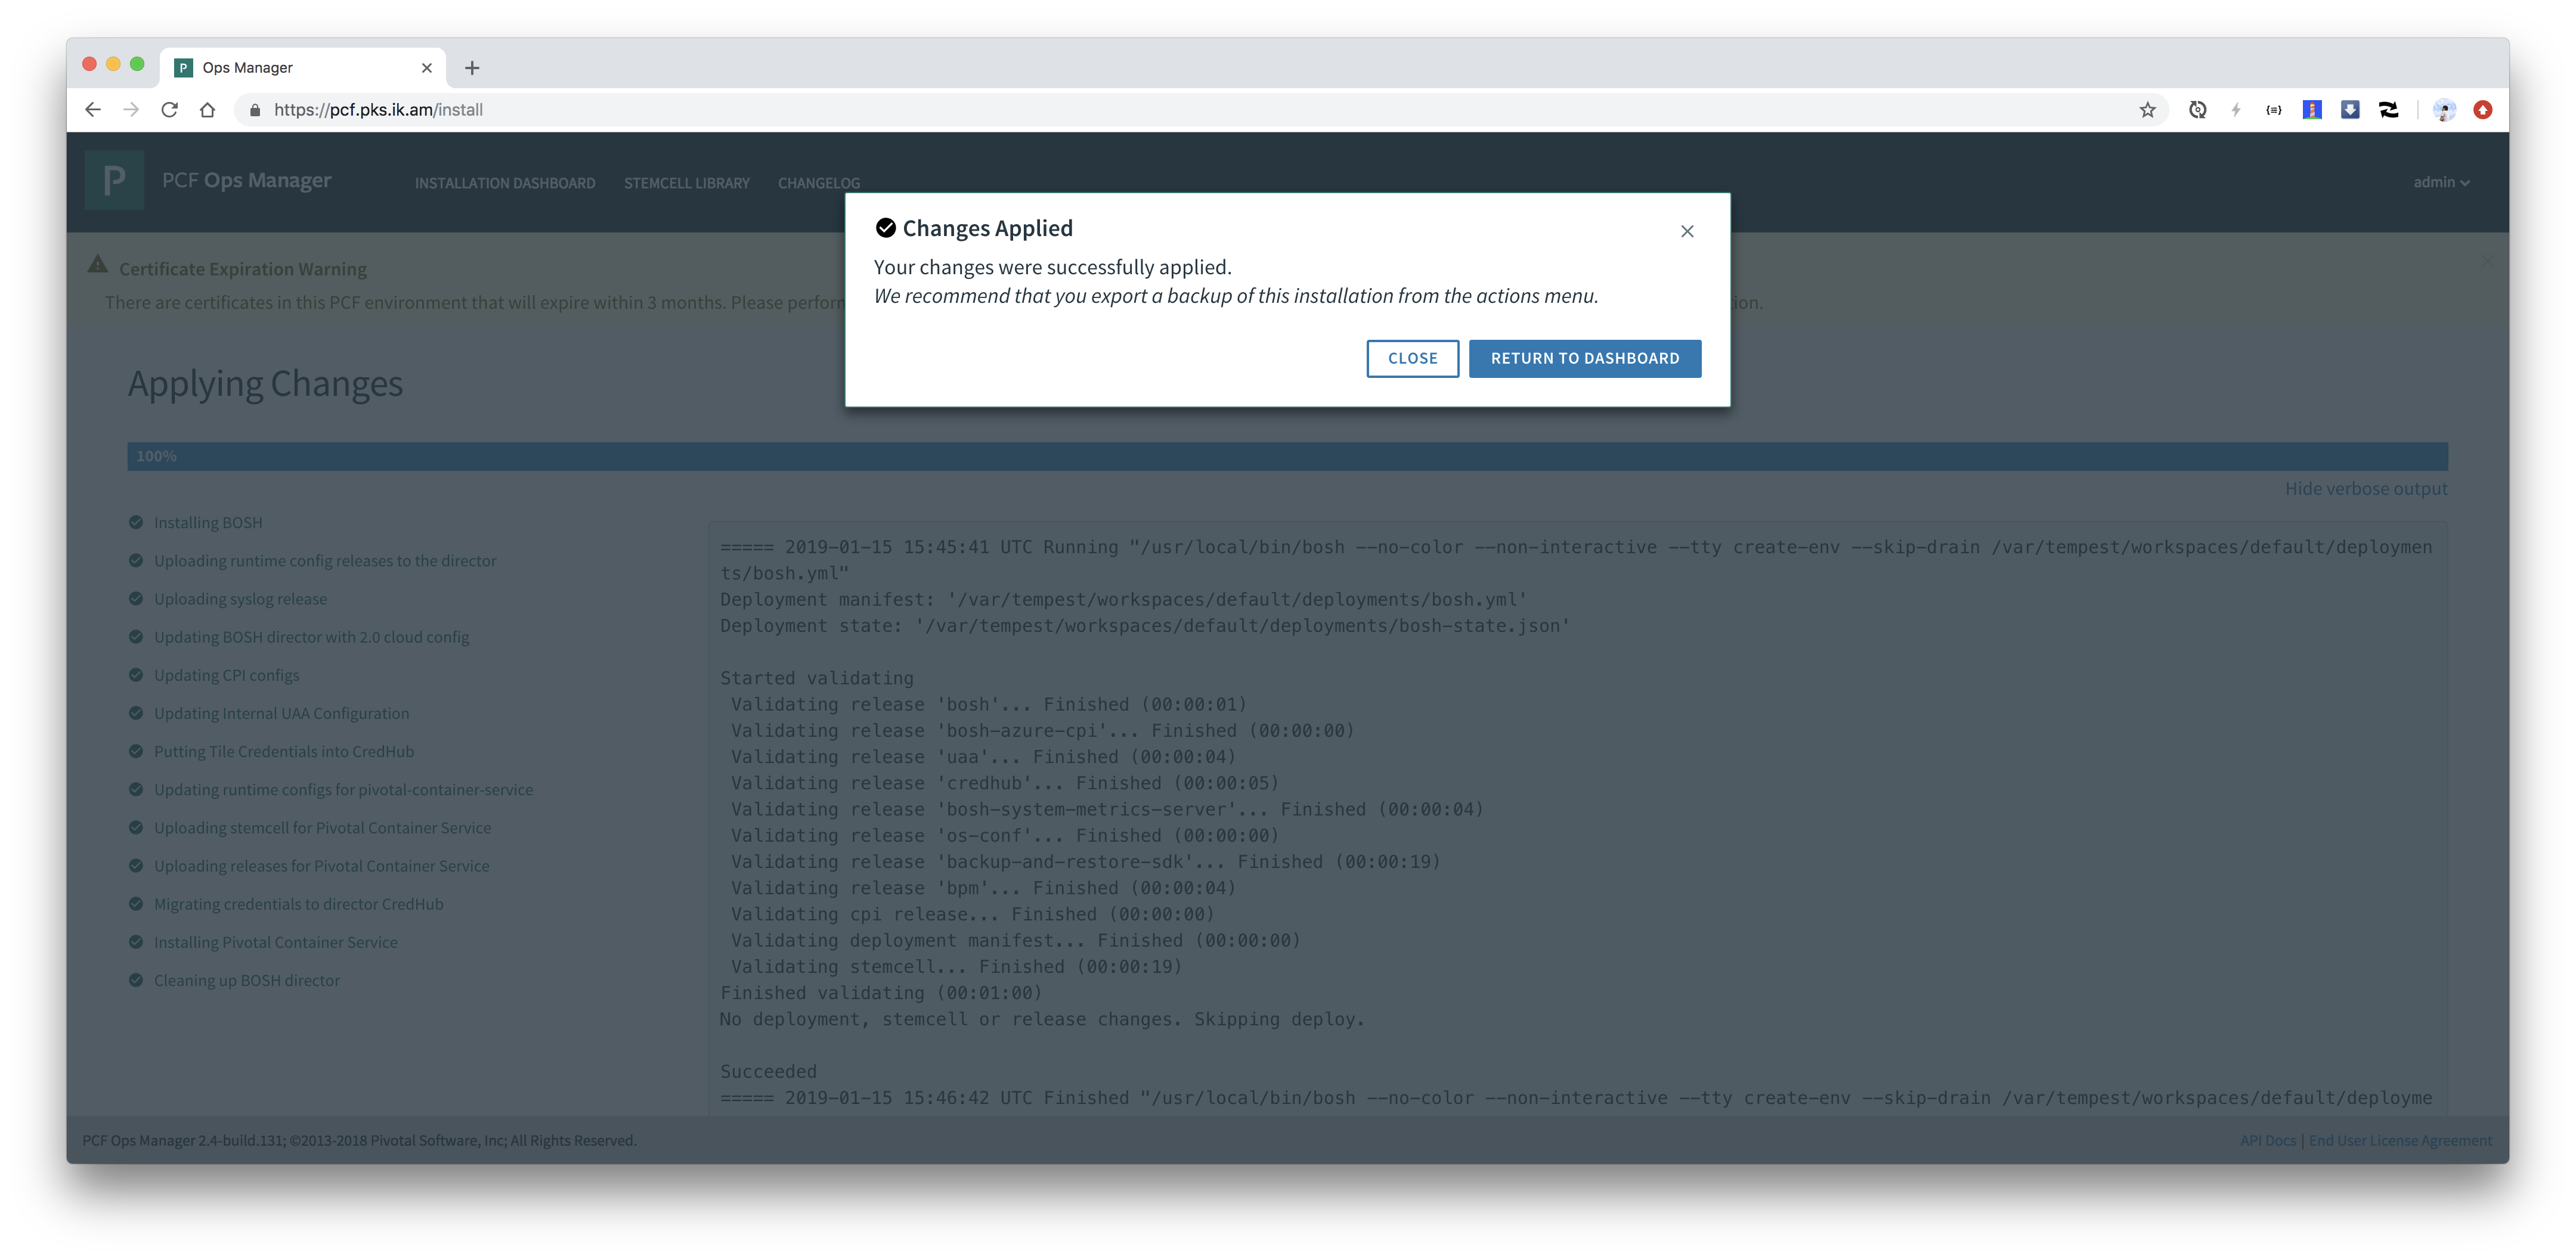
設定を適用してBOSH DirectorおよびPKSをインストールします。
om apply-changes
終わるまで待ちます。1時間くらいかかります...
k8sクラスタ作成
PKSがインストールできたらいよいよk8sクラスタを作成します。
PKSではpks CLIでk8sクラスタを作成可能です。
pks CLIはPivotal Networkからダウンロードできます。
pivnet download-product-files -p pivotal-container-service -r 1.3.0 --glob=pks-darwin-* --accept-eula
2019/01/15 17:36:16 Downloading 'pks-darwin-amd64-1.3.0-build.126' to 'pks-darwin-amd64-1.3.0-build.126'
 27.99 MiB / 27.97 MiB [===========================================] 100.07% 25s
2019/01/15 17:36:47 Verifying SHA256
2019/01/15 17:36:48 Successfully verified SHA256
PATHの通ったディレクトリにインストールしてください。
install pks-darwin-amd64-* /usr/local/bin/pks
adminユーザーでログインします。
export UAA_ADMIN_PASSWORD=`om credentials -p pivotal-container-service -c .properties.uaa_admin_password -t json | jq -r .secret`

pks login -k -a ${API_HOSTNAME} -u admin -p ${UAA_ADMIN_PASSWORD}
k8sクラスタを作成する際にmasterのDNS名を事前に指定する必要があります。multi masterの場合はLBを作成して、そのDNS名かIPアドレスが必要です。 single masterの場合はpublic ipでも良いです。今回はsingle masterを前提として、Azureのpublic ipをDNS名付きで作成します。
DNS名は次のように作成および取得可能です。CLUSTER_NAMEには好きな値を入れてください。
CLUSTER_NAME=demo

az network public-ip create -g ${RESOURCE_GROUP_NAME} --allocation-method Static -n ${CLUSTER_NAME} --dns-name ${CLUSTER_NAME}-pks
HOSTNAME=`az network public-ip show -g ${RESOURCE_GROUP_NAME} -n ${CLUSTER_NAME}  | jq -r .dnsSettings.fqdn`
pks create-clusterコマンドでk8sを作成します。-pでプランを指定できます。
pks create-cluster ${CLUSTER_NAME} -e ${HOSTNAME} -p small --wait
作成完了まで待ちます。Azureの場合は40分くらいかかります(泣)
最後に、PKSの一番ダメだと思う点なのですが、作成されたMasterにLBまたはIPをマッピングします。
PKS 1.3時点ではMaster用のLBが自動で設定されるのはvSphere + NSX-Tの環境のみです(泣)。Feature Support by IaaSのAutomatic Kubernetes Cluster API load balancerを参照。
ここではpks CLIとaz CLIを組み合わせて先ほど払い出したIPアドレスをMaster VMにマッピングします。
az network nic ip-config update \
  -n ipconfig0 \
  -g ${RESOURCE_GROUP_NAME} \
  --public-ip-address ${CLUSTER_NAME} \
  --nic-name $(az network nic list -g ${RESOURCE_GROUP_NAME} | jq -r ".[] | select(.ipConfigurations[0].privateIpAddress == $(pks cluster ${CLUSTER_NAME} --json | jq '.kubernetes_master_ips[0]')).name")
ちなみにBOSHがMasterをrecreateした場合には手動でattachしたIP/LBはdettachされるため、再設定が必要です(泣泣)
~/.kube/configを取得します。
pks get-credentials ${CLUSTER_NAME}
pks loginで使用したパスワードの再入力が求められます。
これでkubectlで作成したk8sクラスタにアクセス可能です。
$ kubectl cluster-info
Kubernetes master is running at https://tmaki-pks.japaneast.cloudapp.azure.com:8443
Heapster is running at https://tmaki-pks.japaneast.cloudapp.azure.com:8443/api/v1/namespaces/kube-system/services/heapster/proxy
KubeDNS is running at https://tmaki-pks.japaneast.cloudapp.azure.com:8443/api/v1/namespaces/kube-system/services/kube-dns:dns/proxy
kubernetes-dashboard is running at https://tmaki-pks.japaneast.cloudapp.azure.com:8443/api/v1/namespaces/kube-system/services/https:kubernetes-dashboard:/proxy
monitoring-influxdb is running at https://tmaki-pks.japaneast.cloudapp.azure.com:8443/api/v1/namespaces/kube-system/services/monitoring-influxdb/proxy

To further debug and diagnose cluster problems, use 'kubectl cluster-info dump'.
$ kubectl get node -o wide
NAME                                   STATUS   ROLES    AGE   VERSION   INTERNAL-IP   EXTERNAL-IP   OS-IMAGE             KERNEL-VERSION      CONTAINER-RUNTIME
b1be3863-d0ee-45ed-a2c5-72135bb3db10   Ready    <none>   39m   v1.12.4   10.0.16.11    <none>        Ubuntu 16.04.5 LTS   4.15.0-42-generic   docker://18.6.1
$ kubectl get pod -o wide --all-namespaces
NAMESPACE     NAME                                    READY   STATUS      RESTARTS   AGE   IP             NODE                                   NOMINATED NODE
kube-system   heapster-85647cf566-shcfs               1/1     Running     0          34m   10.200.45.4    b1be3863-d0ee-45ed-a2c5-72135bb3db10   <none>
kube-system   kube-dns-7559c96fc4-9s85s               3/3     Running     0          35m   10.200.45.2    b1be3863-d0ee-45ed-a2c5-72135bb3db10   <none>
kube-system   kubernetes-dashboard-5f4b59b97f-nklmc   1/1     Running     0          34m   10.200.45.6    b1be3863-d0ee-45ed-a2c5-72135bb3db10   <none>
kube-system   metrics-server-555d98886f-v8kms         1/1     Running     0          34m   10.200.45.3    b1be3863-d0ee-45ed-a2c5-72135bb3db10   <none>
kube-system   monitoring-influxdb-cdcf4674-s9wg6      1/1     Running     0          34m   10.200.45.5    b1be3863-d0ee-45ed-a2c5-72135bb3db10   <none>
pks-system    cert-generator-v0.11-cs8jt              0/1     Completed   0          34m   10.200.45.7    b1be3863-d0ee-45ed-a2c5-72135bb3db10   <none>
pks-system    event-controller-6c77ddd949-wfl4d       2/2     Running     1          34m   10.200.45.10   b1be3863-d0ee-45ed-a2c5-72135bb3db10   <none>
pks-system    fluent-bit-c7k5d                        2/2     Running     0          34m   10.200.45.9    b1be3863-d0ee-45ed-a2c5-72135bb3db10   <none>
pks-system    sink-controller-65595c498b-h72gr        1/1     Running     0          34m   10.200.45.8    b1be3863-d0ee-45ed-a2c5-72135bb3db10   <none>
pks-system    telemetry-agent-559f9c8855-m6r8x        1/1     Running     0          28m   10.200.45.11   b1be3863-d0ee-45ed-a2c5-72135bb3db10   <none>
Workerを3インスタンスにスケールアウトしてみます。
pks resize ${CLUSTER_NAME} -n 3 --wait
$ kubectl get node -o wide
NAME                                   STATUS   ROLES    AGE    VERSION   INTERNAL-IP   EXTERNAL-IP   OS-IMAGE             KERNEL-VERSION      CONTAINER-RUNTIME
6440e98f-f294-40fa-ba10-a902c6abb708   Ready    <none>   103m   v1.12.4   10.0.16.13    <none>        Ubuntu 16.04.5 LTS   4.15.0-42-generic   docker://18.6.1
a0d95747-ab5c-4f8d-9534-3bb750631602   Ready    <none>   98m    v1.12.4   10.0.16.14    <none>        Ubuntu 16.04.5 LTS   4.15.0-42-generic   docker://18.6.1
b1be3863-d0ee-45ed-a2c5-72135bb3db10   Ready    <none>   150m   v1.12.4   10.0.16.11    <none>        Ubuntu 16.04.5 LTS   4.15.0-42-generic   docker://18.6.1
サンプルアプリのデプロイ
AKSのチュートリアルアプリをデプロイしてみます。
git clone https://github.com/Azure-Samples/azure-voting-app-redis.git
cd azure-voting-app-redis
kubectl apply -f azure-vote-all-in-one-redis.yaml
$ kubectl get pod -o wide
NAME                               READY   STATUS    RESTARTS   AGE    IP            NODE                                   NOMINATED NODE
azure-vote-back-746d4bc54b-vnngg   1/1     Running   0          3m4s   10.200.54.3   a0d95747-ab5c-4f8d-9534-3bb750631602   <none>
azure-vote-front-f747b5d4b-8t9qk   1/1     Running   0          3m4s   10.200.79.4   6440e98f-f294-40fa-ba10-a902c6abb708   <none>
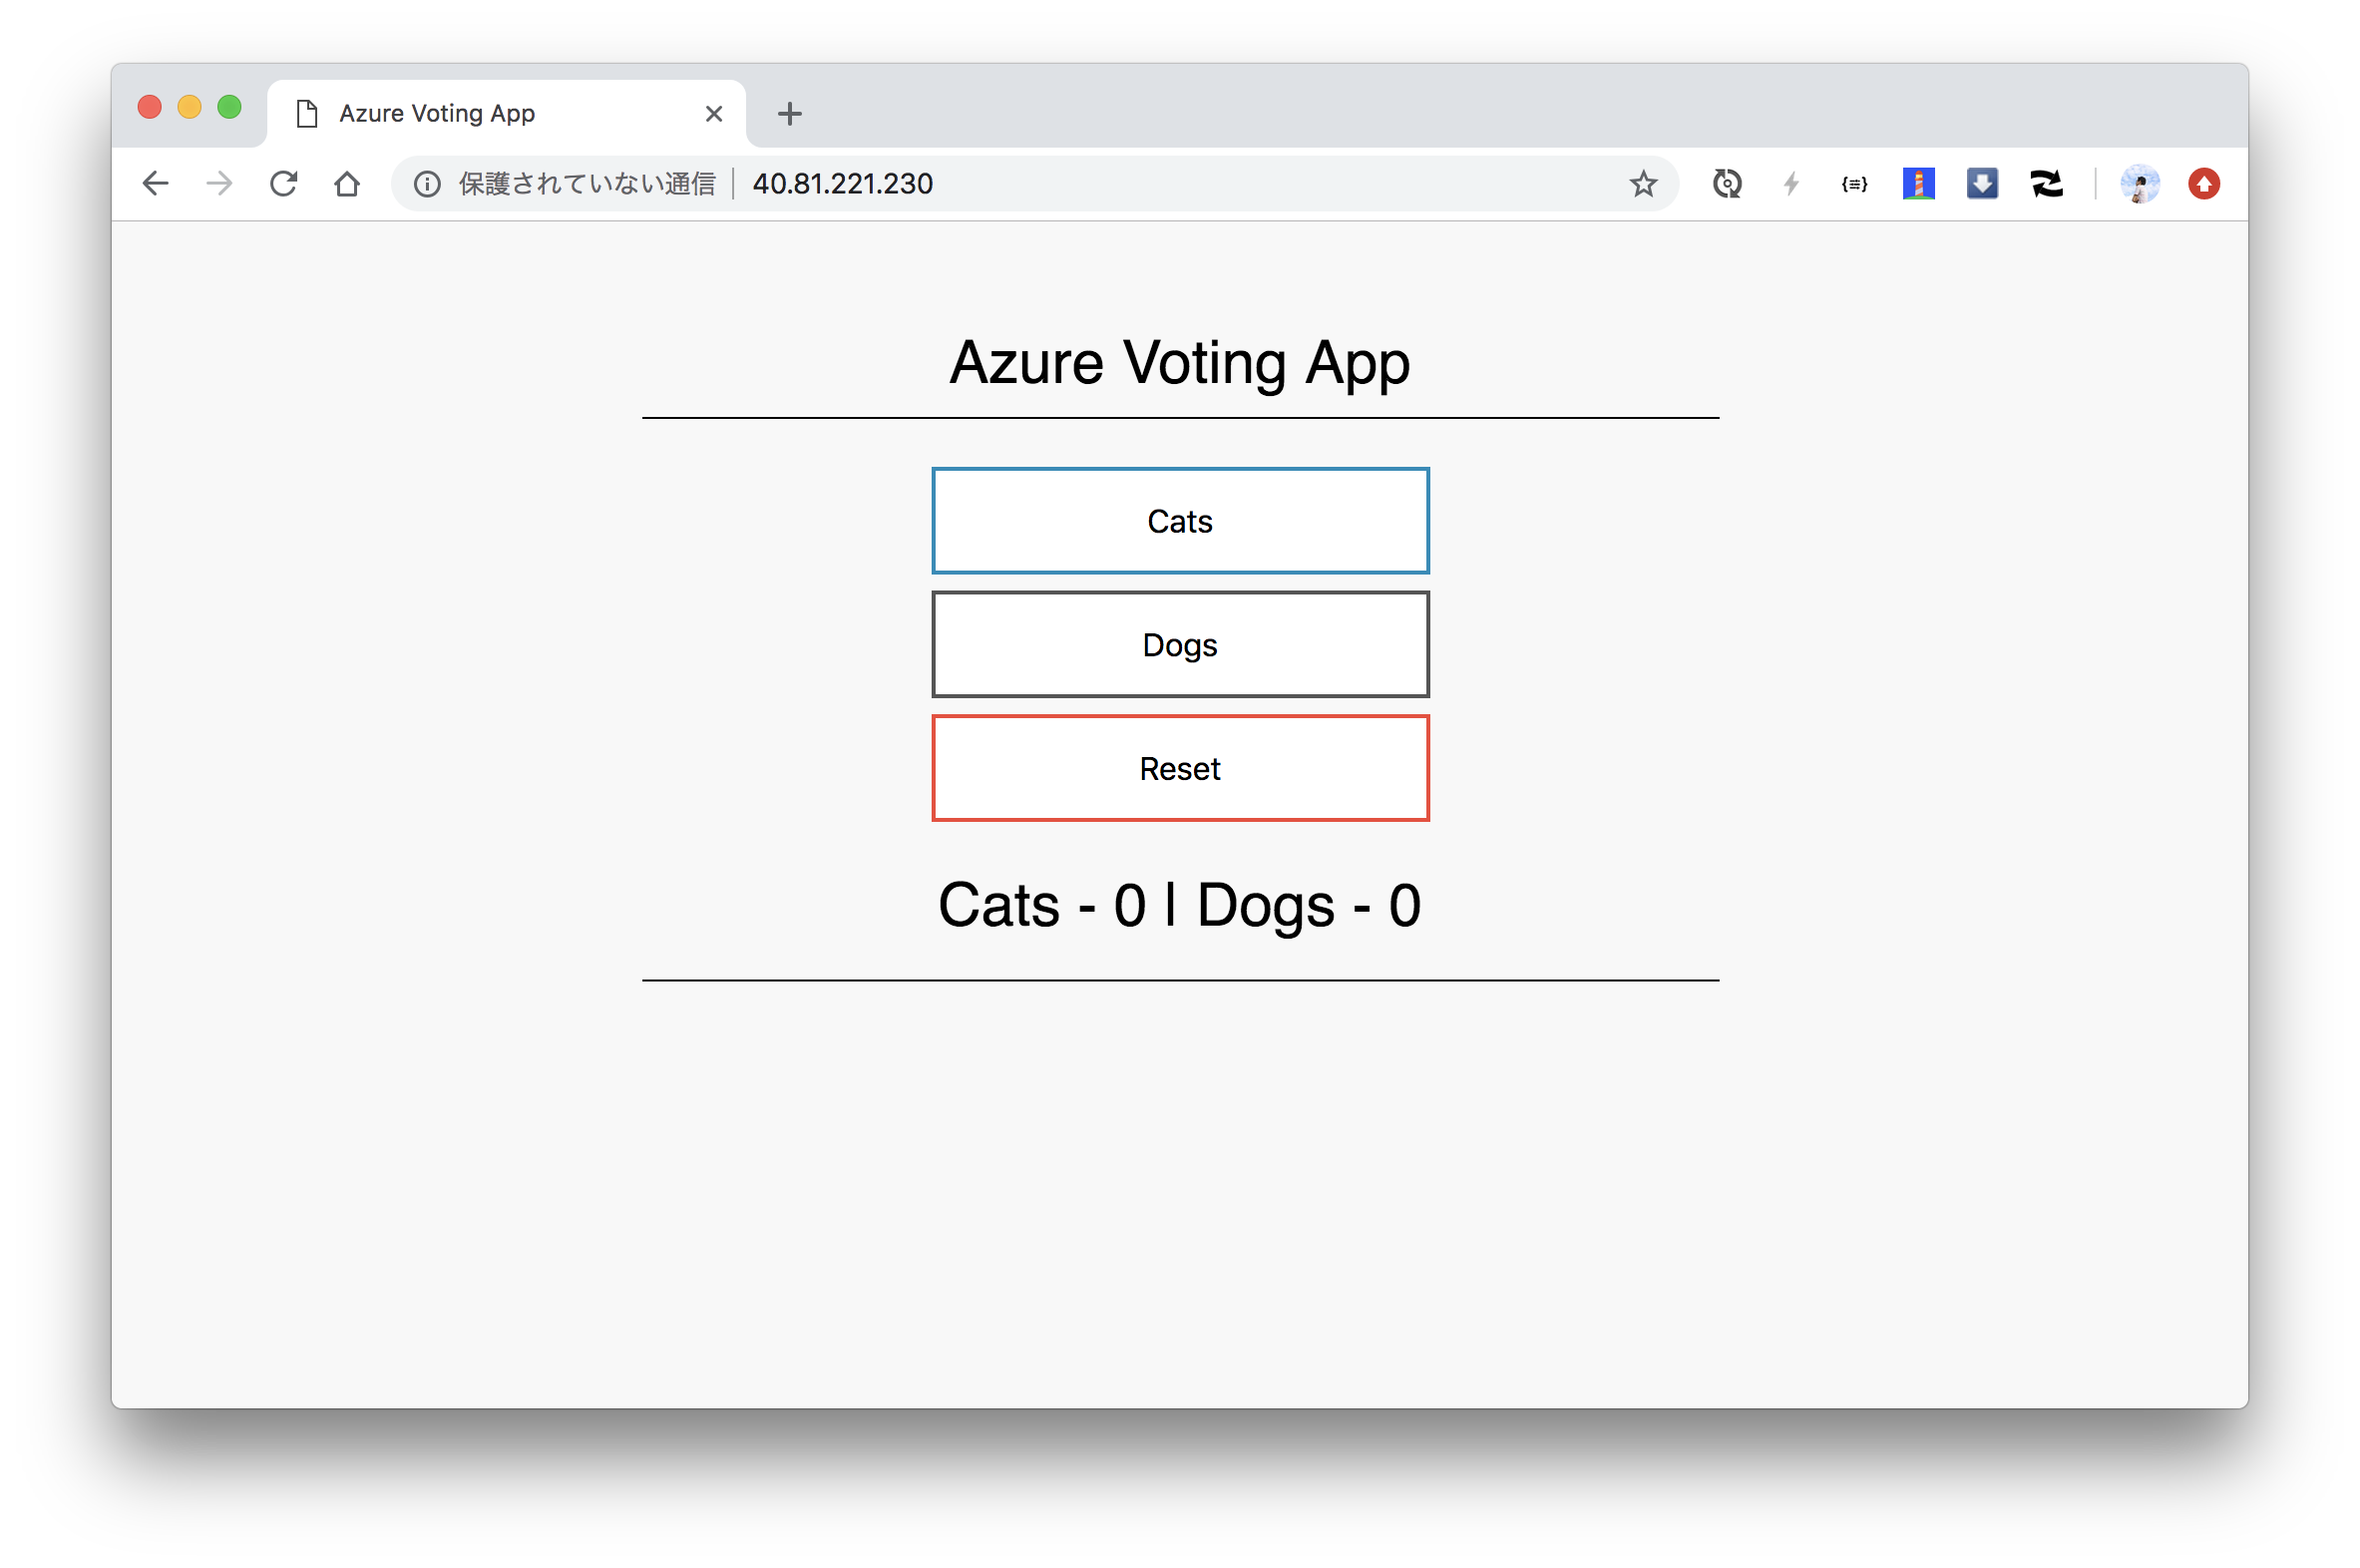
ロードバランサは作成しされるまでしばらく時間がかかります。EXTERNAL-IPに値が表示されればOKです。
$ kubectl get service azure-vote-front -o wide
NAME               TYPE           CLUSTER-IP       EXTERNAL-IP     PORT(S)        AGE     SELECTOR
azure-vote-front   LoadBalancer   10.100.200.210   40.81.221.230   80:30527/TCP   2m42s   app=azure-vote-front
frontを5ポッドにスケールアウトします。
kubectl scale --replicas=5 deployment/azure-vote-front
$ kubectl get pod -o wide
NAME                               READY   STATUS    RESTARTS   AGE     IP             NODE                                   NOMINATED NODE
azure-vote-back-746d4bc54b-vnngg   1/1     Running   0          7m54s   10.200.54.3    a0d95747-ab5c-4f8d-9534-3bb750631602   <none>
azure-vote-front-f747b5d4b-6rzgc   1/1     Running   0          2m45s   10.200.54.4    a0d95747-ab5c-4f8d-9534-3bb750631602   <none>
azure-vote-front-f747b5d4b-8t9qk   1/1     Running   0          7m54s   10.200.79.4    6440e98f-f294-40fa-ba10-a902c6abb708   <none>
azure-vote-front-f747b5d4b-c6ngh   1/1     Running   0          2m45s   10.200.45.12   b1be3863-d0ee-45ed-a2c5-72135bb3db10   <none>
azure-vote-front-f747b5d4b-l6xg8   1/1     Running   0          2m45s   10.200.54.5    a0d95747-ab5c-4f8d-9534-3bb750631602   <none>
azure-vote-front-f747b5d4b-mrtvk   1/1     Running   0          2m45s   10.200.79.5    6440e98f-f294-40fa-ba10-a902c6abb708   <none>
確認したら削除します。
kubectl delete -f azure-vote-all-in-one-redis.yaml
Persistent Volumeの使用
次にPersistent Volumeを使ってみます。PKSではデフォルトでStorageClassは特に設定されていないので、自分で設定します。
cat <<EOF > storageclass.yml
kind: StorageClass
apiVersion: storage.k8s.io/v1
metadata:
  name: standard
  annotations:
    storageclass.beta.kubernetes.io/is-default-class: "true"
provisioner: kubernetes.io/azure-disk
parameters:
  storageaccounttype: Standard_LRS
  kind: managed
EOF
kubectl apply -f storageclass.yml
$ kubectl get storageclass
NAME                 PROVISIONER                AGE
standard (default)   kubernetes.io/azure-disk   5m54s
MySQLをデプロイします。
kubectl create secret generic mysql-secret \
  --from-literal=MYSQL_ROOT_PASSWORD=password \
  --from-literal=MYSQL_USER=pksuser \
  --from-literal MYSQL_PASSWORD=pkspassword \
  --dry-run -o yaml > mysql-secret.yml

kubectl apply -f mysql-secret.yml
cat <<EOF > mysql.yml
apiVersion: apps/v1
kind: Deployment
metadata:
  name: mysql
spec:
  selector:
    matchLabels:
      app: mysql
  strategy:
    type: Recreate
  template:
    metadata:
      labels:
        app: mysql
    spec:
      initContainers:
      - name: remove-lost-found
        image: busybox
        command:
        - sh
        - -c
        - |
          rm -fr /var/lib/mysql/lost+found
        volumeMounts:
        - name: mysql-persistent-storage
          mountPath: /var/lib/mysql
      containers:
      - image: mysql:5.7
        name: mysql
        env:
        - name: MYSQL_DATABASE
          value: demo
        - name: MYSQL_ROOT_PASSWORD
          value: password
        - name: MYSQL_USER
          value: pksuser
        - name: MYSQL_PASSWORD
          value: pkspassword
        ports:
        - containerPort: 3306
          name: mysql
        volumeMounts:
        - name: mysql-persistent-storage
          mountPath: /var/lib/mysql
      volumes:
      - name: mysql-persistent-storage
        persistentVolumeClaim:
          claimName: mysql-pvc
---
apiVersion: v1
kind: PersistentVolumeClaim
metadata:
  name: mysql-pvc
spec:
  accessModes:
  - ReadWriteOnce
  resources:
    requests:
      storage: 1G
  storageClassName: standard
EOF
kubectl apply -f mysql.yml
$ kubectl get pod,pvc,pv
NAME                         READY   STATUS    RESTARTS   AGE
pod/mysql-6b5f74849b-mp5h8   1/1     Running   0          2m27s

NAME                              STATUS   VOLUME                                     CAPACITY   ACCESS MODES   STORAGECLASS   AGE
persistentvolumeclaim/mysql-pvc   Bound    pvc-84b12888-1a69-11e9-ac22-000d3a52962d   1Gi        RWO            standard       2m27s

NAME                                                        CAPACITY   ACCESS MODES   RECLAIM POLICY   STATUS   CLAIM               STORAGECLASS   REASON   AGE
persistentvolume/pvc-84b12888-1a69-11e9-ac22-000d3a52962d   1Gi        RWO            Delete           Bound    default/mysql-pvc   standard                2m14s
$ kubectl exec $(kubectl get pod -l app=mysql -o jsonpath='{.items[?(@.status.phase=="Running")].metadata.name}') -ti -- mysql -u pksuser -ppkspassword demo
mysql: [Warning] Using a password on the command line interface can be insecure.
Welcome to the MySQL monitor.  Commands end with ; or \g.
Your MySQL connection id is 2
Server version: 5.7.24 MySQL Community Server (GPL)

Copyright (c) 2000, 2018, Oracle and/or its affiliates. All rights reserved.

Oracle is a registered trademark of Oracle Corporation and/or its
affiliates. Other names may be trademarks of their respective
owners.

Type 'help;' or '\h' for help. Type '\c' to clear the current input statement.

mysql>
出来ました。
確認したら削除します。
kubectl delete -f mysql.yml
k8sが作成したLBやDiskなどのリソースはPKSをアンインストールしても消えないため、
kubectlで削除する必要があります。
Azureでも普通にPKSが使えました。
本記事の内容をConcourseで自動化したいと思います。