---
title: Spring Securityで2要素認証 (2FA) を行う方法
summary: この記事では、Spring Securityでログイン後に2FA(TOTP)入力画面へ遷移させる実装方法を、TwoFactorAuthenticationSuccessHandlerとカスタム認可マネージャで解説します。
tags: ["Java", "Spring Boot", "Spring Security", "2FA", "MFA", "TOTP"]
categories: ["Programming", "Java", "org", "springframework", "security", "web", "authentication"]
date: 2023-09-08T08:01:09Z
updated: 2023-09-08T08:03:26Z
---
> [!NOTE]
> 2026-01-28 [Spring Secruity 7のMFAサポートを利用したバージョン](/entries/895)を公開しました。2FAを実装したい場合は、こちらの記事ではなく、最新版を参照してください。
Spring Securityで2要素認証 (2FA) を行う方法をメモします。
今回の実装は2要素に限定しているので、ここでは多要素認証 (MFA)というより2FAと明示しておきます。
"Spring Security 2FA" でGoogle検索すると、次の2例が見つかります。
* https://www.baeldung.com/spring-security-two-factor-authentication-with-soft-token
* https://www.javadevjournal.com/spring-security/two-factor-authentication-with-spring-security/
どちらも、TOTPを使った2FAを実装しています。しかし、ログインフォームの中で認証コードを入力する仕様になっています。
実装したいのは
* ログインフォームではユーザー名とパスワードのみ入力
* ユーザー名とパスワードでログインが成功した後、2FAが有効になっていれば認証コード(TOTP)入力フォームを表示
というフローです。上記の実装方法ではこのフローを実現できません。
このフローを実装しているサンプルがSpring Securityチームがメンテナンスしている公式サンプルの中にあります。
https://github.com/spring-projects/spring-security-samples/tree/6.5.x/servlet/spring-boot/java/authentication/username-password/mfa
こちらのサンプルはMFAのサンプルになっています。
このサンプルを参考に、上記のフローを実装したサンプルが
https://github.com/making/demo-two-factor-authentication
です。
### サンプルアプリのウォークスルー
まずはサンプルアプリをウォークスルーします。
http://localhost:8080/signup にアクセスし、アカウントを登録します。
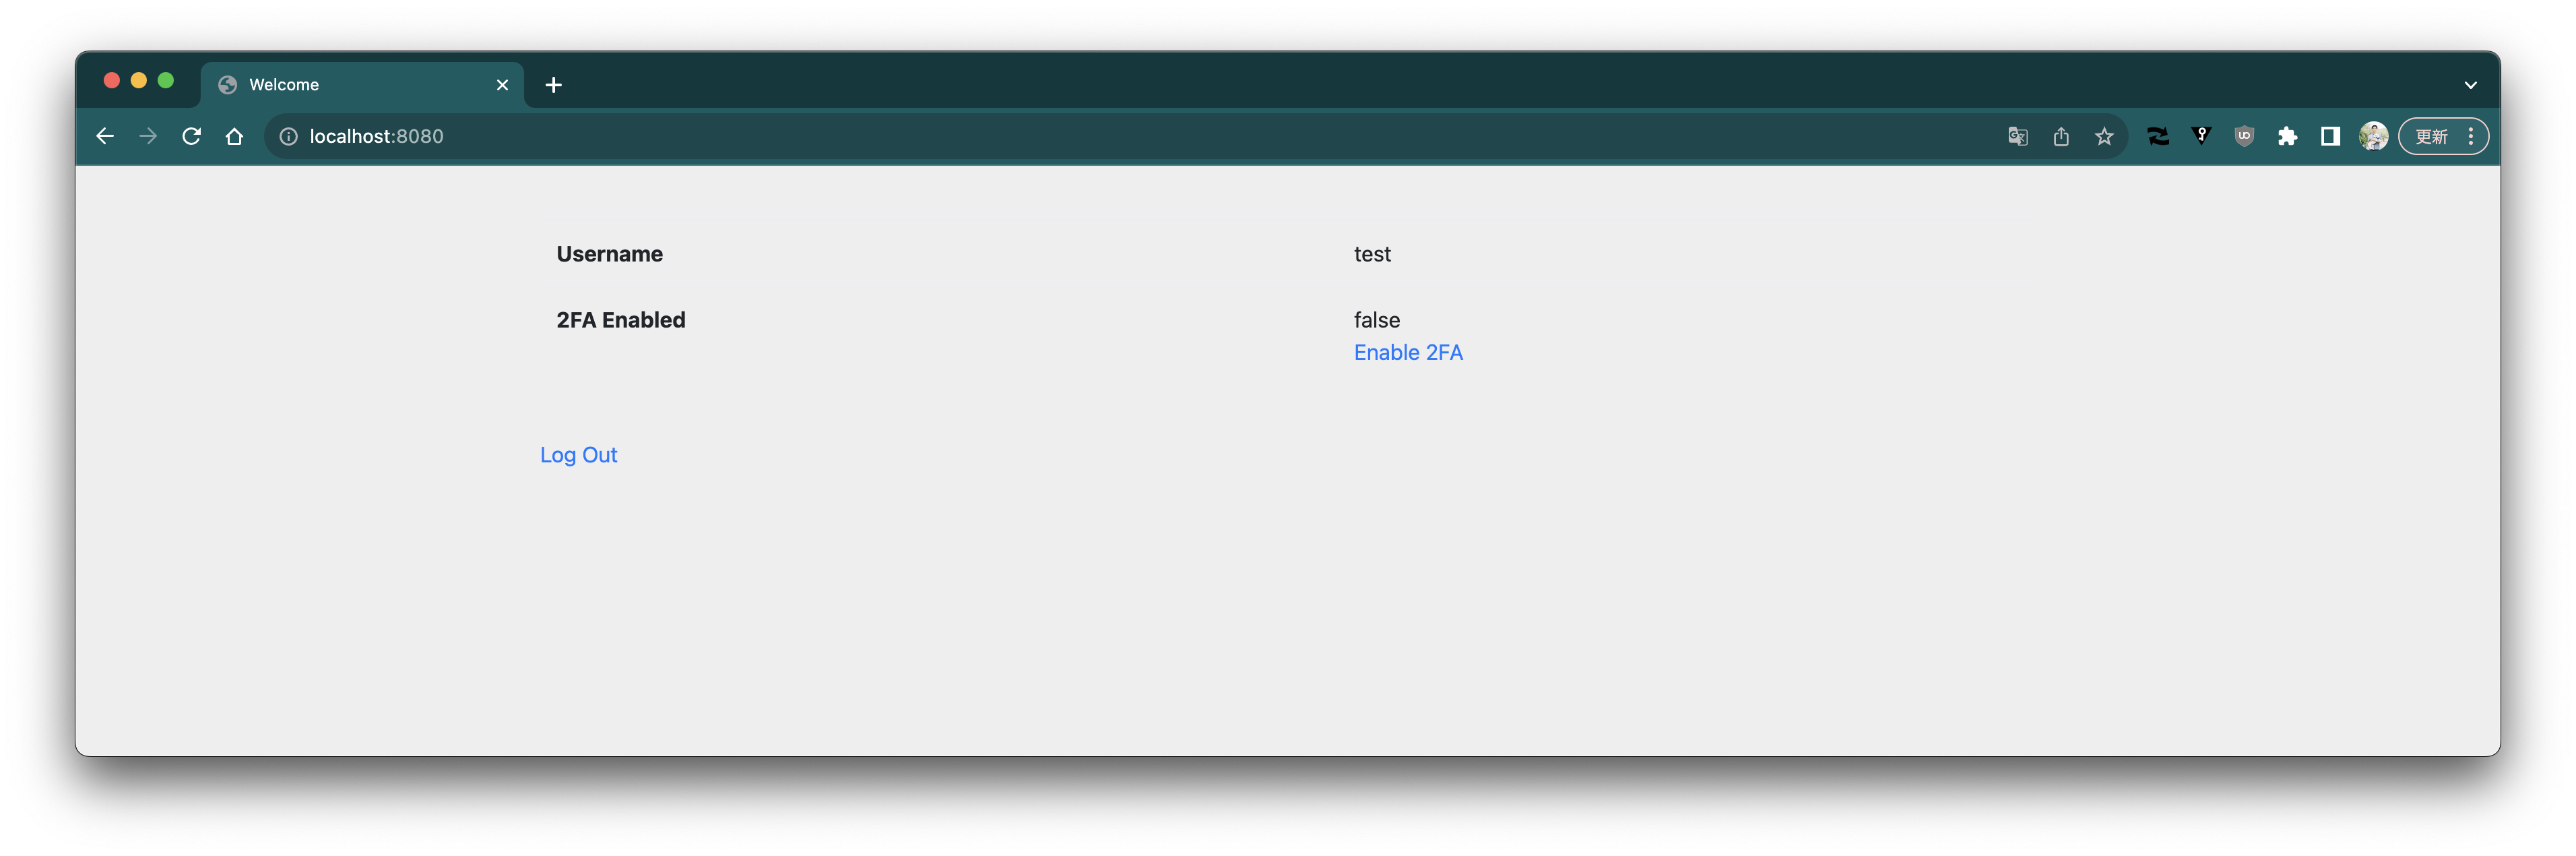
 2FAはデフォルトで無効になっています。
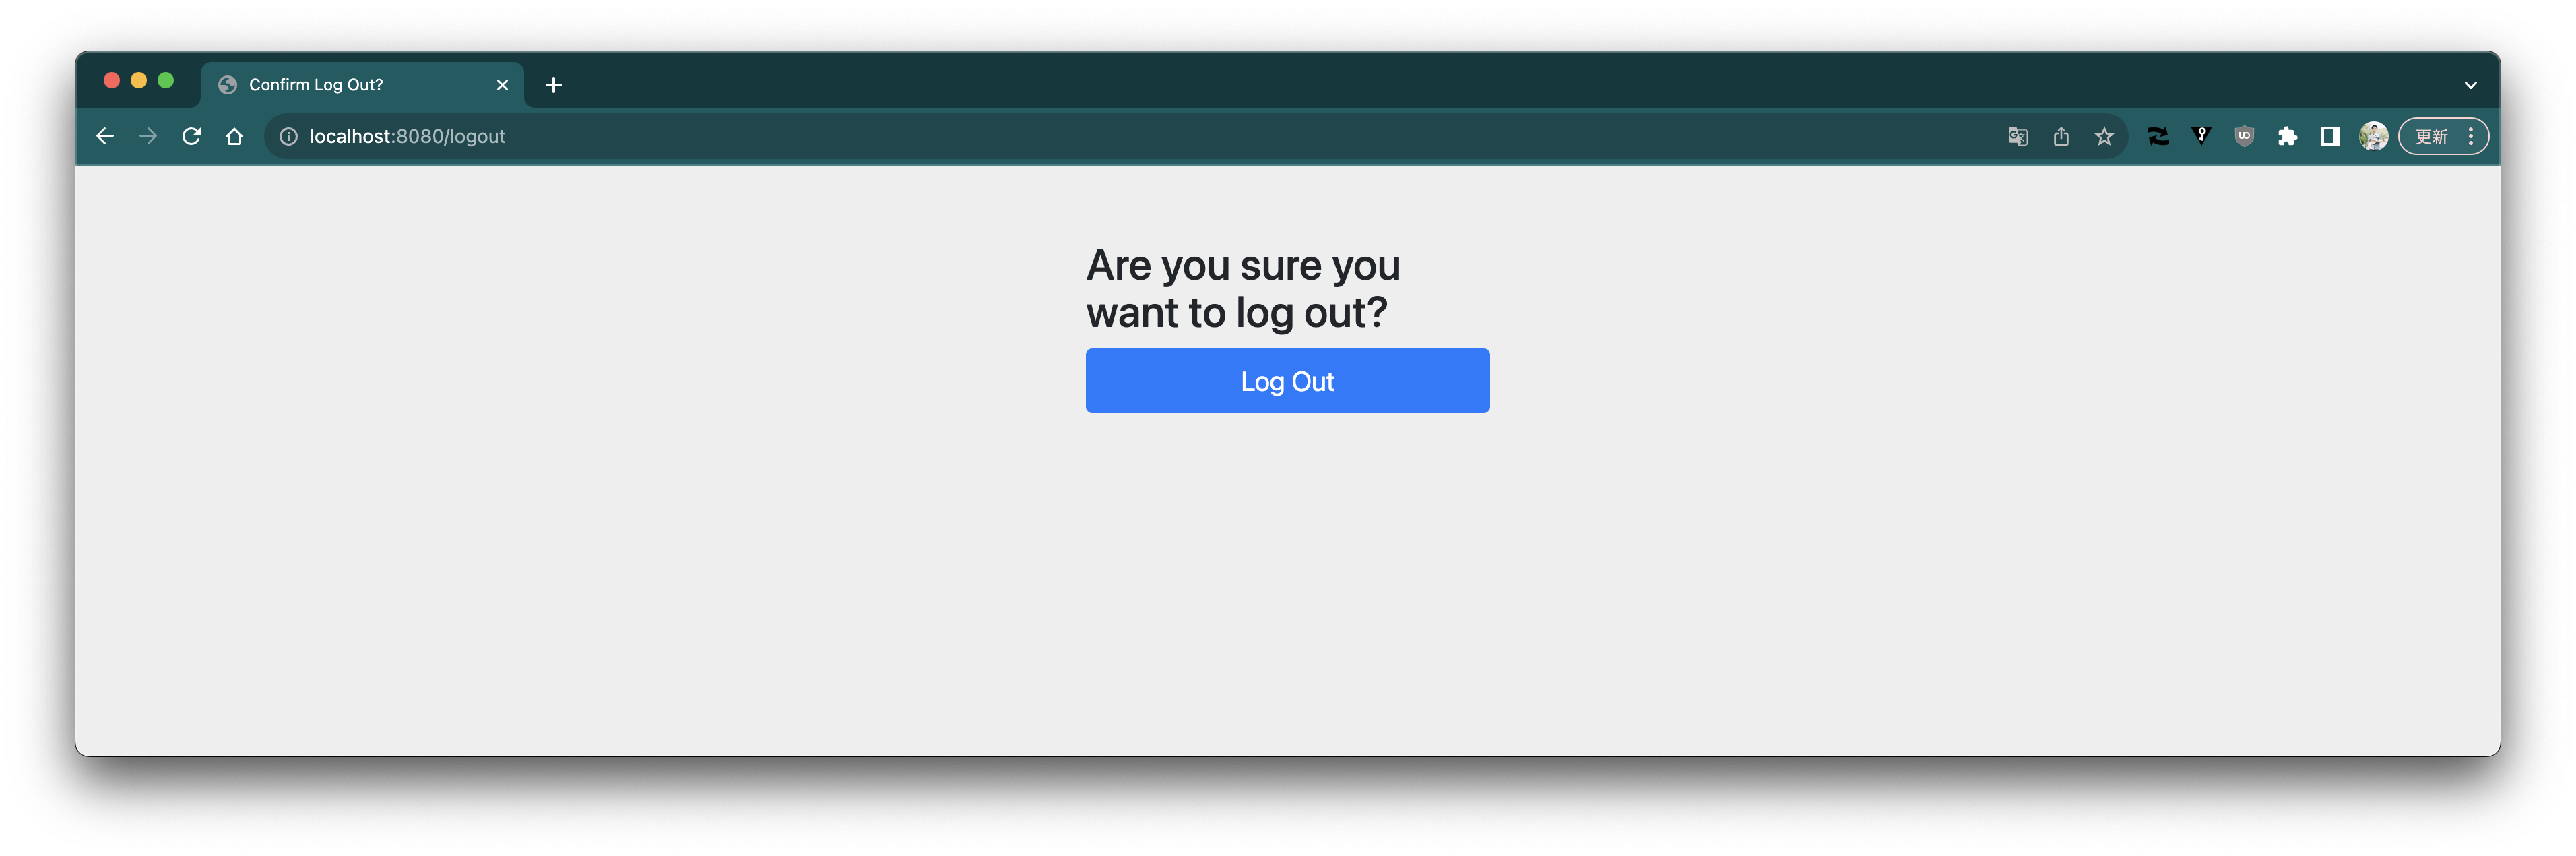
 ログアウトします。
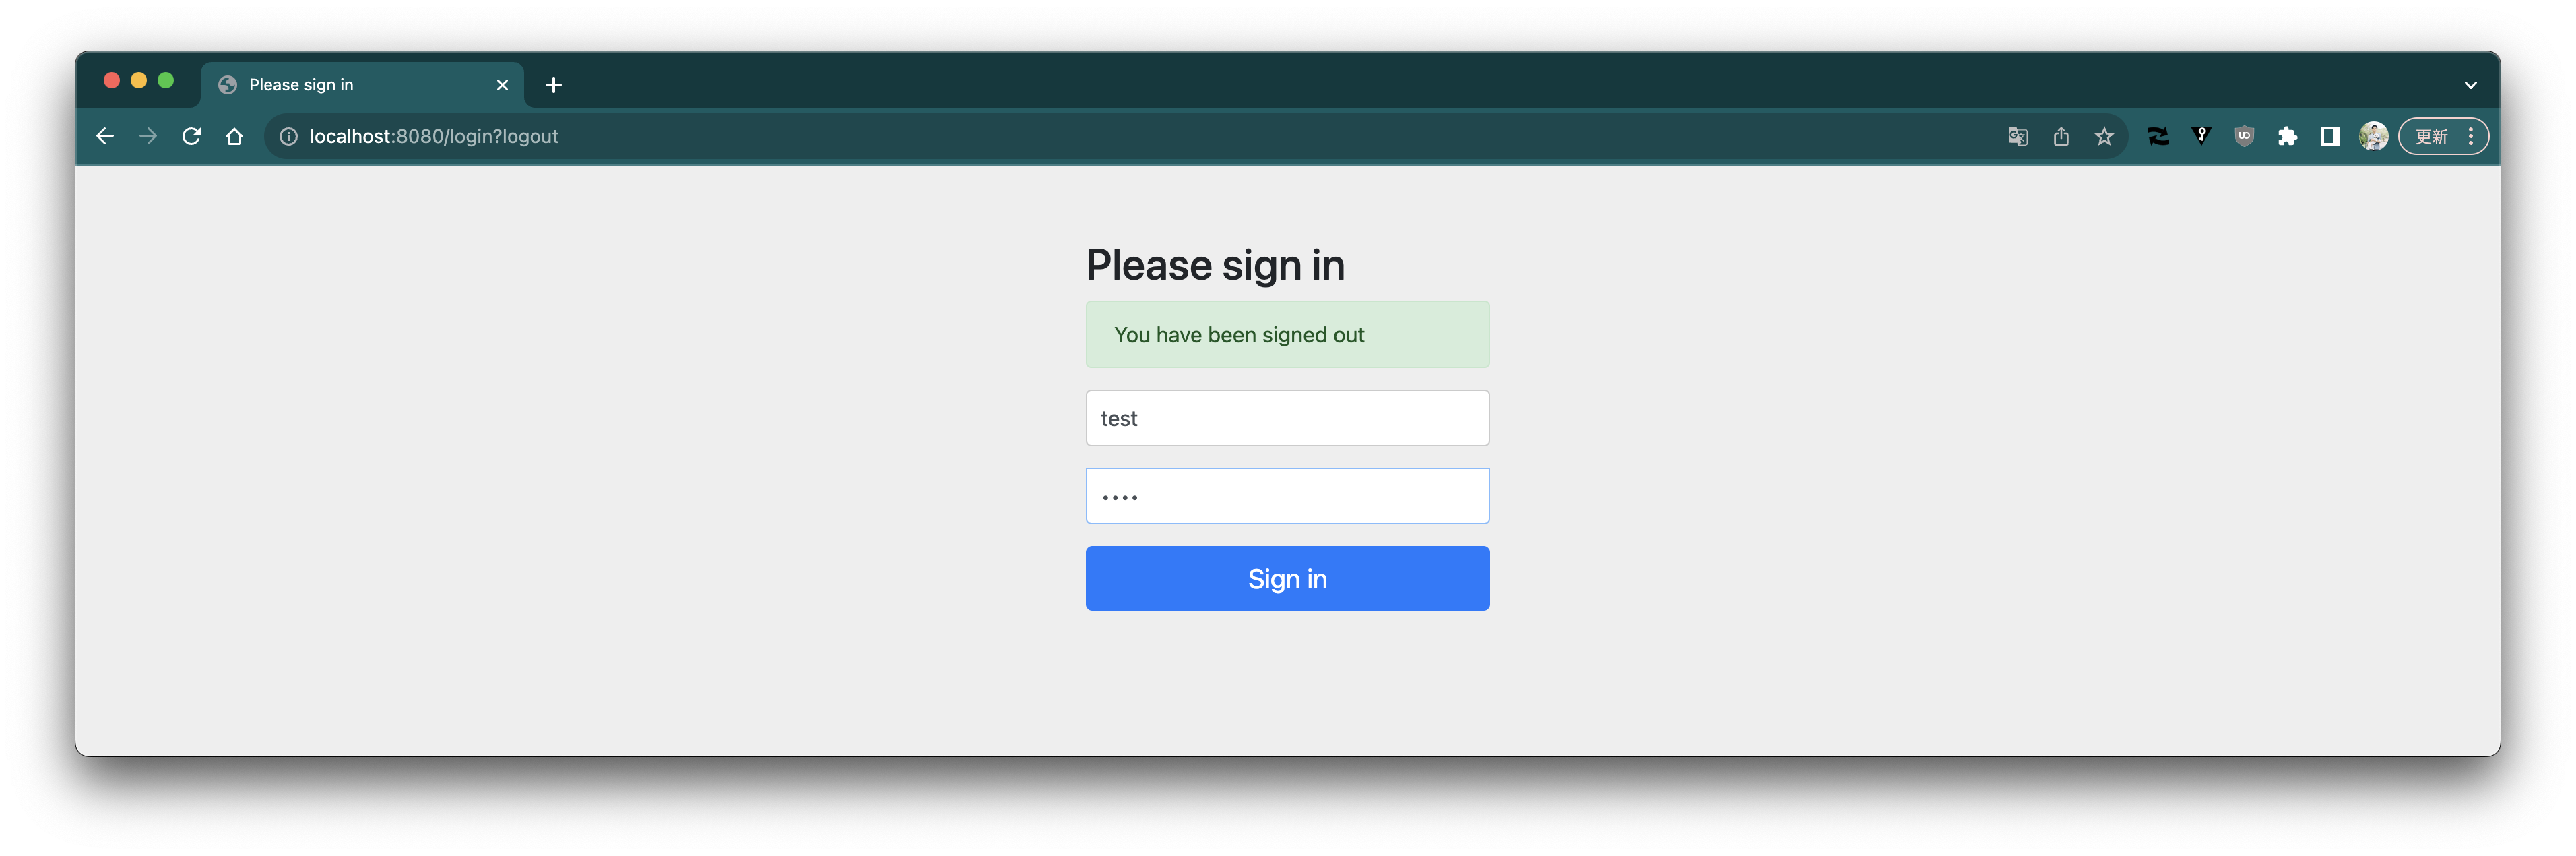
 もう一度ログインします。
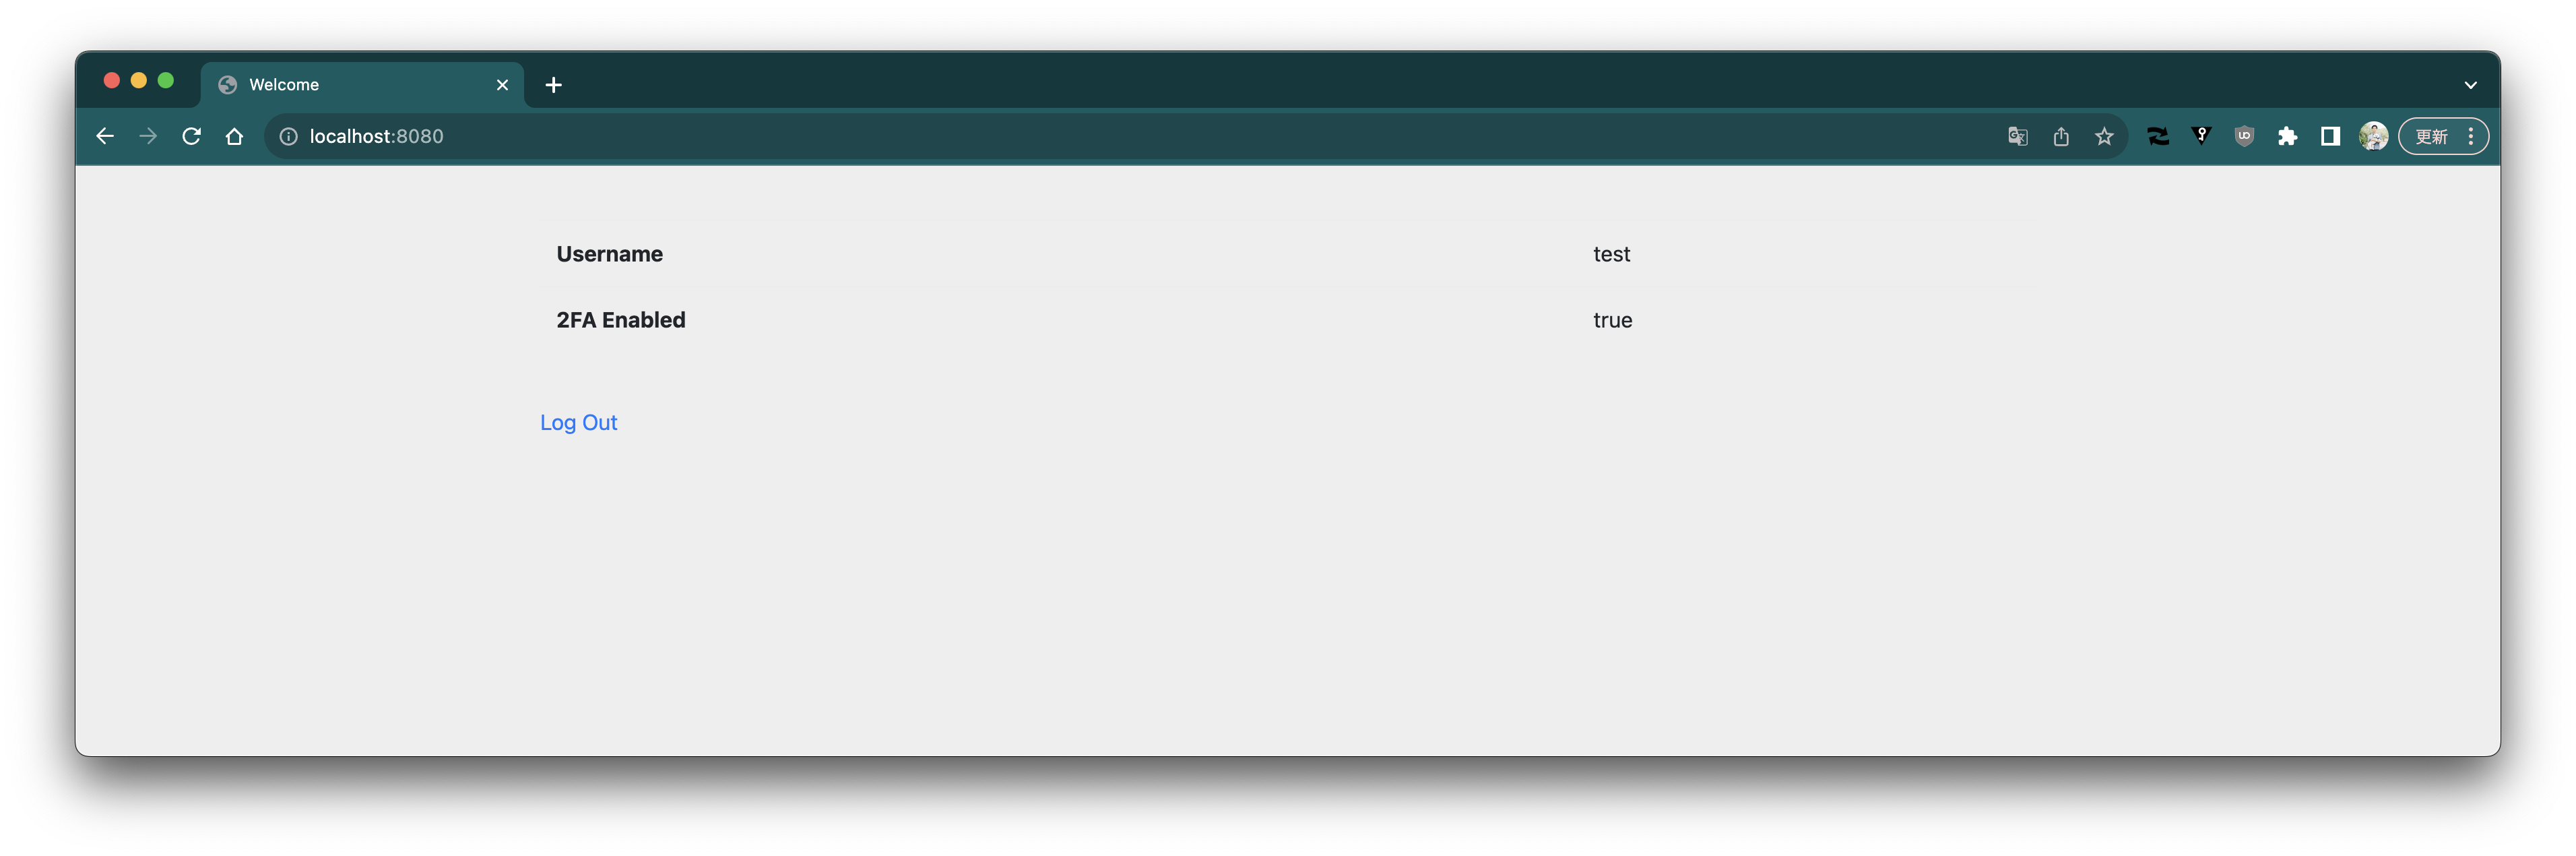
 2FAが無効になっているので、ユーザー名とパスワードのみでログインが成功します。
 2FAを有効化します。
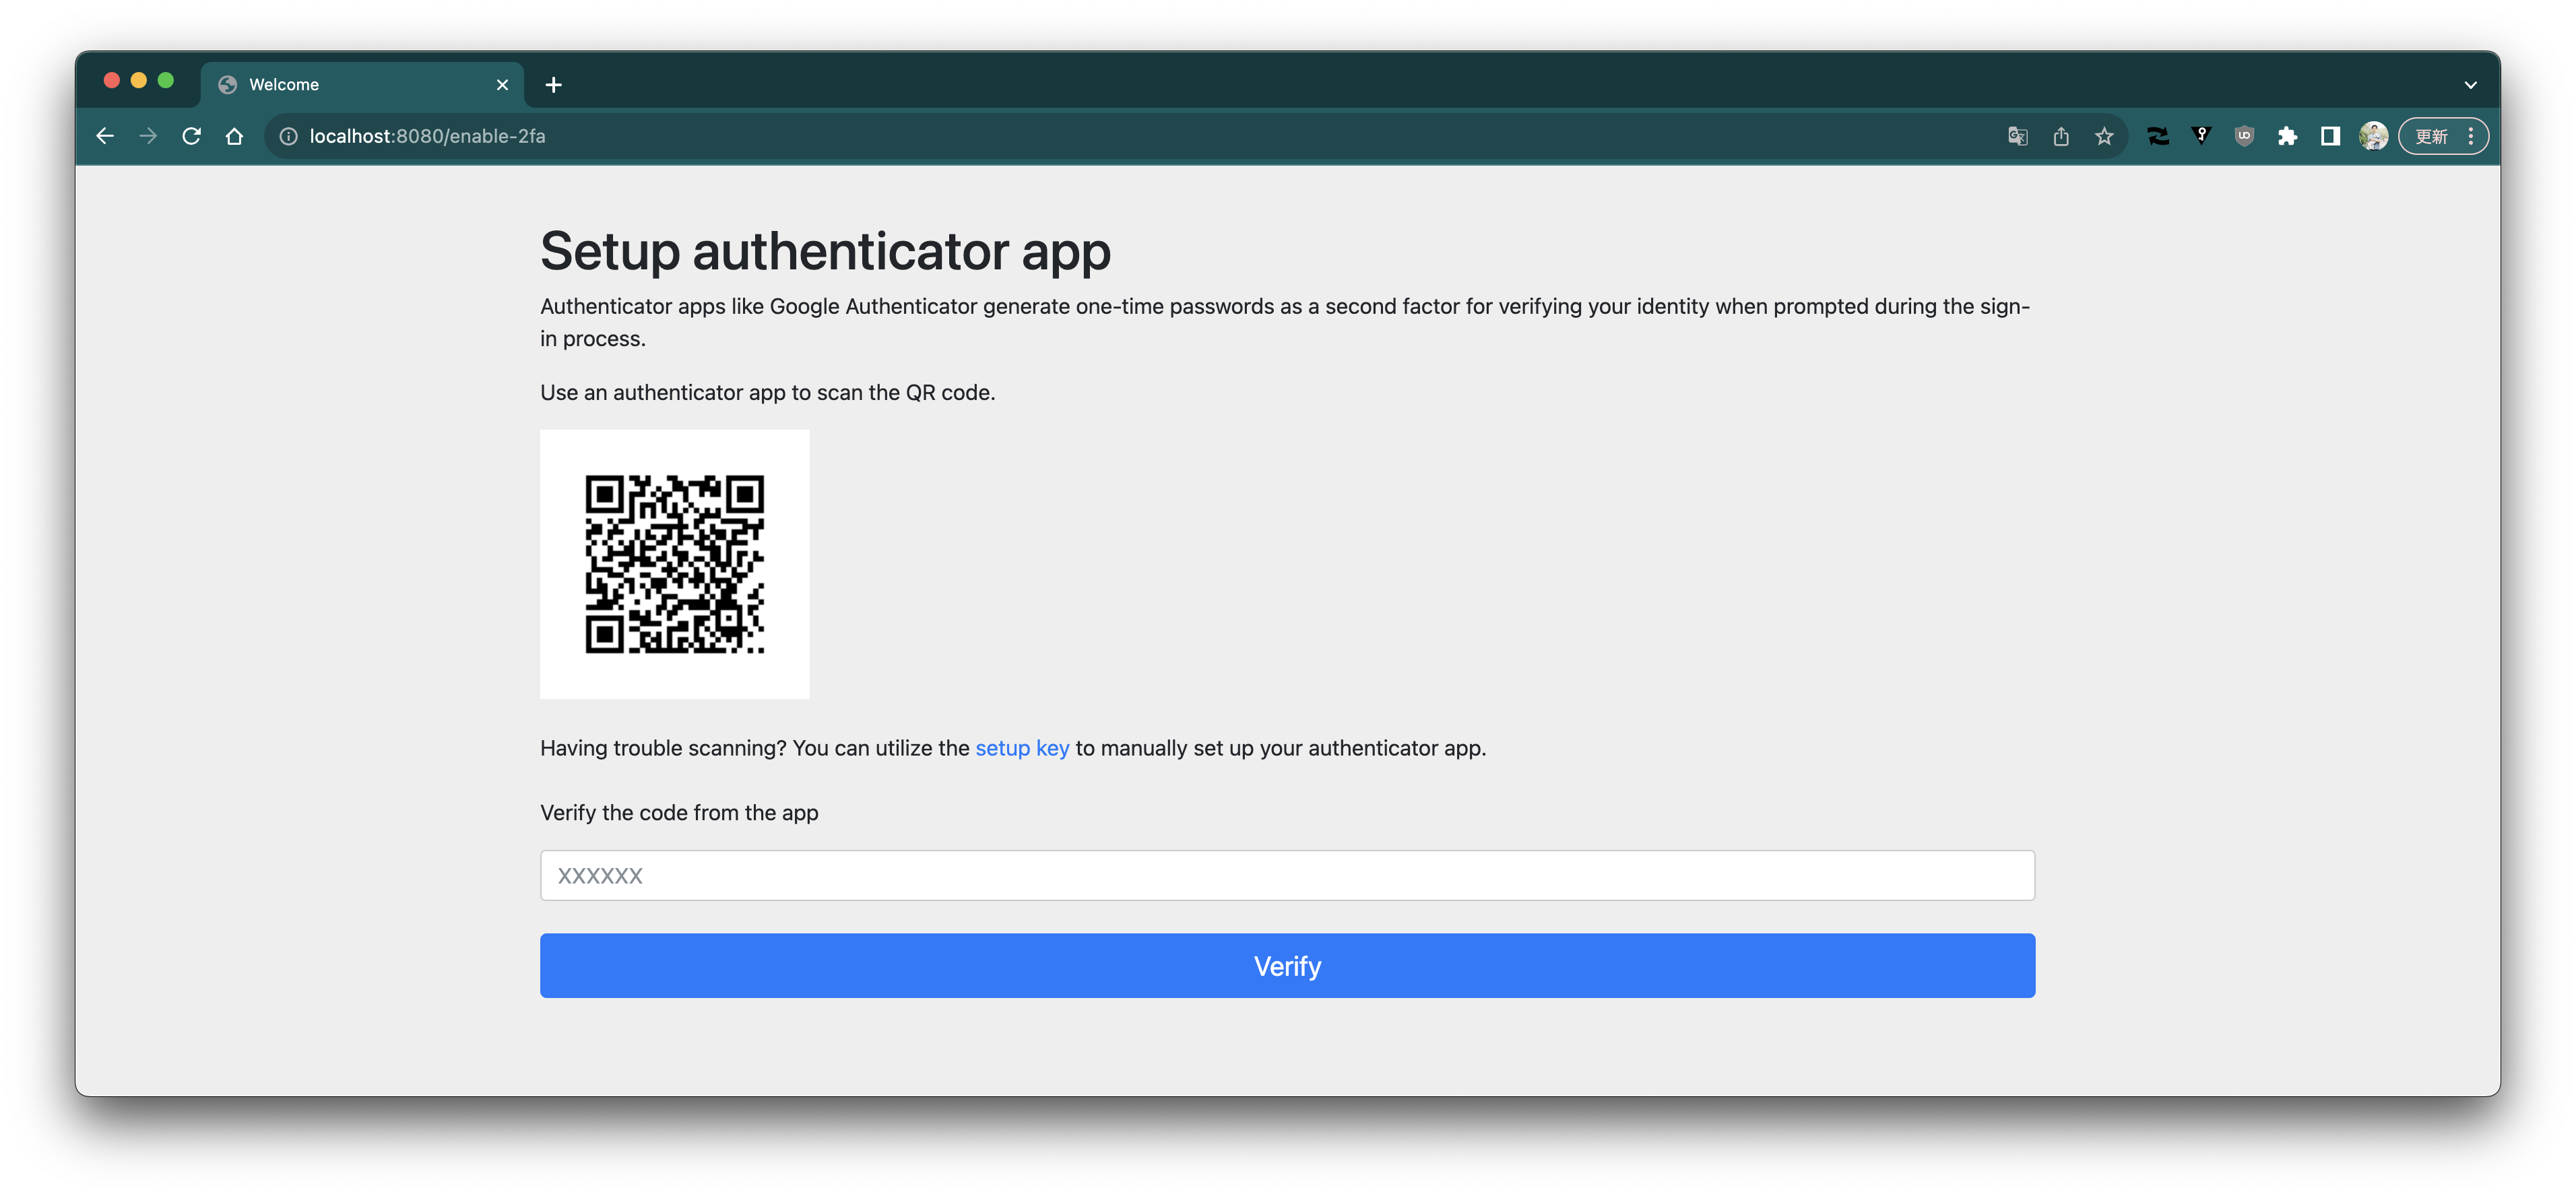 Google Authenticatorを使ってQRコードを読み込みます。

コードを確認します。

コードを入力して、verifyボタンを押します。
Google Authenticatorを使ってQRコードを読み込みます。

コードを確認します。

コードを入力して、verifyボタンを押します。
 2FAが有効になりました。
 ログアウトします。
もう一度ログインします。
今回は2FAが有効になっているので、コードの入力を求められます。
ログアウトします。
もう一度ログインします。
今回は2FAが有効になっているので、コードの入力を求められます。
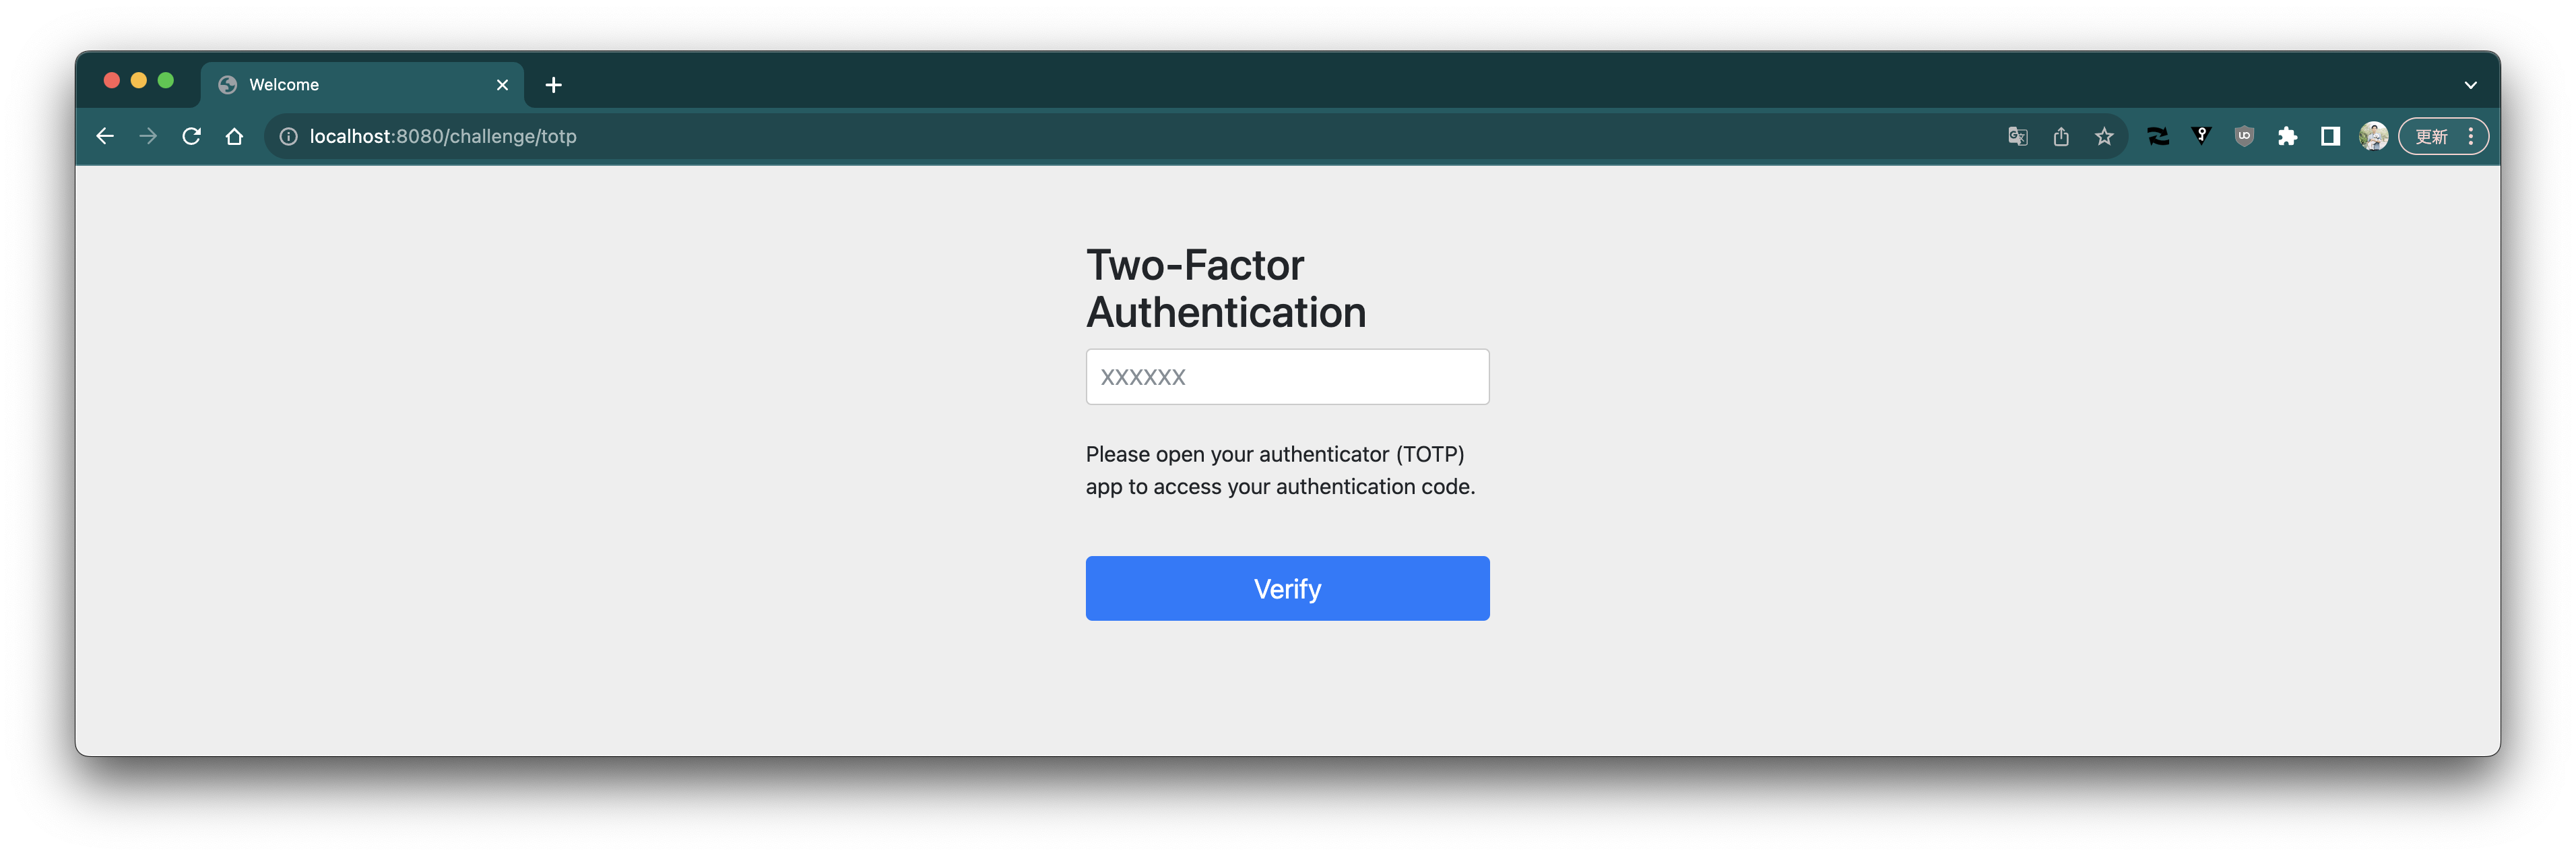 Google Authenticatorでコードを確認します。

コードを入力して、verifyボタンを押します。
Google Authenticatorでコードを確認します。

コードを入力して、verifyボタンを押します。
 ログインが成功しました。
 ### 実装の説明
`SecurityFilterChain`の定義は次のようになります。
```java
@Bean
public SecurityFilterChain securityFilterChain(HttpSecurity http,
AuthenticationSuccessHandler primarySuccessHandler) throws Exception {
return http
.authorizeHttpRequests(authorize -> authorize
.requestMatchers("/signup", "/error").permitAll()
.requestMatchers("/challenge/totp").access(new TwoFactorAuthorizationManager())
.anyRequest().authenticated())
.formLogin(form -> form
.successHandler(new TwoFactorAuthenticationSuccessHandler("/challenge/totp", primarySuccessHandler)))
.securityContext(securityContext -> securityContext.requireExplicitSave(false))
.build();
}
```
ポイントは`formLogin`の`successHandler`に設定した`TwoFactorAuthenticationSuccessHandler`です。
このクラスが "ユーザー名とパスワードでログインが成功した後、2FAが有効になっていれば認証コード(TOTP)入力フォームを表示" を担います。
次のような実装になっています。
```java
public class TwoFactorAuthenticationSuccessHandler implements AuthenticationSuccessHandler {
private final AuthenticationSuccessHandler primarySuccessHandler;
private final AuthenticationSuccessHandler secondarySuccessHandler;
public TwoFactorAuthenticationSuccessHandler(String secondAuthUrl,
AuthenticationSuccessHandler primarySuccessHandler) {
this.primarySuccessHandler = primarySuccessHandler;
this.secondarySuccessHandler = new SimpleUrlAuthenticationSuccessHandler(secondAuthUrl);
}
@Override
public void onAuthenticationSuccess(HttpServletRequest request, HttpServletResponse response,
Authentication authentication) throws IOException, ServletException {
AccountUserDetails accountUserDetails = (AccountUserDetails) authentication.getPrincipal();
Account account = accountUserDetails.getAccount();
if (account.twoFactorEnabled()) {
SecurityContextHolder.getContext().setAuthentication(new TwoFactorAuthentication(authentication));
this.secondarySuccessHandler.onAuthenticationSuccess(request, response, authentication);
}
else {
this.primarySuccessHandler.onAuthenticationSuccess(request, response, authentication);
}
}
}
```
`primarySuccessHandler`はデフォルトで使われる`AuthenticationSuccessHandler`と同じもの(`SavedRequestAwareAuthenticationSuccessHandler`)です。`secondarySuccessHandler`はログインが成功すると指定したURL(ここでは`/challenge/totp`)に遷移する`AuthenticationSuccessHandler`です
ログインフォームからユーザ名とパスワードを入力して、認証が成功すると`TwoFactorAuthenticationSuccessHandler`の`onAuthenticationSuccess`メソッドが呼ばれます。
このメソッドを見ればわかるように、認証されたアカウントの2FAが無効であれば、`primarySuccessHandler`に処理が移譲されます。すなわち、これ以降は2FAを使わない場合と同じです。
2FAが有効であれば、`SecurityContext`に`TwoFactorAuthentication`を設定し、`secondarySuccessHandler`に処理が移譲されます。その結果、`/challenge/totp`にリダイレクトされます。
`TwoFactorAuthentication`は次のような実装になっています。
```java
public class TwoFactorAuthentication extends AbstractAuthenticationToken {
private final Authentication primary;
public TwoFactorAuthentication(Authentication primary) {
super(List.of());
this.primary = primary;
}
// 省略
@Override
public boolean isAuthenticated() {
return false;
}
public Authentication getPrimary() {
return this.primary;
}
}
```
実際に認証処理を経て作成された`Authentication`オブジェクト(実装は`UsernamePasswordAuthenticationToken`)をラップしていますが、`isAuthenticated`が`false`を返します。つまり認証されていない状態にします。
2FAが有効の場合は、ユーザー名とパスワードによるログインが成功しても"authenticated"な状態にならないため、`anyRequest().authenticated()`に対して認可されません。
一方で、次の遷移先である`/challenge/totp`は認可される必要があるため、`.requestMatchers("/challenge/totp").access(new TwoFactorAuthorizationManager())`という設定をしています。
`TwoFactorAuthorizationManager`の実装は次のようになっています。
```java
public class TwoFactorAuthorizationManager implements AuthorizationManager {
@Override
public AuthorizationDecision check(Supplier authentication, RequestAuthorizationContext object) {
return new AuthorizationDecision(authentication.get() instanceof TwoFactorAuthentication);
}
}
```
対象の`Authentication`オブジェクトが`TwoFactorAuthentication`かどうかだけを見ています。したがって、`TwoFactorAuthenticationSuccessHandler`によって`/challenge/totp`に遷移した場合に認可されます。
`/challenge/totp`に対するのControllerは次のようになっています。
```java
@Controller
public class TwoFactorAuthController {
private final TwoFactorAuthenticationCodeVerifier codeVerifier;
private final AuthenticationSuccessHandler successHandler;
private final AuthenticationFailureHandler failureHandler;
// 省略
@GetMapping(path = "/challenge/totp")
public String requestTotp() {
return "totp";
}
@PostMapping(path = "/challenge/totp")
public void processTotp(@RequestParam String code, TwoFactorAuthentication authentication,
HttpServletRequest request, HttpServletResponse response) throws ServletException, IOException {
Authentication primaryAuthentication = authentication.getPrimary();
AccountUserDetails accountUserDetails = (AccountUserDetails) primaryAuthentication.getPrincipal();
Account account = accountUserDetails.getAccount();
if (this.codeVerifier.verify(account, code)) {
SecurityContextHolder.getContext().setAuthentication(primaryAuthentication);
this.successHandler.onAuthenticationSuccess(request, response, primaryAuthentication);
}
else {
this.failureHandler.onAuthenticationFailure(request, response, new BadCredentialsException("Invalid code"));
}
}
}
```
`GET /challenge/totp`はコードを入力するフォームを表示するだけです。そのコードが送信される`POST /challenge/totp`に対しては、
`TwoFactorAuthenticationCodeVerifier`でTOTPコードの確認を行います。
コードがValidだったら`SecurityContext`に元の認証された`Authentication`を設定し、デフォルトの`AuthenticationSuccessHandler`で成功処理を行います。
コードがValidでなければ、デフォルトの`AuthenticationFailureHandler`でログイン失敗にします。
TOTPのSecret生成やverification、QRコード生成などは本記事では割愛します。Github上のソースコードを確認してください。
> [補足] Spring Security 6から、デフォルトで `SecurityContextHolder.getContext().setAuthentication(...)` だけではSession状態の保存が行われなくなり、Contextの保存を明示的に行う必要があります。
### 実装の説明
`SecurityFilterChain`の定義は次のようになります。
```java
@Bean
public SecurityFilterChain securityFilterChain(HttpSecurity http,
AuthenticationSuccessHandler primarySuccessHandler) throws Exception {
return http
.authorizeHttpRequests(authorize -> authorize
.requestMatchers("/signup", "/error").permitAll()
.requestMatchers("/challenge/totp").access(new TwoFactorAuthorizationManager())
.anyRequest().authenticated())
.formLogin(form -> form
.successHandler(new TwoFactorAuthenticationSuccessHandler("/challenge/totp", primarySuccessHandler)))
.securityContext(securityContext -> securityContext.requireExplicitSave(false))
.build();
}
```
ポイントは`formLogin`の`successHandler`に設定した`TwoFactorAuthenticationSuccessHandler`です。
このクラスが "ユーザー名とパスワードでログインが成功した後、2FAが有効になっていれば認証コード(TOTP)入力フォームを表示" を担います。
次のような実装になっています。
```java
public class TwoFactorAuthenticationSuccessHandler implements AuthenticationSuccessHandler {
private final AuthenticationSuccessHandler primarySuccessHandler;
private final AuthenticationSuccessHandler secondarySuccessHandler;
public TwoFactorAuthenticationSuccessHandler(String secondAuthUrl,
AuthenticationSuccessHandler primarySuccessHandler) {
this.primarySuccessHandler = primarySuccessHandler;
this.secondarySuccessHandler = new SimpleUrlAuthenticationSuccessHandler(secondAuthUrl);
}
@Override
public void onAuthenticationSuccess(HttpServletRequest request, HttpServletResponse response,
Authentication authentication) throws IOException, ServletException {
AccountUserDetails accountUserDetails = (AccountUserDetails) authentication.getPrincipal();
Account account = accountUserDetails.getAccount();
if (account.twoFactorEnabled()) {
SecurityContextHolder.getContext().setAuthentication(new TwoFactorAuthentication(authentication));
this.secondarySuccessHandler.onAuthenticationSuccess(request, response, authentication);
}
else {
this.primarySuccessHandler.onAuthenticationSuccess(request, response, authentication);
}
}
}
```
`primarySuccessHandler`はデフォルトで使われる`AuthenticationSuccessHandler`と同じもの(`SavedRequestAwareAuthenticationSuccessHandler`)です。`secondarySuccessHandler`はログインが成功すると指定したURL(ここでは`/challenge/totp`)に遷移する`AuthenticationSuccessHandler`です
ログインフォームからユーザ名とパスワードを入力して、認証が成功すると`TwoFactorAuthenticationSuccessHandler`の`onAuthenticationSuccess`メソッドが呼ばれます。
このメソッドを見ればわかるように、認証されたアカウントの2FAが無効であれば、`primarySuccessHandler`に処理が移譲されます。すなわち、これ以降は2FAを使わない場合と同じです。
2FAが有効であれば、`SecurityContext`に`TwoFactorAuthentication`を設定し、`secondarySuccessHandler`に処理が移譲されます。その結果、`/challenge/totp`にリダイレクトされます。
`TwoFactorAuthentication`は次のような実装になっています。
```java
public class TwoFactorAuthentication extends AbstractAuthenticationToken {
private final Authentication primary;
public TwoFactorAuthentication(Authentication primary) {
super(List.of());
this.primary = primary;
}
// 省略
@Override
public boolean isAuthenticated() {
return false;
}
public Authentication getPrimary() {
return this.primary;
}
}
```
実際に認証処理を経て作成された`Authentication`オブジェクト(実装は`UsernamePasswordAuthenticationToken`)をラップしていますが、`isAuthenticated`が`false`を返します。つまり認証されていない状態にします。
2FAが有効の場合は、ユーザー名とパスワードによるログインが成功しても"authenticated"な状態にならないため、`anyRequest().authenticated()`に対して認可されません。
一方で、次の遷移先である`/challenge/totp`は認可される必要があるため、`.requestMatchers("/challenge/totp").access(new TwoFactorAuthorizationManager())`という設定をしています。
`TwoFactorAuthorizationManager`の実装は次のようになっています。
```java
public class TwoFactorAuthorizationManager implements AuthorizationManager {
@Override
public AuthorizationDecision check(Supplier authentication, RequestAuthorizationContext object) {
return new AuthorizationDecision(authentication.get() instanceof TwoFactorAuthentication);
}
}
```
対象の`Authentication`オブジェクトが`TwoFactorAuthentication`かどうかだけを見ています。したがって、`TwoFactorAuthenticationSuccessHandler`によって`/challenge/totp`に遷移した場合に認可されます。
`/challenge/totp`に対するのControllerは次のようになっています。
```java
@Controller
public class TwoFactorAuthController {
private final TwoFactorAuthenticationCodeVerifier codeVerifier;
private final AuthenticationSuccessHandler successHandler;
private final AuthenticationFailureHandler failureHandler;
// 省略
@GetMapping(path = "/challenge/totp")
public String requestTotp() {
return "totp";
}
@PostMapping(path = "/challenge/totp")
public void processTotp(@RequestParam String code, TwoFactorAuthentication authentication,
HttpServletRequest request, HttpServletResponse response) throws ServletException, IOException {
Authentication primaryAuthentication = authentication.getPrimary();
AccountUserDetails accountUserDetails = (AccountUserDetails) primaryAuthentication.getPrincipal();
Account account = accountUserDetails.getAccount();
if (this.codeVerifier.verify(account, code)) {
SecurityContextHolder.getContext().setAuthentication(primaryAuthentication);
this.successHandler.onAuthenticationSuccess(request, response, primaryAuthentication);
}
else {
this.failureHandler.onAuthenticationFailure(request, response, new BadCredentialsException("Invalid code"));
}
}
}
```
`GET /challenge/totp`はコードを入力するフォームを表示するだけです。そのコードが送信される`POST /challenge/totp`に対しては、
`TwoFactorAuthenticationCodeVerifier`でTOTPコードの確認を行います。
コードがValidだったら`SecurityContext`に元の認証された`Authentication`を設定し、デフォルトの`AuthenticationSuccessHandler`で成功処理を行います。
コードがValidでなければ、デフォルトの`AuthenticationFailureHandler`でログイン失敗にします。
TOTPのSecret生成やverification、QRコード生成などは本記事では割愛します。Github上のソースコードを確認してください。
> [補足] Spring Security 6から、デフォルトで `SecurityContextHolder.getContext().setAuthentication(...)` だけではSession状態の保存が行われなくなり、Contextの保存を明示的に行う必要があります。
> デメリットはありますが、今回は明示的なContextの保存をしなくても良いように `securityContext.requireExplicitSave(false)` を設定しました。
> https://docs.spring.io/spring-security/reference/6.5/migration/servlet/session-management.html#_require_explicit_saving_of_securitycontextrepository