Cloud Foundry on AzureにMeta Azure Service Brokerをインストール
前の記事に続いて、Cloud Foundry on Azureにバックエンドサービスを追加する。 今度はMeta Azure Service Broker。 これは次のAzureサービス群に対するCloud FoundryのService Brokerである。
- Azure Storage
- Azure Redis Cache
- Azure DocumentDB
- Azure Service Bus
- Azure SQL Database
これもドキュメント通りなのだが、少し気合が必要。まずはソースコード取得。この記事執筆段階では3916aac。
git clone https://github.com/Azure/meta-azure-service-broker
cd meta-azure-service-broker
SQL Server準備
Service Brokerのメタ情報保存先としてSQL Serverが必要である。
https://azure.microsoft.com/ja-jp/documentation/articles/sql-database-get-started/
にしたがって作成。次の情報を入力してメモっておく。
- サーバー名
- ユーザー名
- パスワード

mssqlコマンドインストール。
sudo apt-get install npm nodejs-legacy
sudo npm install -g sql-cli
接続して、ソースコードに含まれるscripts/schema.sql実行。
$ mssql --server "xxxx.database.windows.net" --database azure-cf-service-broker --user making@azure-cf-service-broker --pass xxxx --encrypt
sql-cli version 0.4.6
Enter ".help" for usage hints.
mssql> .run scripts/schema.sql
Azure Serviceの有効化
azure provider listでRegisteredになっていないサービスを有効化。
azure provider register Microsoft.DocumentDB
azure provider register Microsoft.Cache
azure provider register Microsoft.ServiceBus
azure provider register Microsoft.Sql
azure provider register Microsoft.Storage
DocumentDBの準備
DocumentDBだけはService BrokerによってDynamic Provisionできないので、事前に作成しておく必要がある(DocumentDBのService Brokerを使いたい時だけ)。
https://azure.microsoft.com/en-us/documentation/articles/documentdb-automation-resource-manager-cli/
にしたがって、CLIで作成。
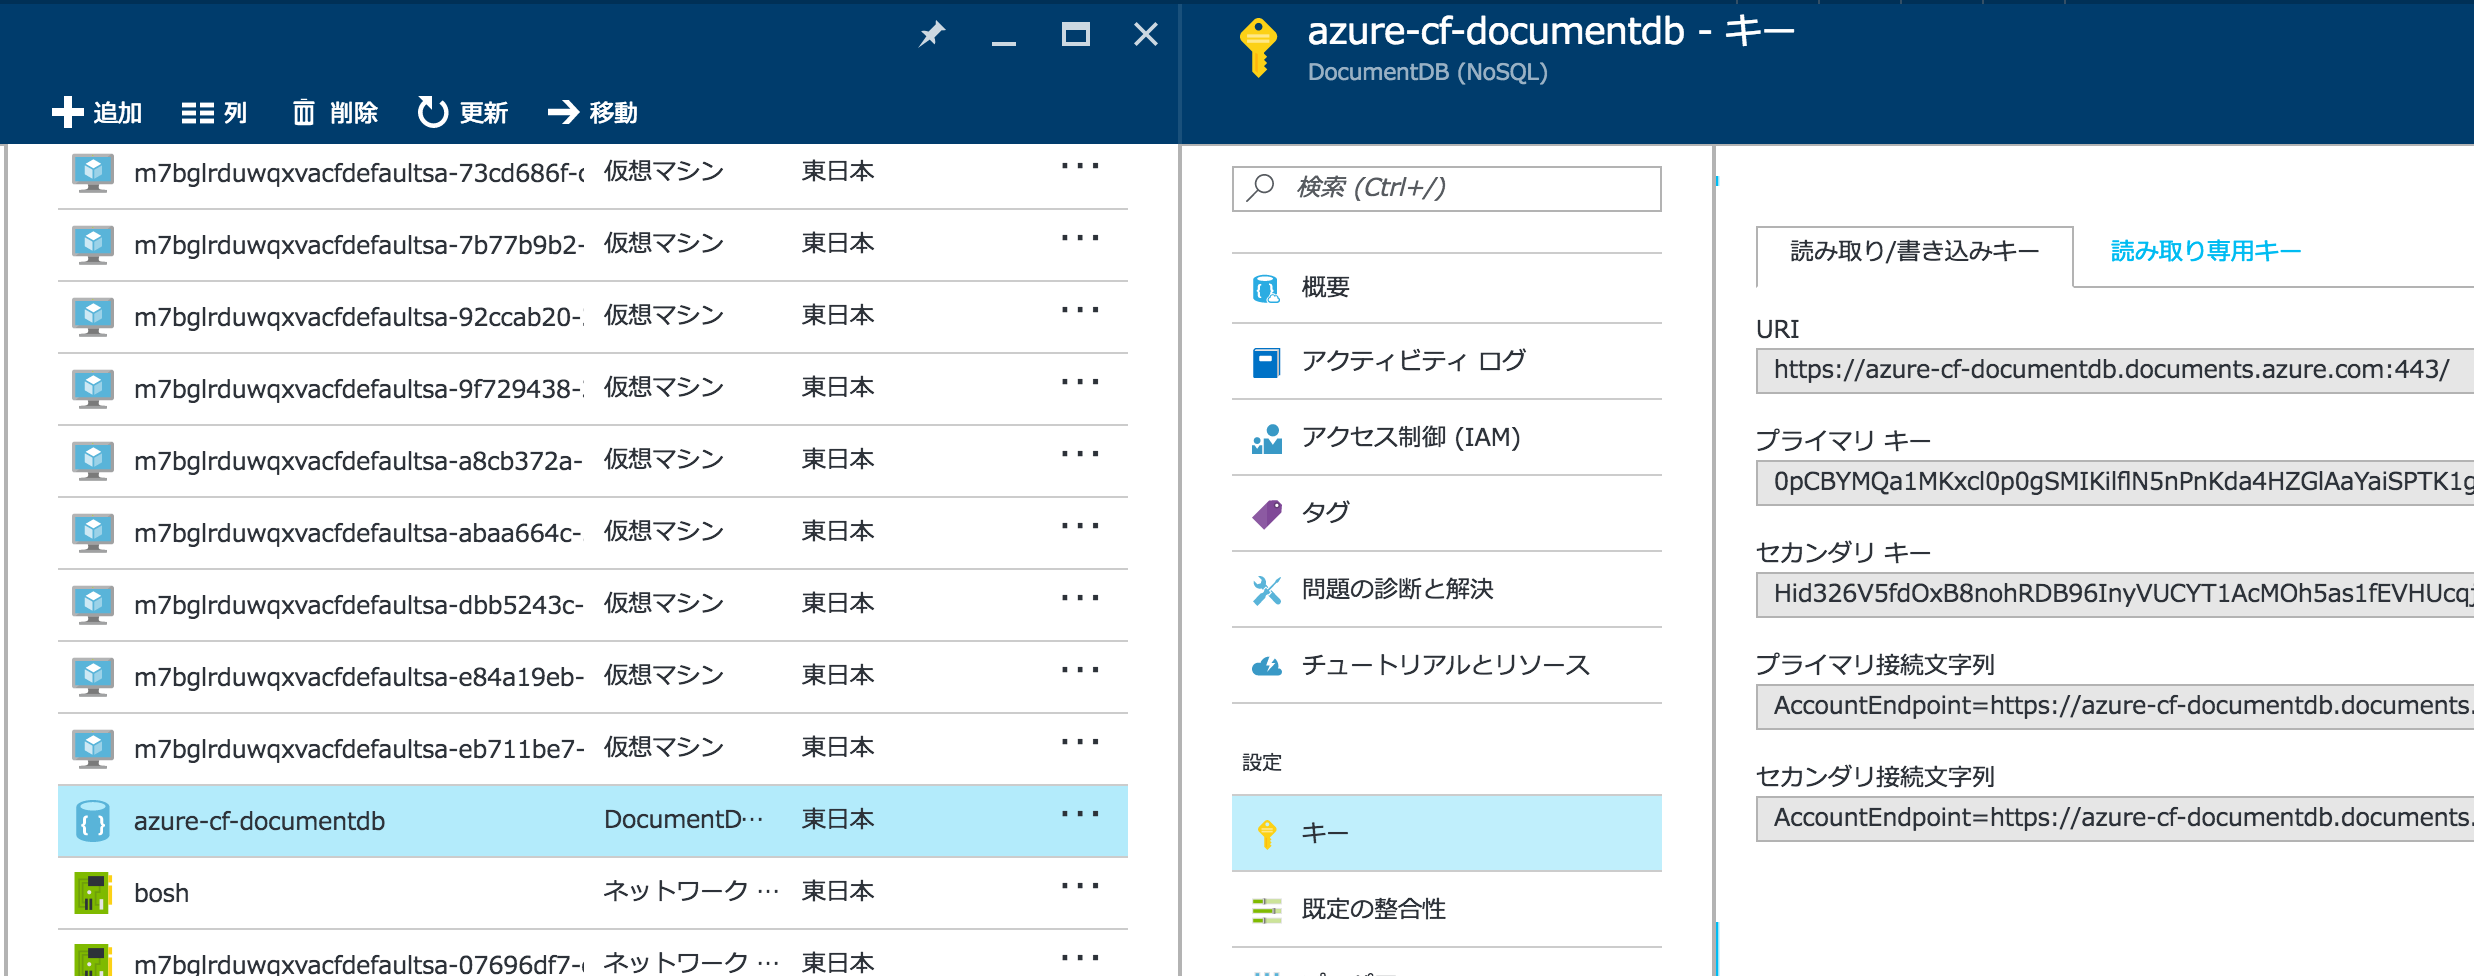
azure resource create -g azure-cf -n azure-cf-documentdb -r "Microsoft.DocumentDB/databaseAccounts" -o 2015-04-08 -l japaneast -p "{\"databaseAccountOfferType\":\"Standard\"}"
接続情報をメモる。
Service Brokerのデプロイ
次の2ファイルを用意。
manifest.yml
---
applications:
- name: meta-azure-service-broker
  buildpack: https://github.com/cloudfoundry/nodejs-buildpack
  instances: 1
  env:
    ENVIRONMENT: AzureCloud
    SUBSCRIPTION_ID: aaaaaaaa-aaaa-aaaa-aaaa-aaaaaaaaaaaa
    TENANT_ID: bbbbbbbb-bbbb-bbbb-bbbb-bbbbbbbbbbbb
    CLIENT_ID: cccccccc-cccc-cccc-cccc-cccccccccccc
    CLIENT_SECRET: changeme
    DOCDB_HOSTENDPOINT: https://azure-cf-documentdb.documents.azure.com:443/
    DOCDB_MASTERKEY: xxxxxx
config/default.json
{
  "apiVersion": "2.8.0",
  "authUser": "admin",
  "authPassword": "password",
  "name": "Meta Azure Service Broker",
  "port": 5001,
  "database": {
    "server": "azure-cf-service-broker.database.windows.net",
    "user": "making@azure-cf-service-broker",
    "password": "xxxx",
    "database": "azure-cf-service-broker"
  }
}
AzureのService Broker用にservices Organization、azure Spaceを作成し、cf push。
cf create-org services
cf target -o services -s azure
cf push
Service Brokerを登録。
cf create-service-broker azure-service-broker admin password https://meta-azure-service-broker.azurecf.ik.am
5つのサービスが登録され、様々なプランがあることがわかる。
$ cf service-access
Getting service access as admin...
broker: p-mysql
   service   plan    access   orgs
   p-mysql   100mb   all
   p-mysql   1gb     all

broker: azure-service-broker
   service             plan         access   orgs
   azure-documentdb    standard     none
   azure-rediscache    basic        none
   azure-rediscache    standard     none
   azure-rediscache    premium      none
   azure-servicebus    standard     none
   azure-sqldb         basic        none
   azure-sqldb         StandardS0   none
   azure-sqldb         StandardS1   none
   azure-sqldb         StandardS2   none
   azure-sqldb         StandardS3   none
   azure-sqldb         PremiumP1    none
   azure-sqldb         PremiumP2    none
   azure-sqldb         PremiumP4    none
   azure-sqldb         PremiumP6    none
   azure-sqldb         PremiumP11   none
   azure-storageblob   standard     none
全部有効にする。
cf enable-service-access azure-documentdb
cf enable-service-access azure-rediscache
cf enable-service-access azure-servicebus
cf enable-service-access azure-sqldb
cf enable-service-access azure-storageblob
マーケットプレースに登録された🙌
$ cf marketplace
Getting services from marketplace in org services / space azure as admin...
OK

service             plans                                                                                                                     description
azure-documentdb    standard*                                                                                                                 Azure DocumentDb Service
azure-rediscache    basic*, standard*, premium*                                                                                               Azure Redis Cache Service
azure-servicebus    standard*                                                                                                                 Azure Service Bus Service
azure-sqldb         basic*, StandardS0*, StandardS1*, StandardS2*, StandardS3*, PremiumP1*, PremiumP2*, PremiumP4*, PremiumP6*, PremiumP11*   Azure SQL Database Service
azure-storageblob   standard*                                                                                                                 Azure Storage Blob Service
p-mysql             100mb, 1gb                                                                                                                MySQL databases on demand

* These service plans have an associated cost. Creating a service instance will incur this cost.

TIP:  Use 'cf marketplace -s SERVICE' to view descriptions of individual plans of a given service.
サービスインスタンス作成
Azure DocumentDB
cf create-serviceを実行時に、様々なパラメータJSONで渡す必要がある。次のazure-documentdb-config.jsonを作成。
{
  "resourceGroup": "my-resource-group-name",
  "docDbName": "mrs",
  "parameters": {
    "location": "japaneast"
  }
}
サービスインタンス作成。
cf create-service azure-documentdb standard demo-doc -c azure-documentdb-config.json
すでに作成済みのDocumentDBインスタンスを使用するのでサービスインタンスの作成は早い。
$ cf services
admin として組織 default_organization / スペース demo 内のサービスを取得しています...
OK

名前        サービス           プラン     バインド済みアプリ   最後の操作
demo-doc    azure-documentdb   standard                        create は成功しました
demo-db     p-mysql            100mb      demo-app             create は成功しました
アプリにバインド
cf bind-service demo-app demo-db
環境変数を見ると次のようなcredentialsが設定されていることがわかる。
$ cf env demo-app
admin として組織 default_organization / スペース demo 内のアプリ demo-app の環境変数を取得しています...
OK

システム提供:
{
 "VCAP_SERVICES": {
  "azure-documentdb": [
   {
    "credentials": {
     "documentdb_database": "demo-app",
     "documentdb_host": "https://azure-cf-documentdb.documents.azure.com:443/",
     "documentdb_key": "xxxx",
     "documentdb_resource_id": "xxxx"
    },
    "label": "azure-documentdb",
    "name": "demo-doc",
    "plan": "standard",
    "provider": null,
    "syslog_drain_url": null,
    "tags": [],
    "volume_mounts": []
   }
  ],
  "p-mysql": [
   {
    "credentials": {
     "hostname": "10.0.50.5",
     "jdbcUrl": "jdbc:mysql://10.0.50.5:3306/xxxx,
     "name": "xxxx",
     "password": "xxxx",
     "port": 3306,
     "uri": "mysql://xxxx:xxxx@10.0.50.5:3306/xxxx",
     "username": "xxxx"
    },
    "label": "p-mysql",
    "name": "demo-db",
    "plan": "100mb",
    "provider": null,
    "syslog_drain_url": null,
    "tags": [
     "mysql"
    ],
    "volume_mounts": []
   }
  ]
 }
}

{
 "VCAP_APPLICATION": {
  "application_id": "cdbdc286-9173-49cb-8ce4-b7baef81b17b",
  "application_name": "demo-app",
  "application_uris": [
   "demo-app.azurecf.ik.am"
  ],
  "application_version": "b0d2da70-be02-4c94-aac5-c334961fa7a7",
  "limits": {
   "disk": 1024,
   "fds": 16384,
   "mem": 512
  },
  "name": "demo-app",
  "space_id": "f7798e39-7ac0-4295-98ee-a66c96e63baf",
  "space_name": "demo",
  "uris": [
   "demo-app.azurecf.ik.am"
  ],
  "users": null,
  "version": "b0d2da70-be02-4c94-aac5-c334961fa7a7"
 }
}

ユーザー提供:
SPRING_DATASOURCE_INITIALIZE: false

実行環境変数が設定されていません

ステージング中環境変数が設定されていません
Azure Redis Cache
https://github.com/Azure/meta-azure-service-broker/blob/master/docs/azure-redis-cache.md
cf create-serviceを実行時に、様々なパラメータJSONで渡す必要がある。次のazure-redis-config.jsonを作成。
{
  "resourceGroup": "redisResourceGroup",
  "cacheName": "mrs",
  "parameters": {
    "location": "japaneast",
    "enableNonSslPort": true,
    "sku": {
      "name": "Basic",
      "family": "C",
      "capacity": 0
    }
  }
}
enableNonSslPortにしないとJedisを使ってアクセスできない。
cf create-service azure-rediscache basic demo-redis -c azure-redis-config.json
このサービスインタンス作成は非同期で行われ、動的にRedisインスタンスが作成される。cf servicesを見ても状態はcreate は進行中ですとなっている。
$ cf services
admin として組織 default_organization / スペース demo 内のサービスを取得しています...
OK

名前        サービス           プラン     バインド済みアプリ   最後の操作
demo-db     p-mysql            100mb      demo-app          create は成功しました
demo-redis  azure-rediscache   basic      demo-app          create は進行中です
次の図でも、状態が"作成中..."になっている。

しばらくするとcreate は成功しましたになる。
だけど、自分が試した時は20分くらいかかった・・・諦めずに待つと良い。
できたら、アプリにバインド。
cf bind-service demo-app demo-redis
環境変数を見ると次のようなcredentialsが設定されていることがわかる。
$ cf env demo-app
admin として組織 default_organization / スペース demo 内のアプリ demo-app の環境変数を取得しています...
OK

システム提供:
{
 "VCAP_SERVICES": {
  "azure-rediscache": [
   {
    "credentials": {
     "hostname": "mrs.redis.cache.windows.net",
     "name": "mrs",
     "port": 6379,
     "primaryKey": "xxxx",
     "secondaryKey": "xxxx",
     "sslPort": 6380
    },
    "label": "azure-rediscache",
    "name": "demo-redis",
    "plan": "basic",
    "provider": null,
    "syslog_drain_url": null,
    "tags": [],
    "volume_mounts": []
   }
  ],
  "p-mysql": [
   {
    "credentials": {
     "hostname": "10.0.50.5",
     "jdbcUrl": "jdbc:mysql://10.0.50.5:3306/xxxx,
     "name": "xxxx",
     "password": "xxxx",
     "port": 3306,
     "uri": "mysql://xxxx:xxxx@10.0.50.5:3306/xxxx",
     "username": "xxxx"
    },
    "label": "p-mysql",
    "name": "demo-db",
    "plan": "100mb",
    "provider": null,
    "syslog_drain_url": null,
    "tags": [
     "mysql"
    ],
    "volume_mounts": []
   }
  ]
 }
}

{
 "VCAP_APPLICATION": {
  "application_id": "cdbdc286-9173-49cb-8ce4-b7baef81b17b",
  "application_name": "demo-app",
  "application_uris": [
   "demo-app.azurecf.ik.am"
  ],
  "application_version": "b0d2da70-be02-4c94-aac5-c334961fa7a7",
  "limits": {
   "disk": 1024,
   "fds": 16384,
   "mem": 512
  },
  "name": "demo-app",
  "space_id": "f7798e39-7ac0-4295-98ee-a66c96e63baf",
  "space_name": "demo",
  "uris": [
   "demo-app.azurecf.ik.am"
  ],
  "users": null,
  "version": "b0d2da70-be02-4c94-aac5-c334961fa7a7"
 }
}
Spring Bootからアクセスする場合は次のようなRedisPropertiesクラスを作っておけば良い。
	@Profile("cloud")
	@Bean
	public RedisProperties redisProperties(ObjectMapper objectMapper) throws IOException {
		JsonNode credentials = objectMapper.readTree(System.getenv("VCAP_SERVICES"))
				.get("azure-rediscache").get(0).get("credentials");
		RedisProperties prop = new RedisProperties();
		prop.setHost(credentials.get("hostname").asText());
		prop.setPort(credentials.get("port").asInt());
		prop.setPassword(credentials.get("primaryKey").asText());
		return prop;
	}
その他
気が向いたら試す。